Richard Gawler
Western Thunderer
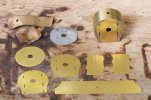
I spent most of Boxing Day building the smokebox. Somehow this was the most daunting part of the kit, there are two reverse curves and the final shape has got to be as near to perfect as I can get it otherwise the model will end up looking awful.
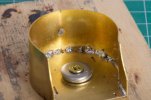
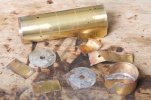
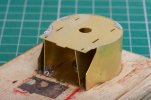
Smokebox wrapper annealed to "dark straw" before starting.
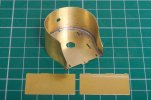
Line scribed below chimney hole as a precaution in case I hide the tiny guide mark with solder.
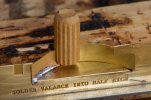
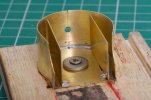
Instructions suggest drawing pins to hold the front panel, I think a woodscrew is easier.
Tacking intended to come apart easily if everything goes wrong, but this turned out ok at the first attempt.
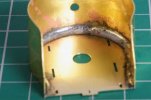
A lot more solder, heated using the micro flame torch on the outside.
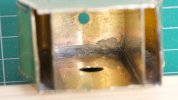
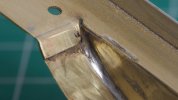
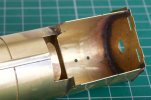
Edit: The way the solder has flowed here, it looks like I put too much of the heat onto the wrapper and not enough onto the front. I reflowed this solder but didn't take a photo at the time.
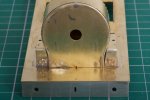
Plywood base nearly turned to charcoal in the process and didn't make for a pretty picture.
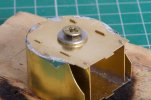
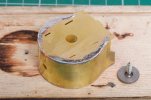
Longer woodscrew to hold the back.
The wrapper actually ended up a whisker too far forward onto the front, so this reduced the depth of the rebate available to hold the back.
I have got away with this because the external corners have to be rounded off.
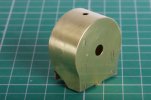
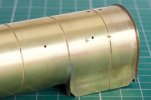
Cleaned up pretty well, almost too well really because I then had to add the detail wrapper.
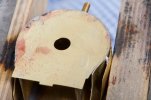
The outer wrapper is all half thickness except for the rivet detail. I tried to anneal this to dark straw as well but some patches ended up turning blue.
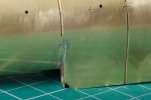
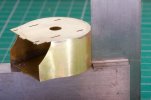
I am not sure of the proper way to attach such a wrapper. What I did was to tin both long edges on the back, and then slowly work my way down from the top. At each iteration I put a scrap of solder into place with the bit (photo) and then used the torch to complete the joint whilst shoving the wrapper into place with the end of a file.
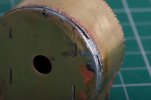
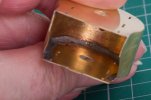
I think the red patches are zinc working its way to the surface in the face of too much heat. I regard this as a an occupational hazard whilst soldering a thin wrapper onto a chunky assembly; others will have learnt how to do it a better way.
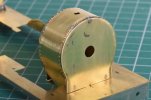
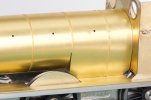
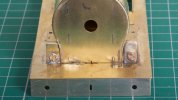
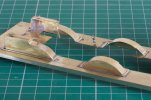
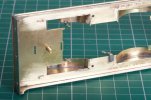
Another clean up and a test placement onto the footplate, everything seems to fit.
I realise this sort of sequence may be way too much granularity for many but having taken photos along the way it seems nice to share them and one day I might even look back at them to remind myself what I did. I am using my workbench topic as a filter for my photographic excesses, the ones I think aren't good enough to put here get deleted.

Smokebox wrapper annealed to "dark straw" before starting.
Line scribed below chimney hole as a precaution in case I hide the tiny guide mark with solder.
Instructions suggest drawing pins to hold the front panel, I think a woodscrew is easier.
Tacking intended to come apart easily if everything goes wrong, but this turned out ok at the first attempt.

A lot more solder, heated using the micro flame torch on the outside.
Edit: The way the solder has flowed here, it looks like I put too much of the heat onto the wrapper and not enough onto the front. I reflowed this solder but didn't take a photo at the time.
Plywood base nearly turned to charcoal in the process and didn't make for a pretty picture.

Longer woodscrew to hold the back.
The wrapper actually ended up a whisker too far forward onto the front, so this reduced the depth of the rebate available to hold the back.
I have got away with this because the external corners have to be rounded off.

Cleaned up pretty well, almost too well really because I then had to add the detail wrapper.

The outer wrapper is all half thickness except for the rivet detail. I tried to anneal this to dark straw as well but some patches ended up turning blue.
I am not sure of the proper way to attach such a wrapper. What I did was to tin both long edges on the back, and then slowly work my way down from the top. At each iteration I put a scrap of solder into place with the bit (photo) and then used the torch to complete the joint whilst shoving the wrapper into place with the end of a file.
I think the red patches are zinc working its way to the surface in the face of too much heat. I regard this as a an occupational hazard whilst soldering a thin wrapper onto a chunky assembly; others will have learnt how to do it a better way.

Another clean up and a test placement onto the footplate, everything seems to fit.
I realise this sort of sequence may be way too much granularity for many but having taken photos along the way it seems nice to share them and one day I might even look back at them to remind myself what I did. I am using my workbench topic as a filter for my photographic excesses, the ones I think aren't good enough to put here get deleted.
Last edited:

