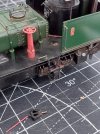
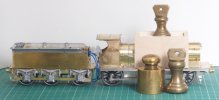
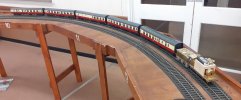
Richard Gawler
Western Thunderer
Smokebox / boiler / firebox assembly.
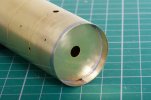
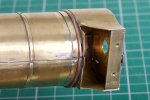
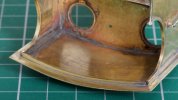
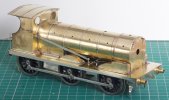
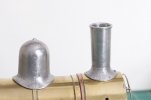
The boiler front supplied has a half-etched flange so it sits concentrically on the front of the boiler. I removed the flange and put the boiler front inside the boiler, this made attaching the (second) smokebox a great deal easier. The boiler was slightly oval and the boiler front is now sprung into place and holding it circular.
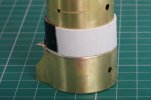
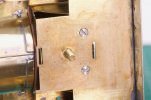
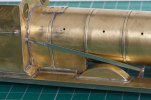
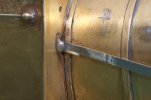
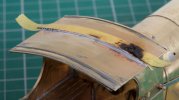
The boiler front and the smokebox front and back have etched holes to assist alignment. These were a loose fit on a 6mm drill bit so I opened them up to a snug 1/4 inch. Unfortunately, the smokebox was still going to end up about 0.1 mm offset to one side, I know this doesn't sound like much but the difference is doubled when you look at the fit around the smokebox. So I abandoned the drill bit and used a strip of 1 mm card to set up the boiler onto the smokebox. The piece of card sliding up the boiler to let me solder the joint.
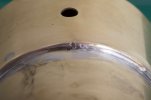
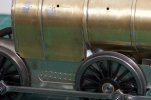
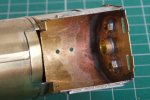
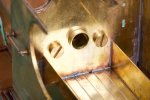
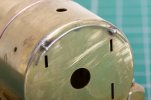
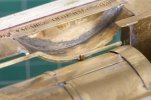
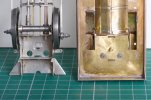
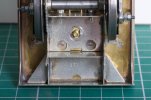
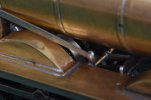
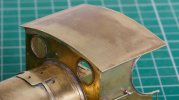
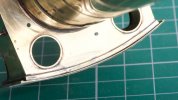
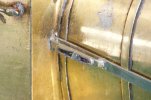
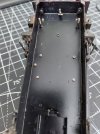
However hard I tried, I had to put a small twist onto the smoke box to get it to look right, see the etched guide marks in the photo.
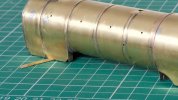
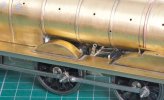
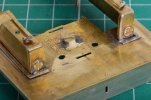
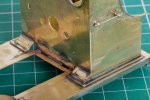
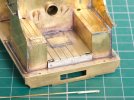
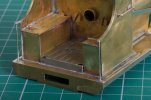
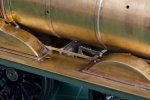
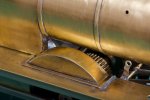
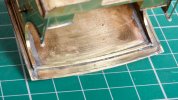
At the end of the day, I am going to have to put a shim about 0.4 mm below this side of the firebox. The whole assembly will then sit flat onto the footplate without pulling it crooked. The shim will be hidden behind a piece of flange along the footplate.
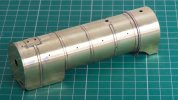
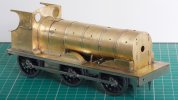
The result does look reasonably "true" from usual viewing angles; so whilst not perfect I feel it is the best I will manage with my present skill set and so I must accept it for what it is. A tank engine would be easier.

The boiler front supplied has a half-etched flange so it sits concentrically on the front of the boiler. I removed the flange and put the boiler front inside the boiler, this made attaching the (second) smokebox a great deal easier. The boiler was slightly oval and the boiler front is now sprung into place and holding it circular.

The boiler front and the smokebox front and back have etched holes to assist alignment. These were a loose fit on a 6mm drill bit so I opened them up to a snug 1/4 inch. Unfortunately, the smokebox was still going to end up about 0.1 mm offset to one side, I know this doesn't sound like much but the difference is doubled when you look at the fit around the smokebox. So I abandoned the drill bit and used a strip of 1 mm card to set up the boiler onto the smokebox. The piece of card sliding up the boiler to let me solder the joint.

However hard I tried, I had to put a small twist onto the smoke box to get it to look right, see the etched guide marks in the photo.

At the end of the day, I am going to have to put a shim about 0.4 mm below this side of the firebox. The whole assembly will then sit flat onto the footplate without pulling it crooked. The shim will be hidden behind a piece of flange along the footplate.

The result does look reasonably "true" from usual viewing angles; so whilst not perfect I feel it is the best I will manage with my present skill set and so I must accept it for what it is. A tank engine would be easier.

