I'm in the (very) early stages of planning a layout, so rather than rush in with plans and buildings etc, I thought I'd do it the other way around and focus on some stock first.
I will need some coaching and parcels stock, so this is where I've chosen to start.
Firstly, I've never paid any attention to coaches of any type. They've always passed me by literally and I've been happy to let them.
Secondly, I was amazed at how expensive Bachmann coaches are, even on auction sites - how anyone can afford multiple rakes of 10+ coaches each is beyond me!
I already owned two (a BCK and a CK) and after a lot of searching, bidding, being outbid and more searching, I've been able to add a few more - all Mk1's or Mk2's.
I'm not planning on getting carried away with them, just doing some basic detailing where needed. One thing I noticed was the earlier releases have very prominent roof ribs, whereas the later ones don't. After dismantling the CK, as a trial, I decided to try sanding down the ribs.
It's not difficult, it's just really boring...so it's one of those tasks I'll have to do as and when.
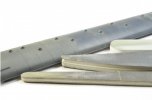
And, after several hours of sanding I was left with a rib-less roof:
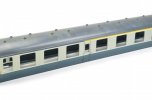
As mentioned above, this is one of those tasks I'll have to do as and when I feel like it because it isn't much fun.
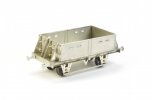
Moving on to parcels stock, I decided to kick things off with an ex-Blue Spot SPV - using the Parkside kit. I've built a couple of these over the years, and had a spare kit in my stash. For some unknown reason, my kit had no underframe parts at all - I simply cannot remember if I bought it like this for some reason, or if I've used them for something else. If so, I have no idea what...
This would therefore mean scratchbuilding everything from the body down - and it just so happened I was looking for an opportunity like this to push myself - and my newly improved soldering skills - and "up my game" rather than rely solely on plastic bits.
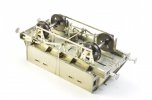
The underframe details are a combination of scratchbuilt, etched parts and various bits from the spares box. I'm
very pleased with how this has turned out.
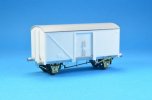
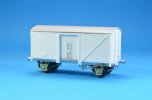
Other than axleboxes, this is ready to be painted, although note the roof is not yet glued in place hence the visible gap above the door.
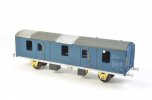
5+ years ago I bought two old Lima CCT's second hand and made a start on detailing them. I soon got bored and packed them away. Building the SPV gave me the opportunity to dig them out of storage. I'd primitively replaced the Lima w-irons and wheels and my initial plan was just to continue where I left off - replace the windows, repaint and be done with it. I'd glued plastic w-irons to the chassis and in the intervening years, the joints had become brittle. No sooner had I got it out of storage, I snapped these off accidently which meant plan b was needed.
I then tried to modify the existing Lima chassis to accept some etched w-irons, but in my carelessness, sanded the solebars so thin they also snapped. At this point I decided to cut my losses and just rebuild everything.
So, much in the vein of the SPV, everything is again a combination of scratchbuilt parts from plastic, bits of etched details and odds and ends from the spares box. The battery boxes were transplanted from the original chassis because they look pretty decent to me. I think the effort was worth it.
Matt




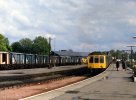
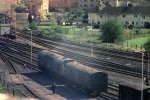
 . These are two of my photos taken at Aylesbury in the late 1970s. One with a Cl.25 shunting a CCT