Jim smith-wright
Western Thunderer
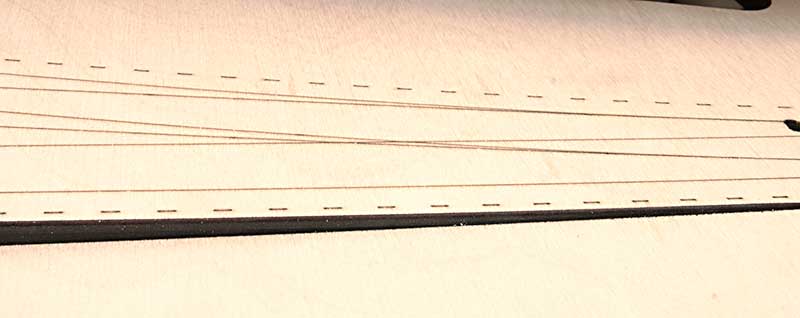
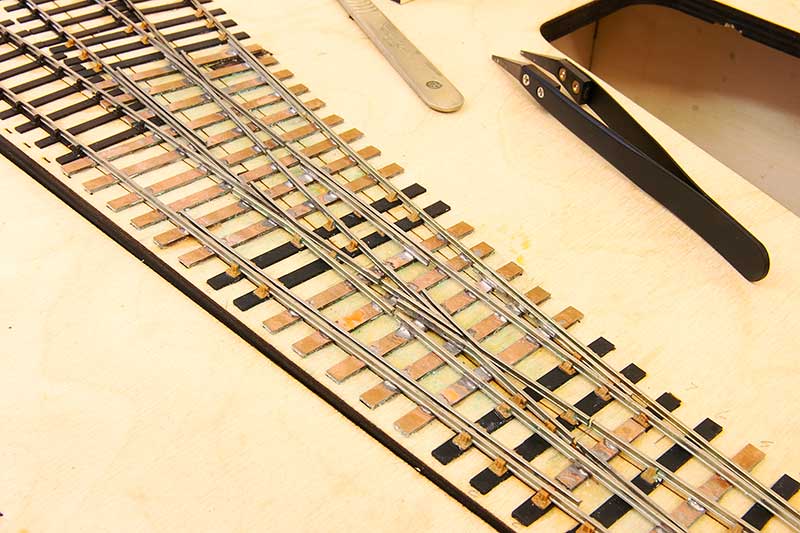
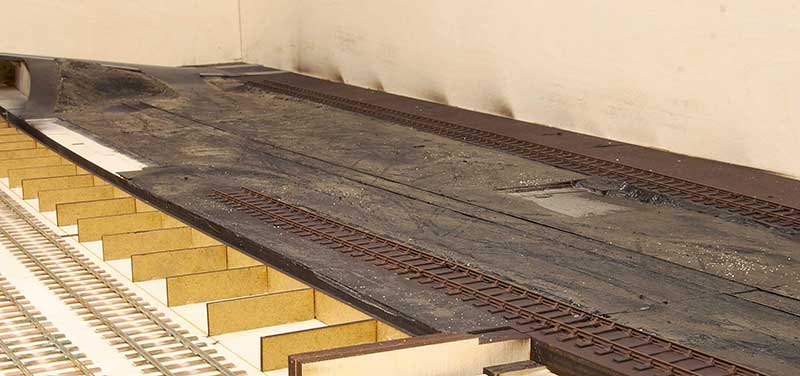
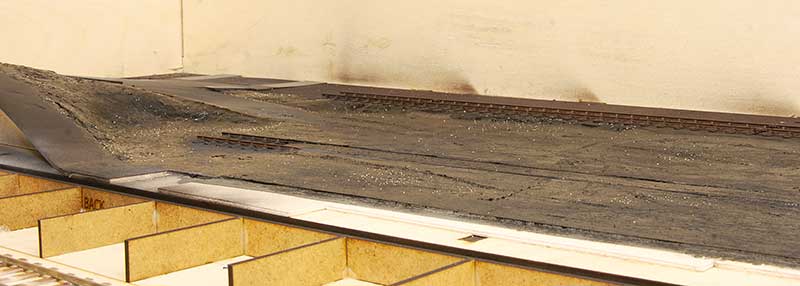
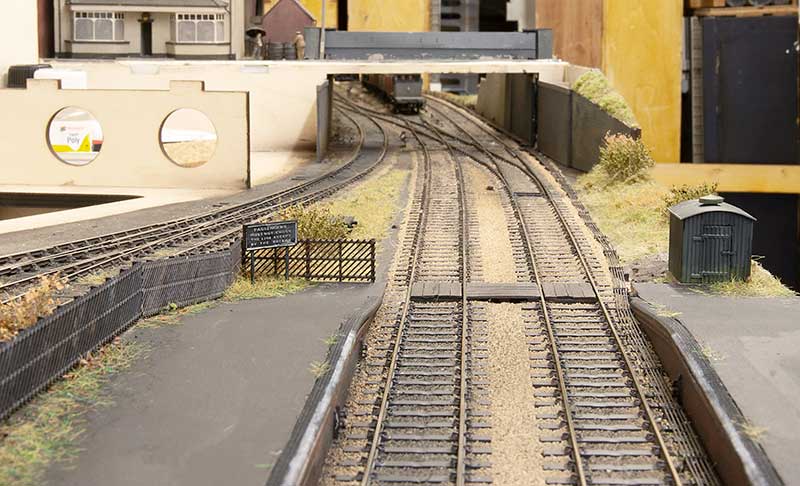
You’re right Dave. It does need a little tweak to put a very slight curve in.


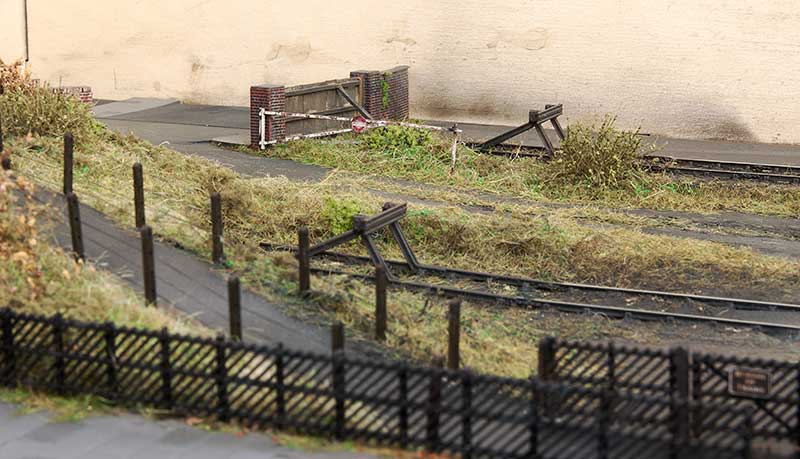


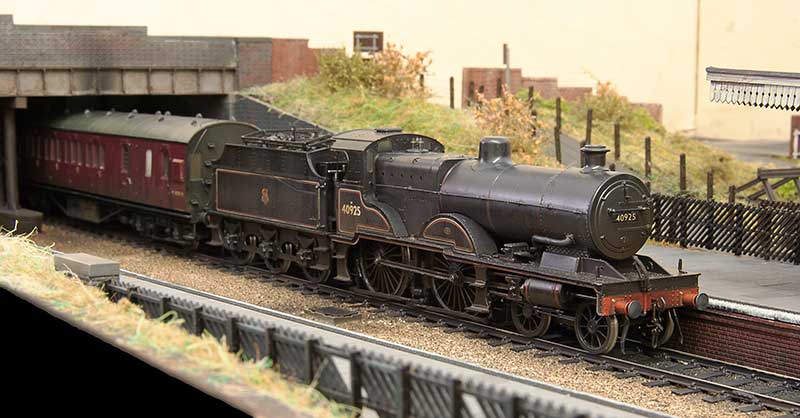

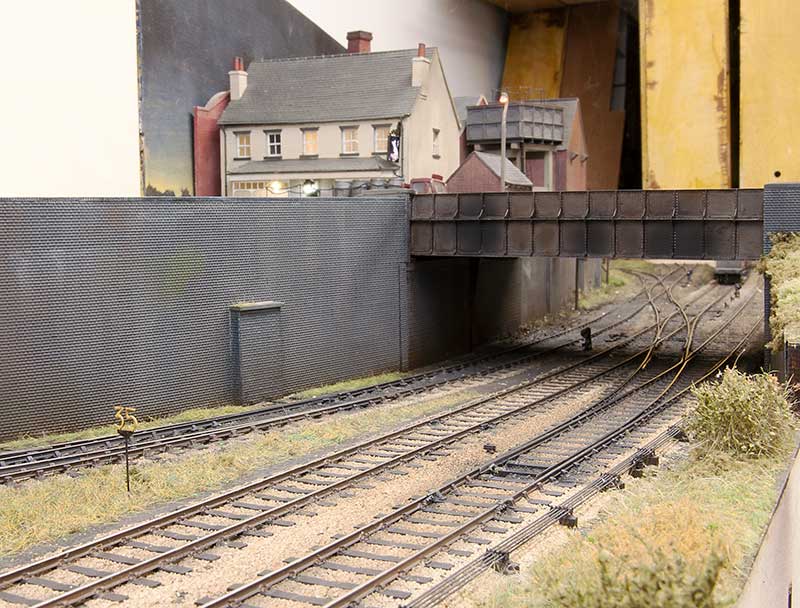
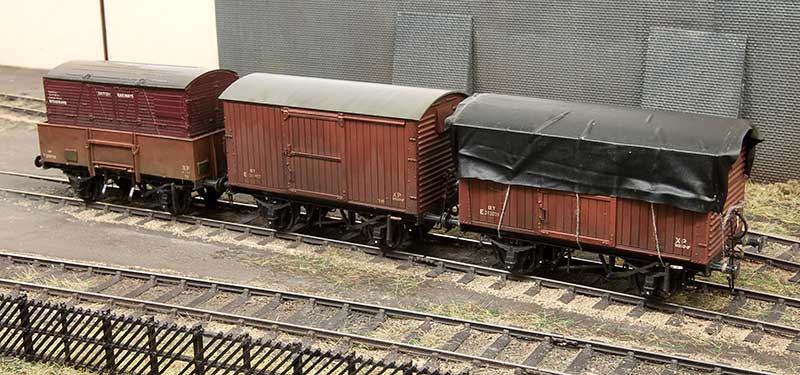
As your are in the early 1960s have you got a train of condemned wood body wagons to be shunted onto the Pensnet Railway at Wallows Road. There the bodies would be burnt then the metal cut up to go into the (normally) arc furnaces.
Alas I remember it (sort of) well.
Regards
Allen Morgan
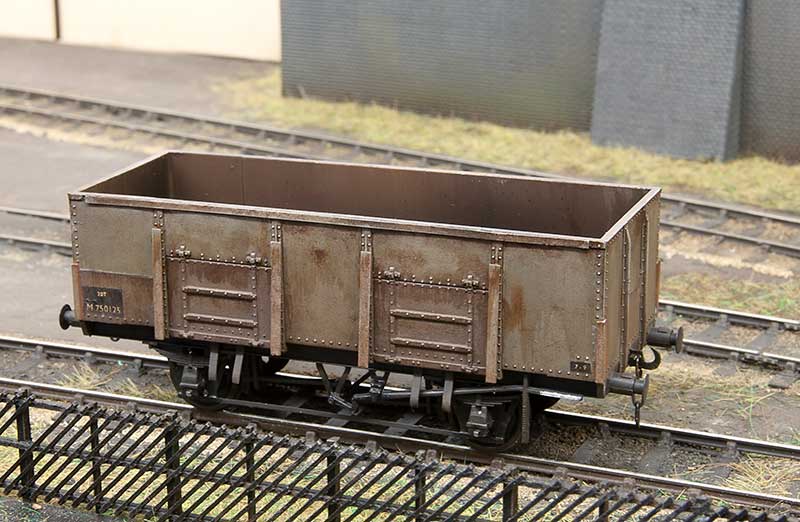
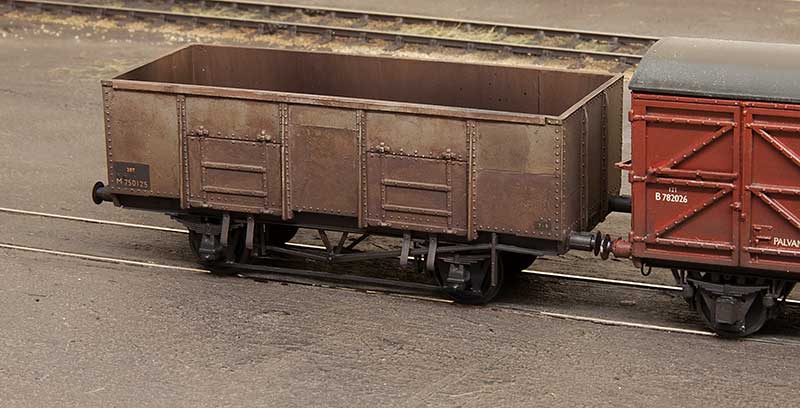
Jim,Remember the diagram 1973 mineral wagon I posted a few entries ago? As pointed out at the time I missed some of the reinforcing bits that were added after they were built. Im not sure how as they were in the prototype pictures I was looking at! Anyway thats been corrected now
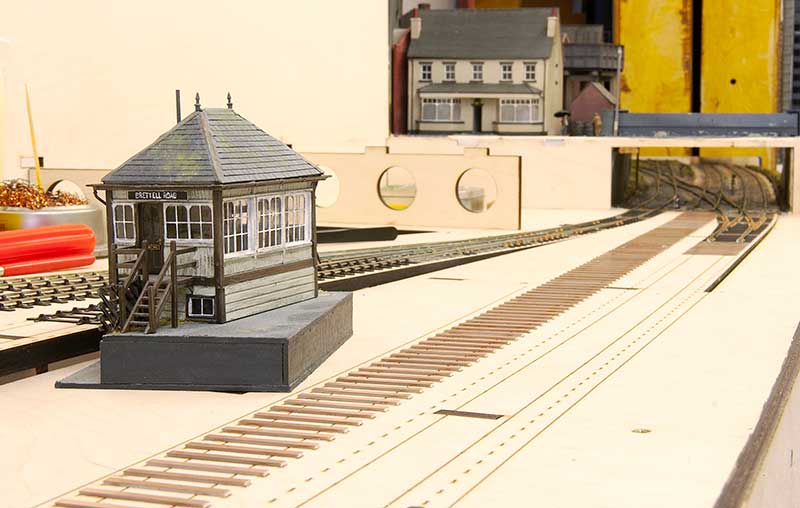
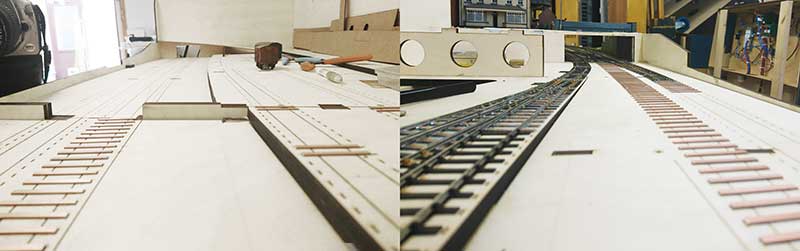
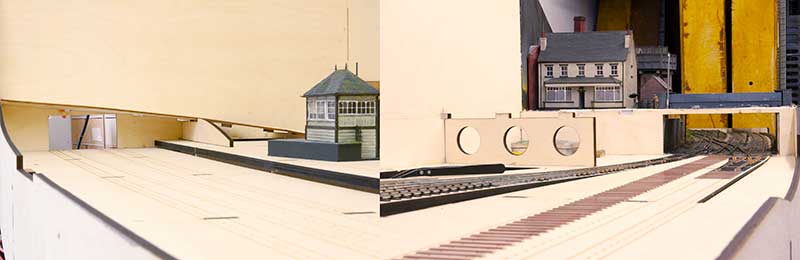
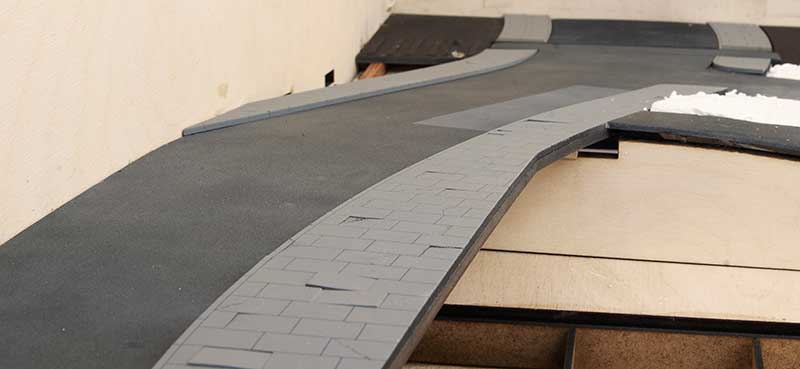
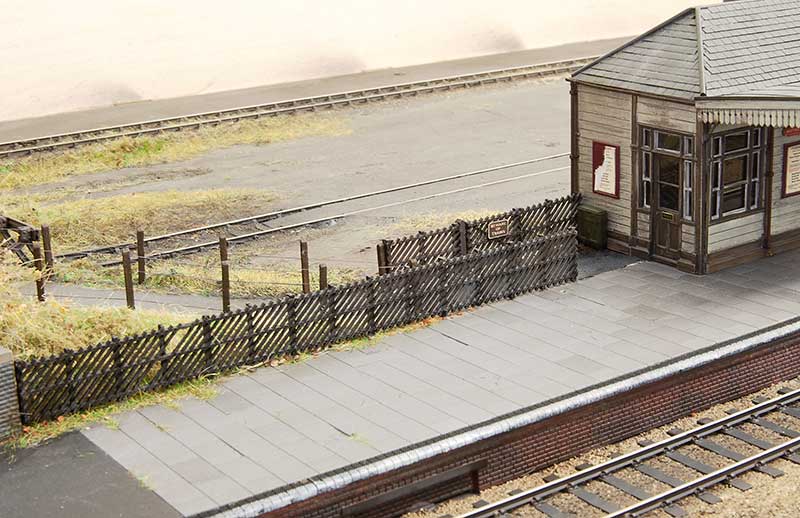
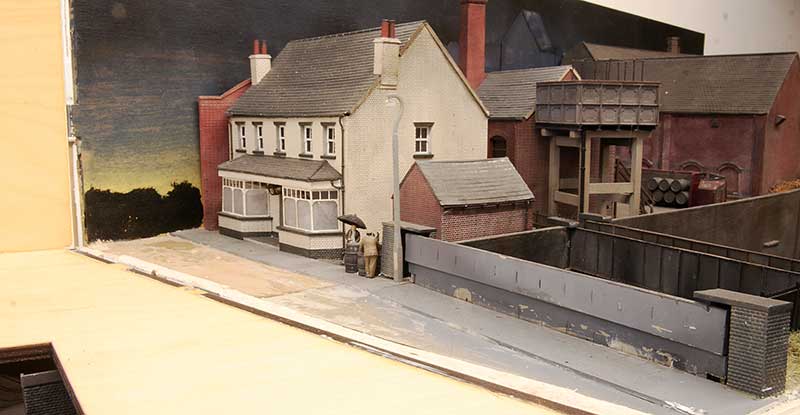
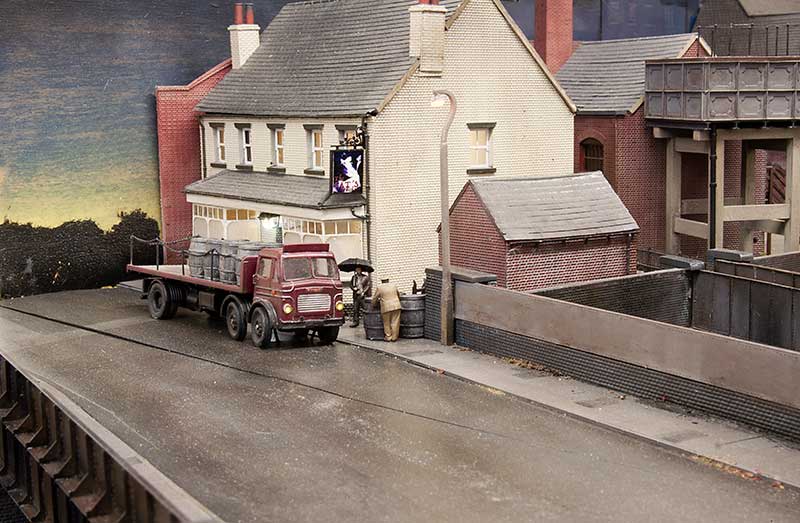
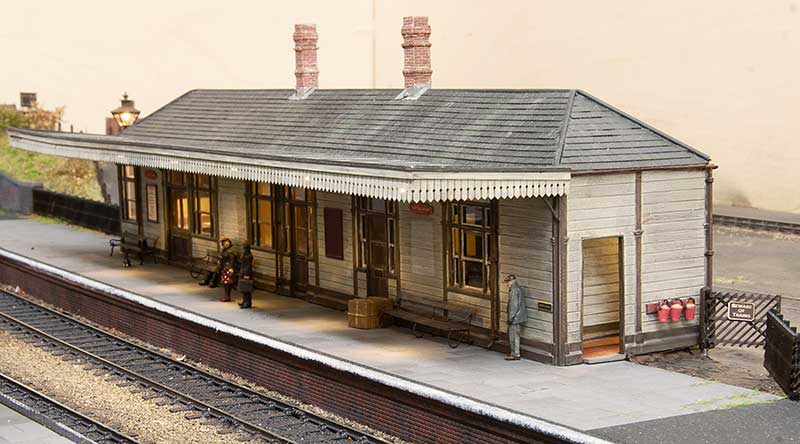
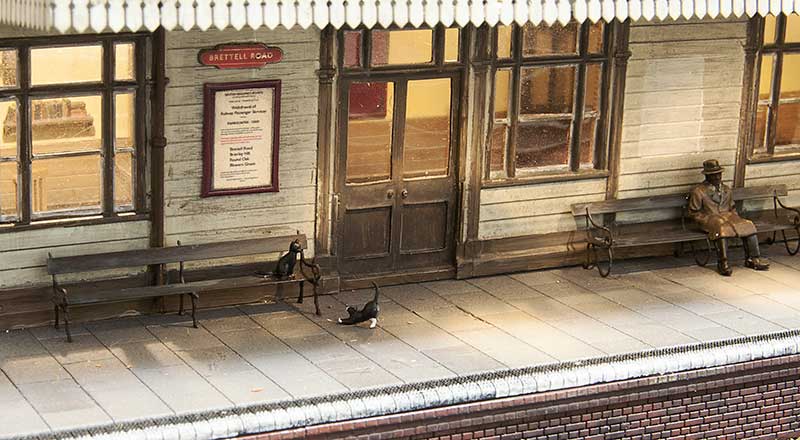
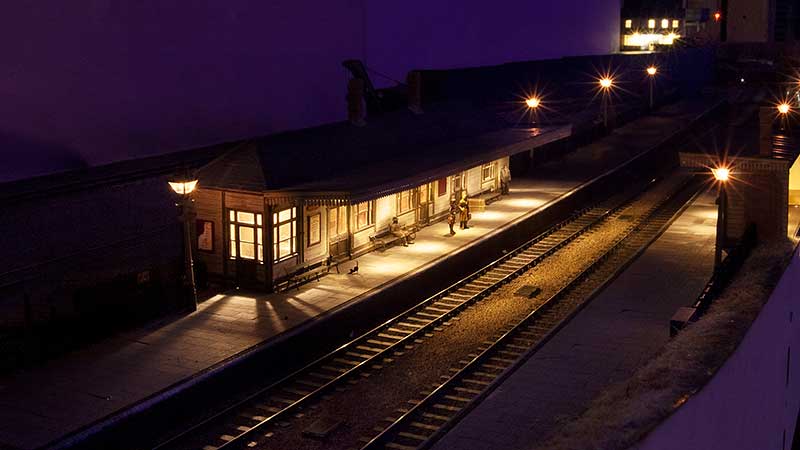
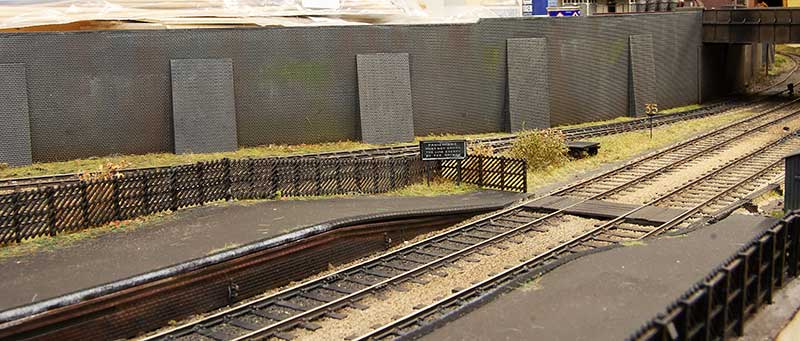
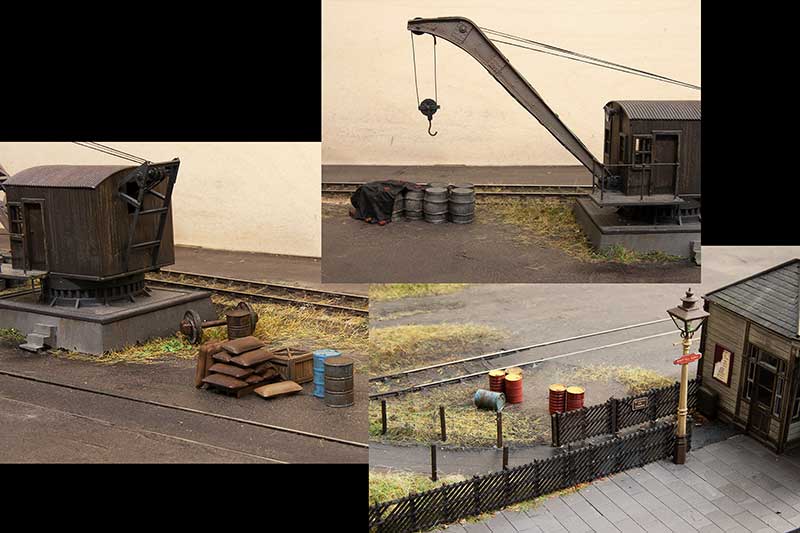
This brings back so many memories of my childhood, watching the workmen from the Acton County Council working on leveling the pavement slabs on Twyford Road where I grew up. Probably one of the reasons I didn't become a champion roller skater Those pavements were brutal with the old steel wheeled strap on skates.I also cut a few of the slabs out completely on the laser so that I could add plasticard instead and do a couple of raised slabs. Brettell Road is set well before the 'where theres blame theres a claim' culture. I guess people back then just looked where they were going or called themselves an idiot if they ended up on their backsides!