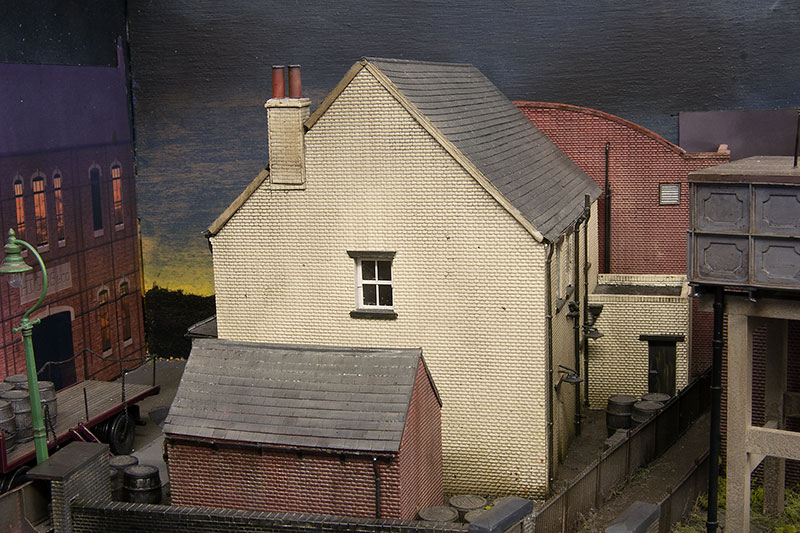
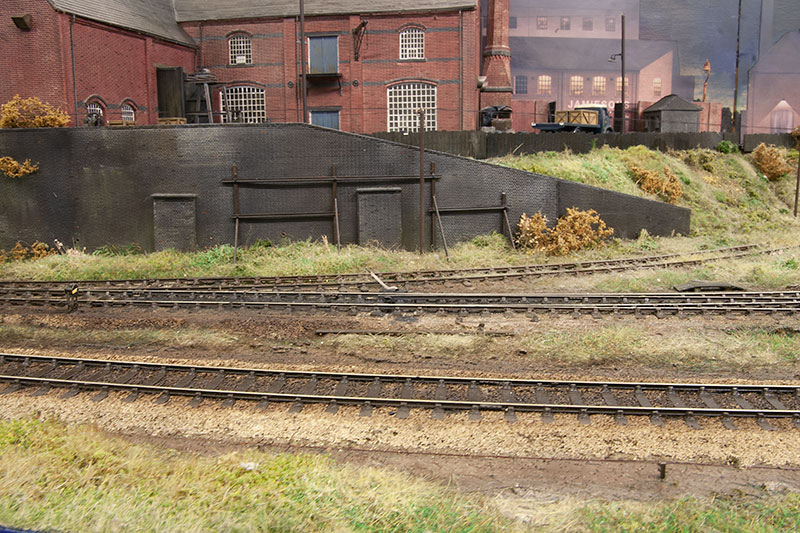
Brettell Road, 1960s black country (ish)

Jim smith-wright

Western Thunderer
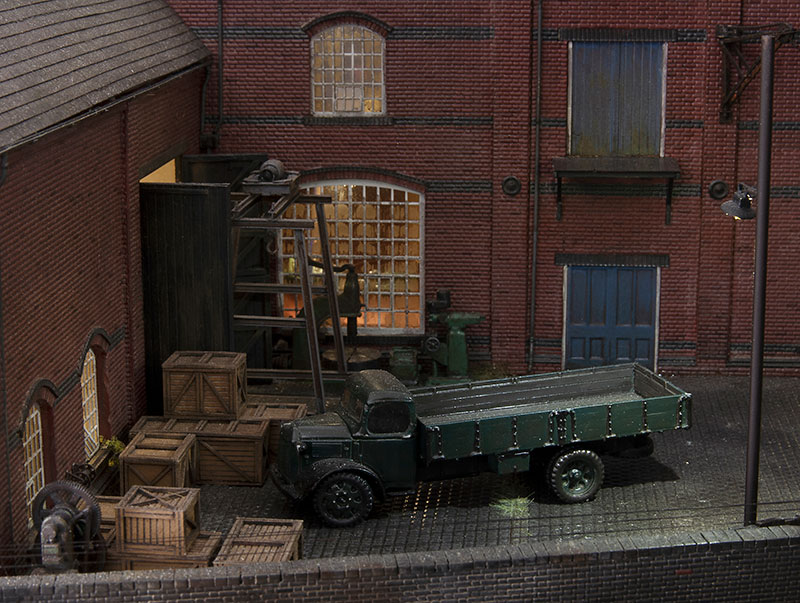
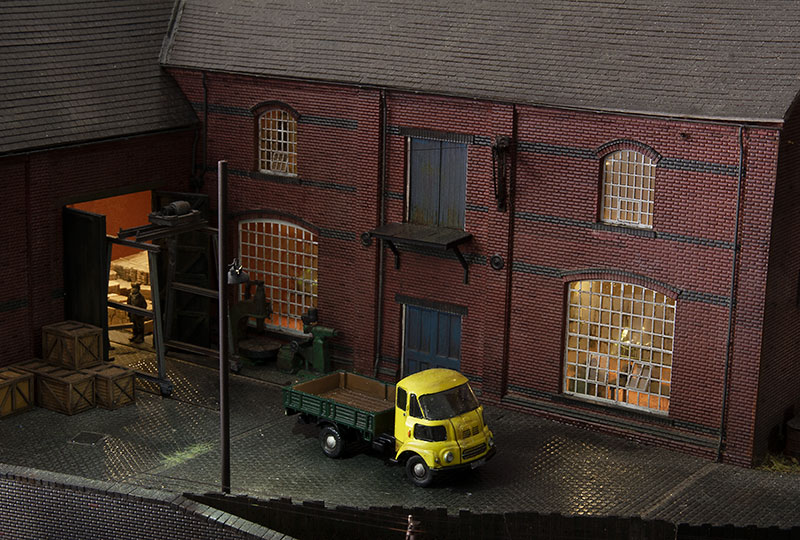
Just some of Brettell Road's vehicles.

FG-at-factory.jpg


tractor-parked.jpg


lorry-at-factory.jpg
 

Jim smith-wright

Western Thunderer
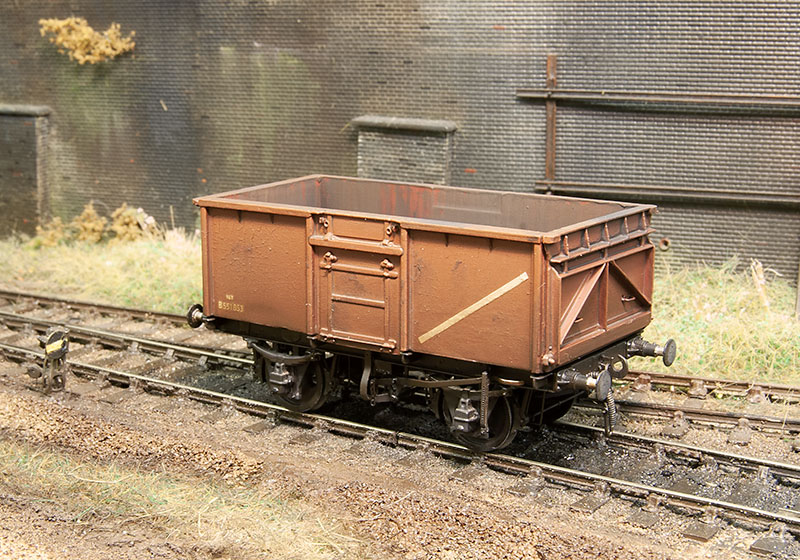
Anyone modelling in 4mm scale for any length of time has probably come across the Airfix/Mainline/possibly Dapol/ Bachmann 21, 22 or 24 ton Iron ore hoppers. Based on a Charles Roberts version with the standard, at the time, stretched to fit compromises to fit a generic 10ft wagon chassis. They do however make a good little project for 'tarting up a bit'.

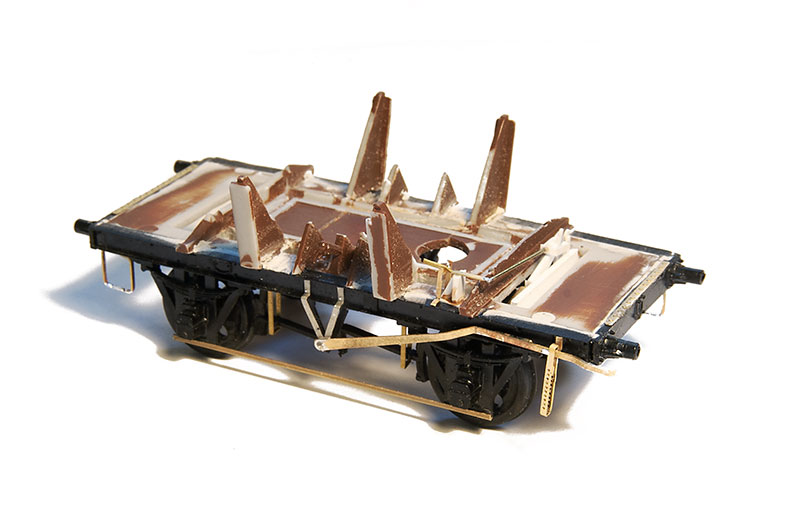
Geoff Kent wrote a great article about just such an exercise in MRJ 182. I have however deviated from his sage advice in a few areas.

iron-ore-hopper-chassis.jpg

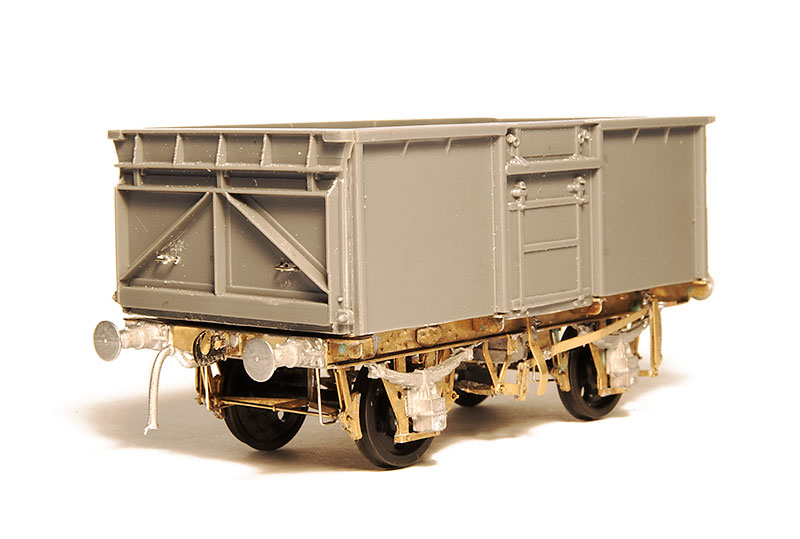
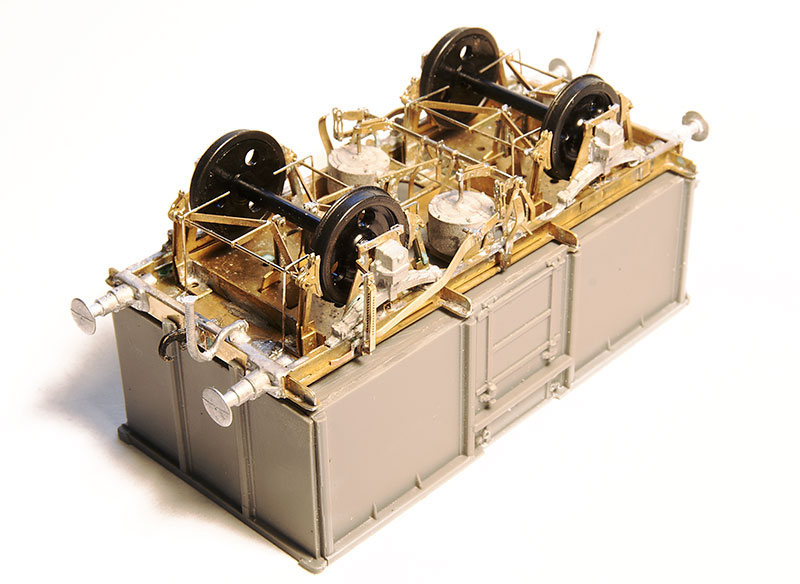
The hopper is easy with 3mm cut out center but offset to the side of the bracing to hide the cut. For the chassis I cut it into 3 parts to retain the middle detail. Geoff thinned the base and removed the top of the chassis on his models but I decided to cut the base away around the edge and mount the chassis flush with the top. The chassis being a Parkside 9ft example.

The door closing gear was knocked up from microstrip and a few bits of brass., Shiny bits on the chassis came from Ambis, Mainly Trains and Bill Bedford.

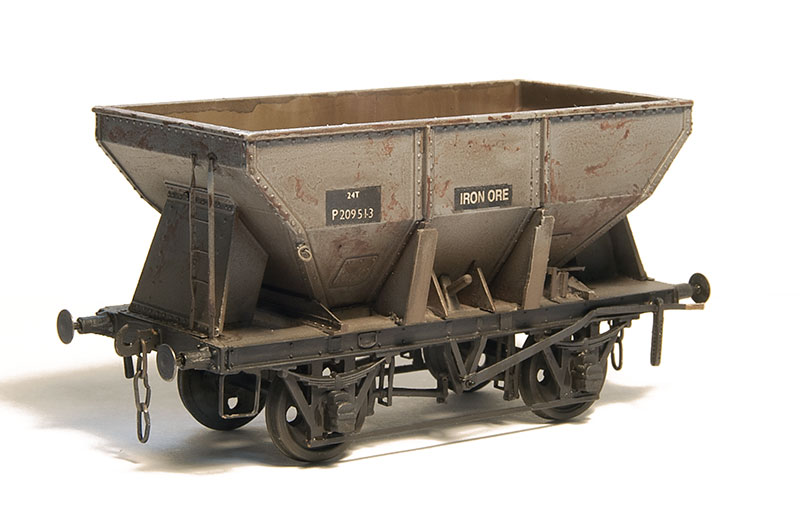
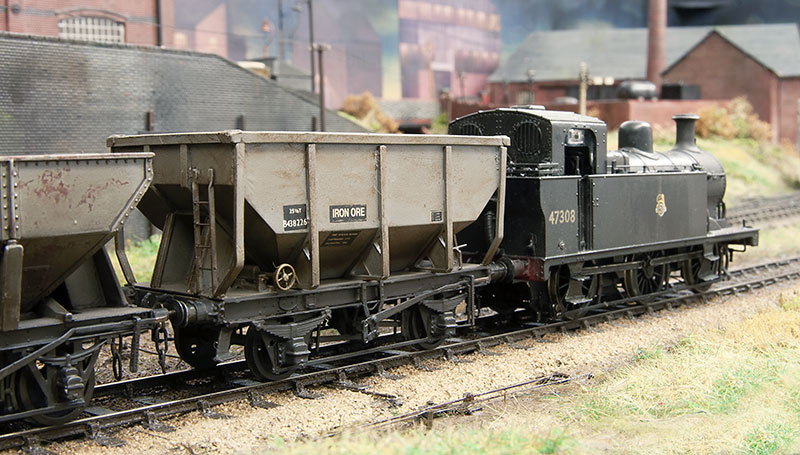
iron-ore-hopper.jpg

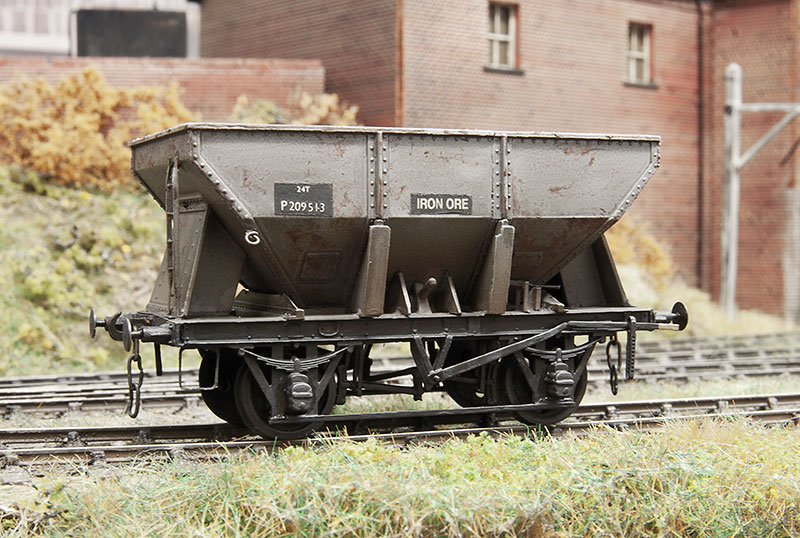
After a light weathering. I still need to add the rain effect yet mind you. The ladders are from Stenson Models.

Iron-ore-hopper-2.jpg
 

Jim smith-wright

Western Thunderer
canal-2.jpg

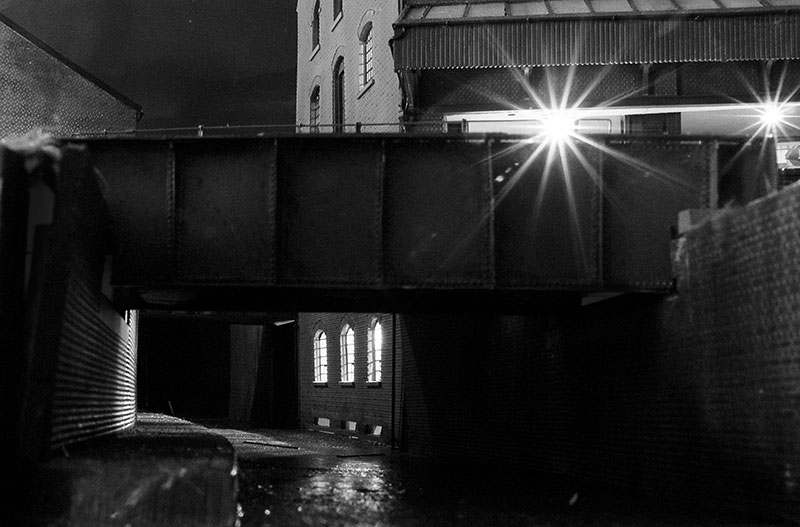
Back in the early days of Brettell Road I represented rain falling on the canal as seen above.

canal-BW-1.jpg

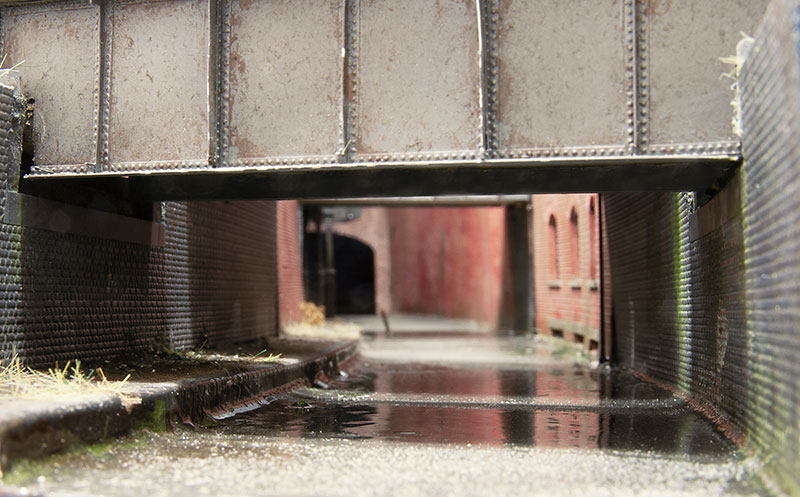
Over the years however the effect of this became lost so I have revisited this area of the layout to get the effect back. Also to make the canal look a little more downtrodden. I have used a thin layer of clear resin and the same baking soda in wet varnish trick as I used originally. Results are below.

revised-canal.jpg

revised-canal-2.jpg
 

Jim smith-wright

Western Thunderer
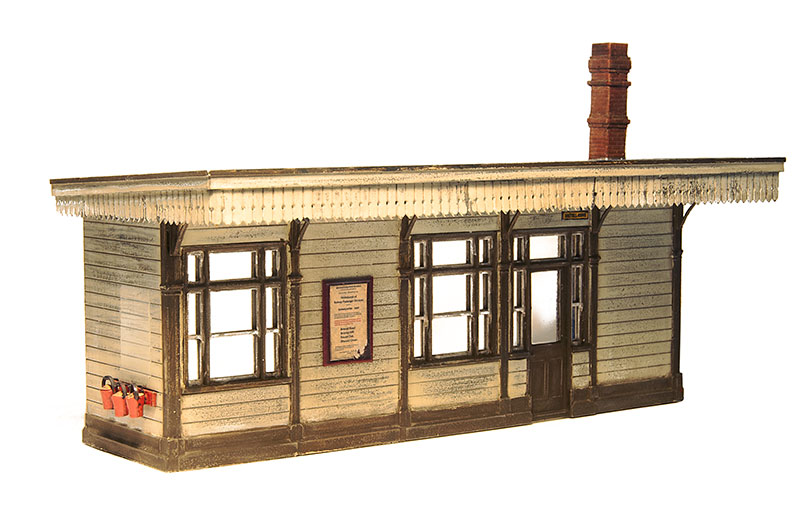
One little project I have been dipping in and out of now and then has been the station buildings for part 2 of Brettell Road.

BR-small-building.jpg


This is the smaller building. The real buildings at Brettell Lane were wooden but of a GWR origin. As Brettell road is more midland I used the Ratio (previously Parkside) LNWR station panels. These or similar were used in the Birmingham area so that was near enough. The canopy valence and supports are from London road models and the poster boards from N brass. The chimney is from Unit models.

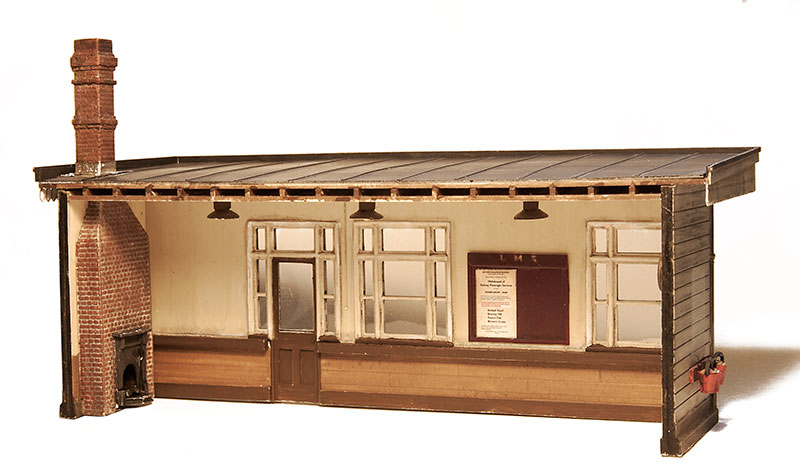
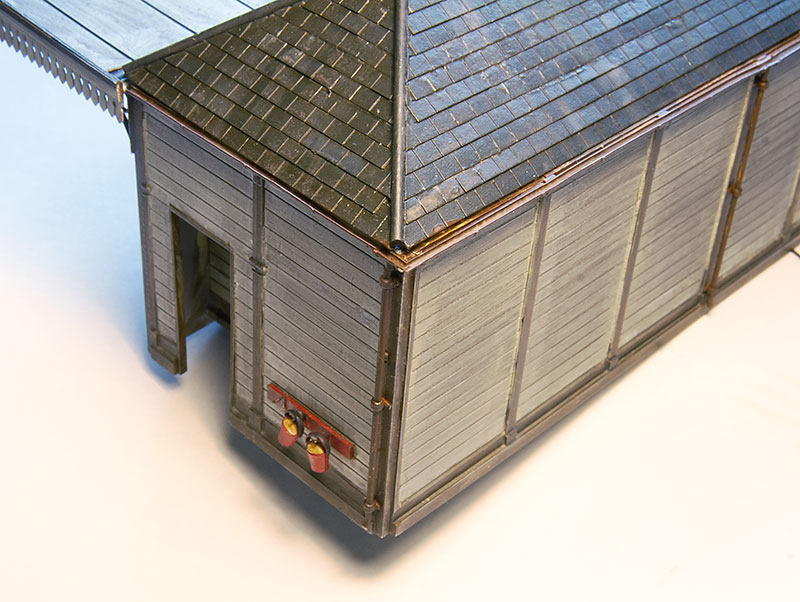
BR-small-building-rear.jpg


The side in the first picture faces away from the public so rather than have a blank wall I decided to give the viewers a sense of being inside the building. (it is supposed to be raining remember, who wants to stand outside?)

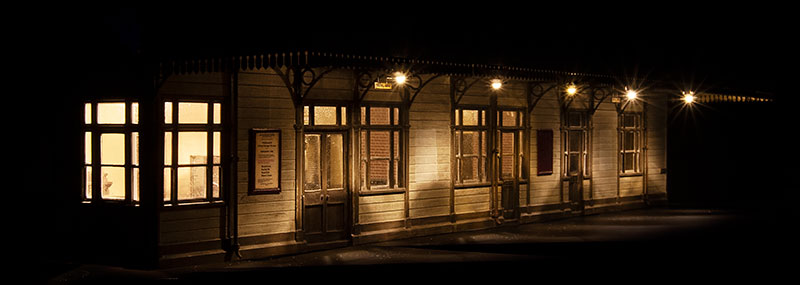
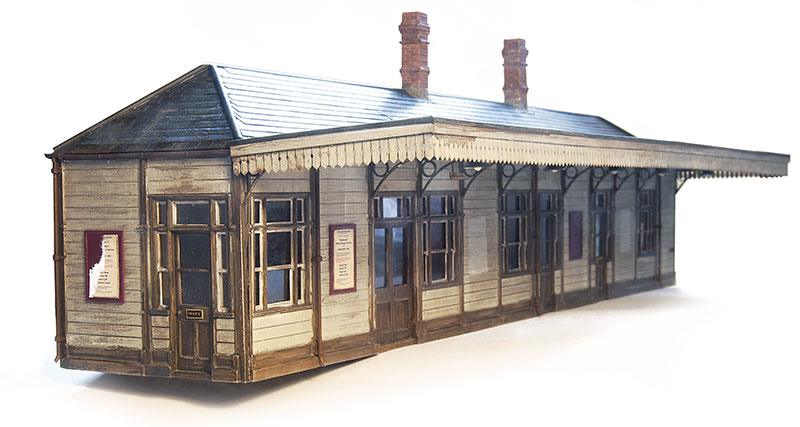
BR-main-station-building.jpg


The main building is the same but bigger. The above image gives a rough feel of the look I'm after. I actually shot it like this because I haven't done the roof yet!

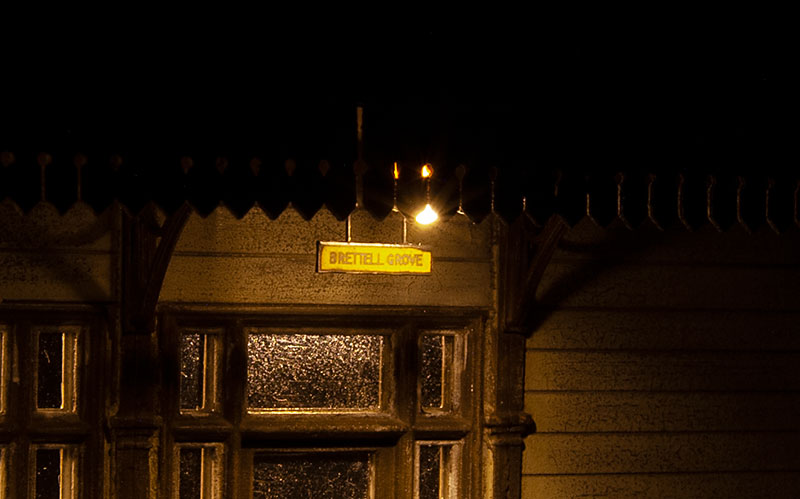
BG-nameboard.jpg


I have mentioned in a previous post the idea of letting the layout have little bit of a life of its own. Originally i was going to use the name Brettell Grove not Brettell Road so why not an old station nameboard with the original name?
 

Jim smith-wright

Western Thunderer
Bit of a random post this time but I have been revisiting a few things. Be warned though these are all really subtle and if I didn't point them out I suspect no one would ever know.

prairie-safety-valves.jpg


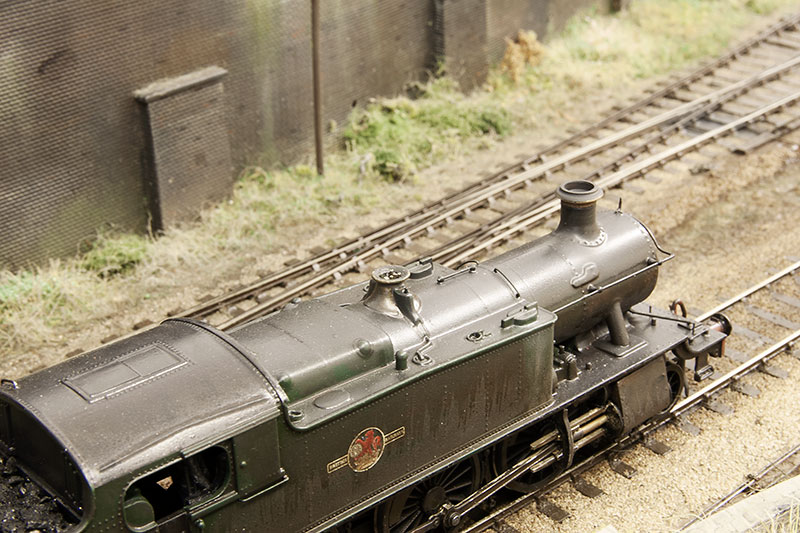
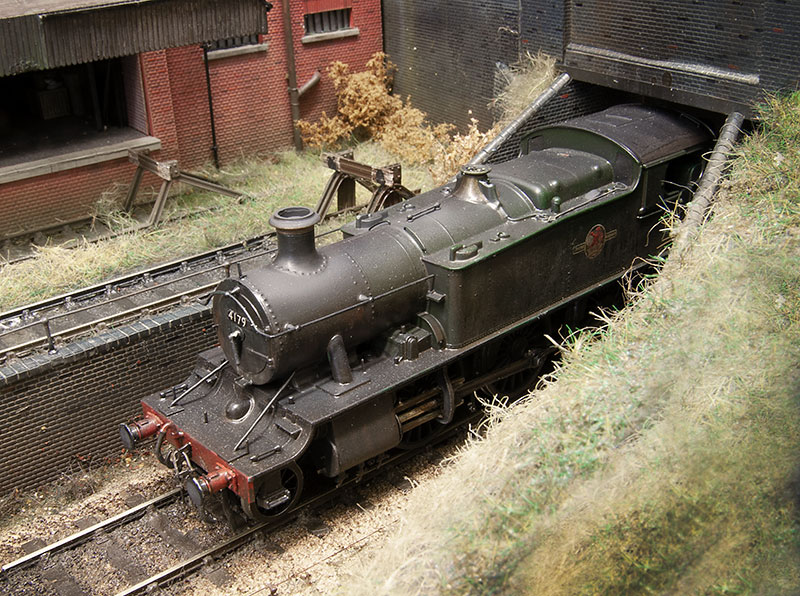
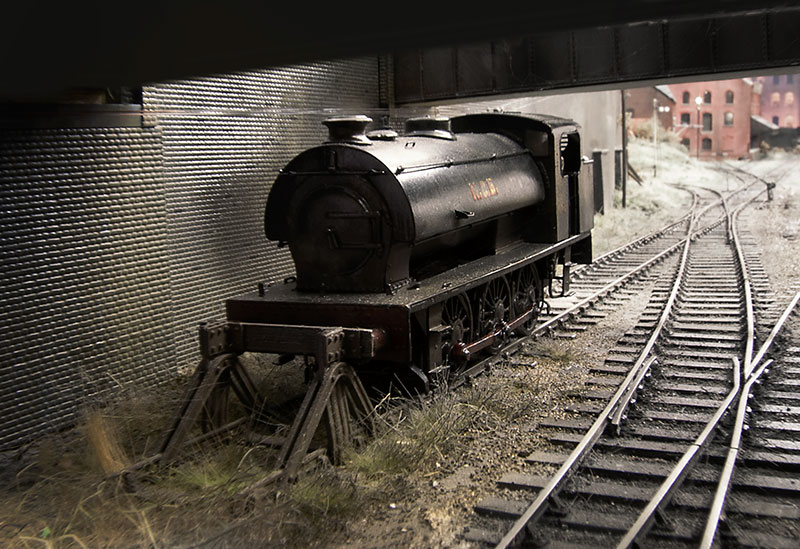
Starting with the safety valves on my prairie. As supplied it was a pretty flat dish with 4 blobs to represent the valves. A bit of drilling and some wire gives something a little better.

prairie-under-bridge.jpg


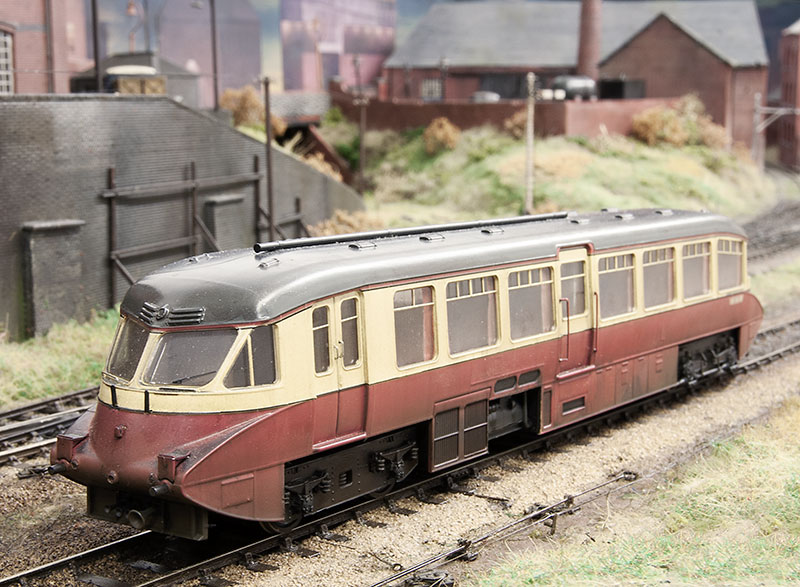
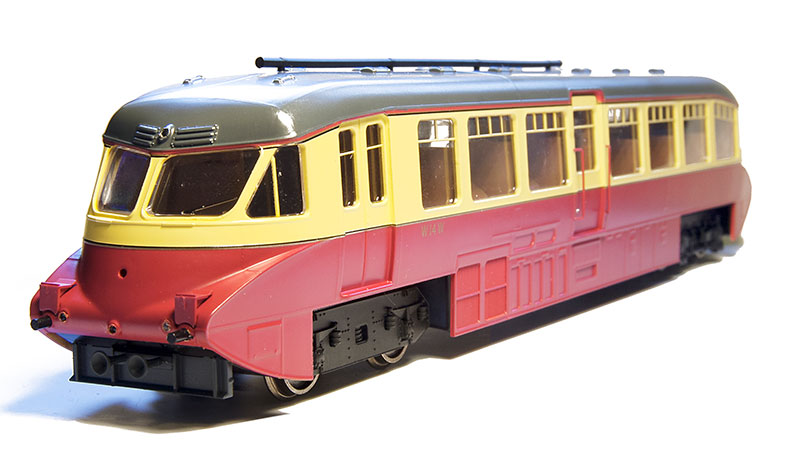
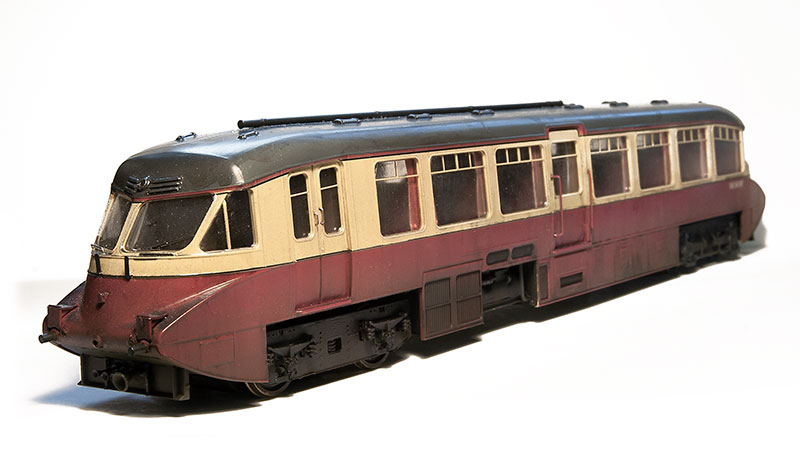
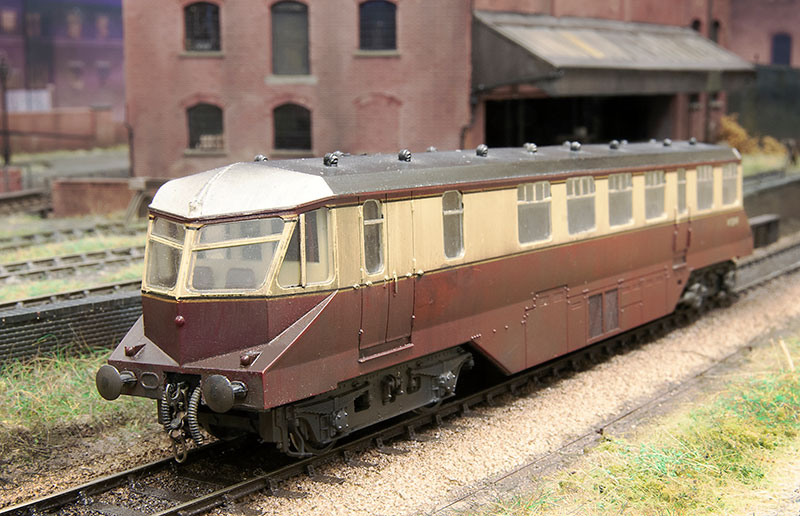
I've also gone back (again) to my Dapol railcar for another little tweak.

GWR-curved-railcar.jpg


As its not all that obvious I have fiddled with the bogies a little. Some 3x4mm triangles and some microstrip was used to change the sideframe shape to something more accurate. I also got a spare set of sideframes and cutting the springs and axle boxes of the new ones, filing down the old ones and sticking them over the top had given me more relief.

Sometimes its nice to look back at where we started to see how far we have come.

dapol-railcar-original.jpg


gwr-curved-railcar-tweaked.jpg


GW-angular-railcar.jpg


While i was in a railcar kinda mood this is my detailed Lima one. I haven't done anything to it, it just tends to avoid the camera for some reason. <

austerity-parked.jpg


Austerity hides at the headshunt. Again no tweaks just a piccie.

rain-pic-2.jpg


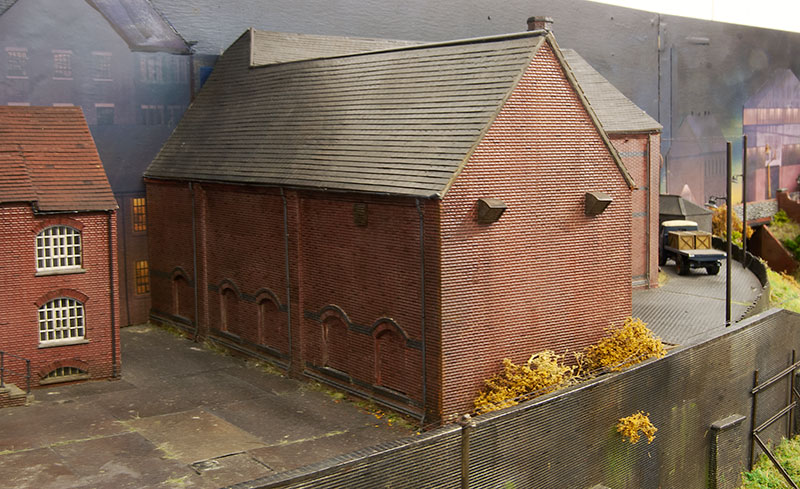
Now this is properly subtle. I have revisited the layout with some Tamiya smoke and AK wet effects to see if I could increase the wet look a little. The smoke provides the darkening effect of the rain.

pub-rain.jpg


It a little easier to see on the light walls of the pub.

rain-pic-1.jpg


The thing is I know its darker because i knew what it was like before. In order to give fresh eyes something to compare it with I needed a few areas of contrast.

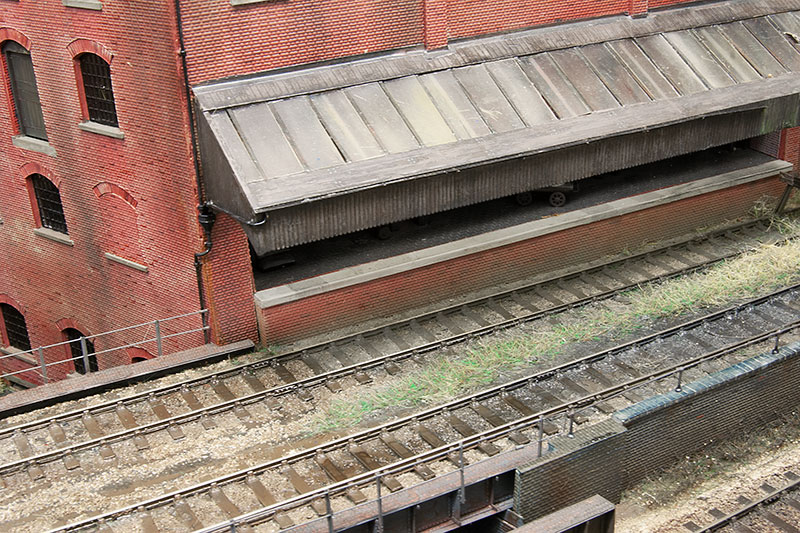
loading-bay-in-the-rain.jpg


By the warehouse i can leave the area under the canopy dry to give the contrast I was looking for.

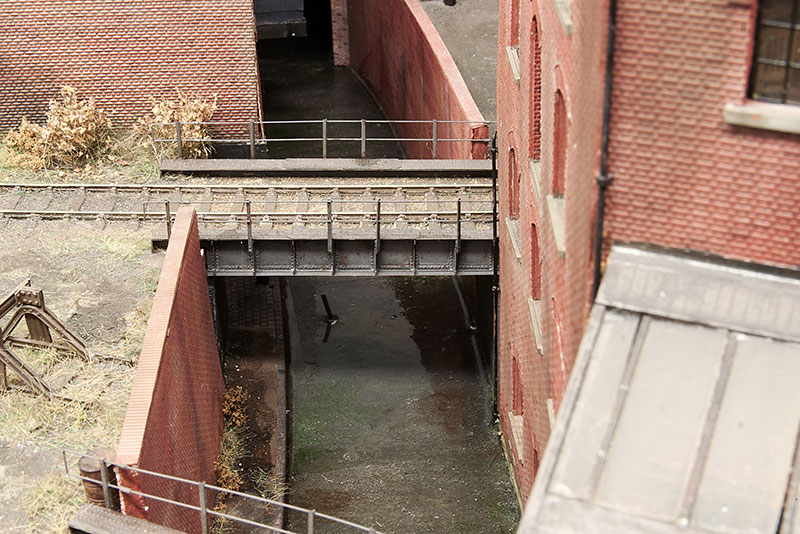
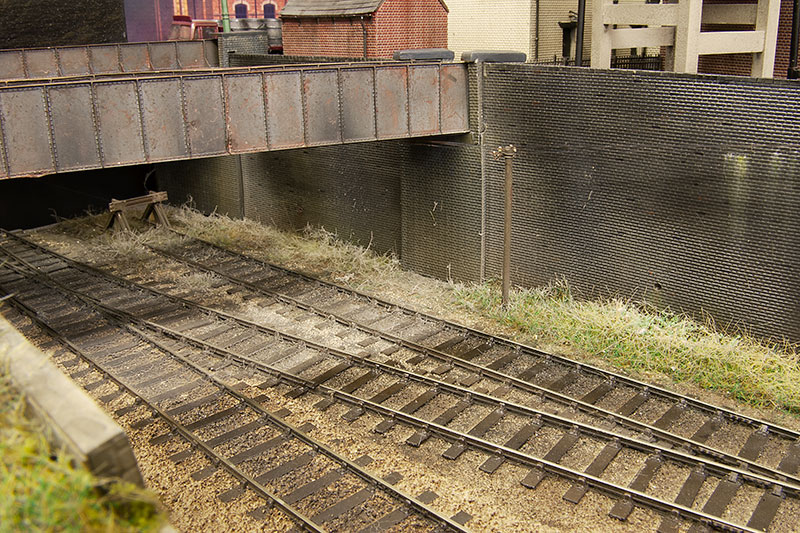
bridge-in-the-rain.jpg


and at the other end the areas shaded from the rain by the bridges. Its important to make sure the rain falls in the same direction. So the buildings don't have smoke applied to the sheltered walls. Its the area above where I feel the effect has come out best.
 

Overseer

Western Thunderer
Bit of a random post this time but I have been revisiting a few things. Be warned though these are all really subtle and if I didn't point them out I suspect no one would ever know.
.
Individually the tweaks may be subtle but they all add to the finished result. Well worth doing in my opinion. It is interesting to see how well the Lima railcar compares with the Dapol one, the thick paint used on current rtr is not an improvement.
 

michael mott

Western Thunderer
Just finished going through from the beginning, very interesting modelling. It is so refreshing to see this type of layout. here in Western Canada where I live, the two major cities have one annual model railway show each, (this year both are cancelled) but most of the layouts are gargantuan affairs with mile long trains creeping around modular layouts, only a few small ones. I really like the way that you took on the challenge of making the layout reflect the weather of the location, often wet.

Michael
 

Jim smith-wright

Western Thunderer
class-27-new-buffers.jpg


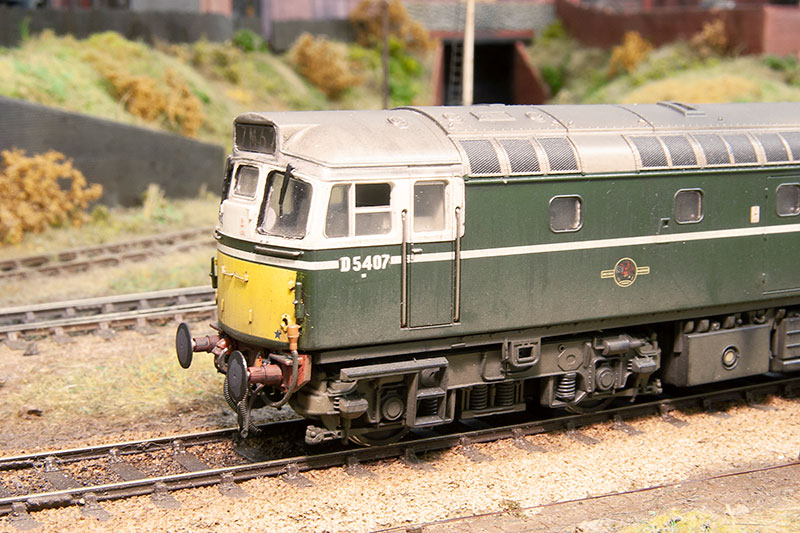
Something that always bugged me about my Heljan class 27 was the somewhat odd buffers. A long time ago i got a set of replacements from Sutton Loco Works and its just one of those things I never quite got around to. Well now that little job can come off the list.

main-station-building-finished.jpg


Finished the roof of my station building - just need a layout to plant it on!

modelu-guttering.jpg


The gutters are a recent introduction from Modelu. I found they don't like superglue at all but stick very nicely with liquid Poly (in this case Tamiya extra thin).

Kirtley-revised-08_2020.jpg


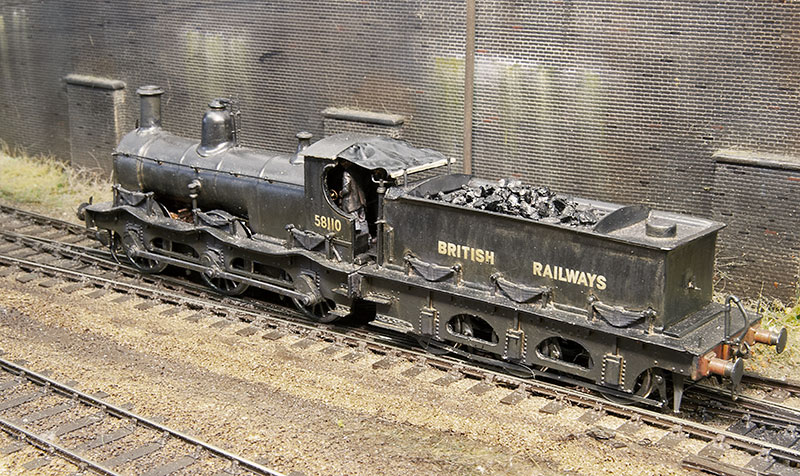
Popped back to my Kirtley to pick up a few things that irked. The loco to tender gap has been tightened up a bit and the rain cover tidied.

Kirtley-crew.jpg


Crew from Modelu

clasp-braked-mineral.jpg


Bit more off a proper project this one. A clasp braked 16 ton mineral from a Parkside kit on a Rumney Models underframe. The only down side to Justin's stuff is it looks better not painted! A few pics below for history.

vac-braked-mineral-raw.jpg


Vac-braked-mineral-underside.jpg
 

Jim smith-wright

Western Thunderer
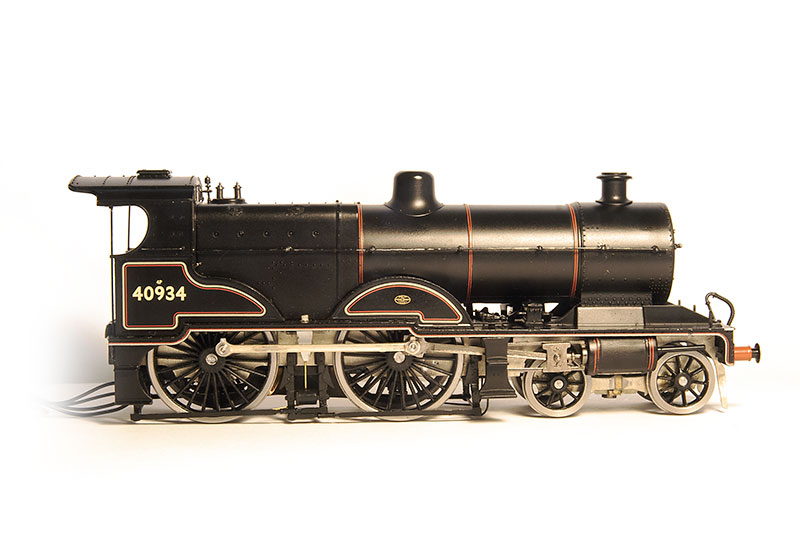
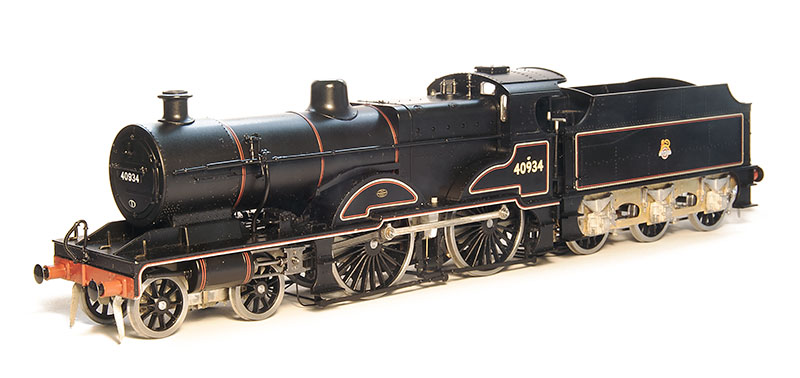
I found a relatively cheap Bachmann Compound recently and thoughts have turned to what to do with it.

Lets start with a little disclaimer. Alan Gibson supplies a set of wheels to convert this loco to P4 and I would have every confidence that just swapping the wheels would get a p4 steam loco up and running pretty quickly. After all a 4-4-0 has got to be about the best case scenario you could really ask for. I didn't try it myself but we've had a wheel swapped GWR Grange (I think) running on Moor Street for years now.

Being relative new to RTR steam locos, this is actually my first RTR tender loco I've had since i was a kid, there's always 2 areas that stand out to me as looking a little weak on pretty much all RTR steam locos. No, not the wheels although big, in your face, wheels do perhaps yield the greatest benefit of swapping to p4 visually. The areas I am talking about are bogies and tenders. More specifically in the case of the latter, tender underframes. They just always seem so, for want of a better description, flat!

The bogie

new-bogie.jpg


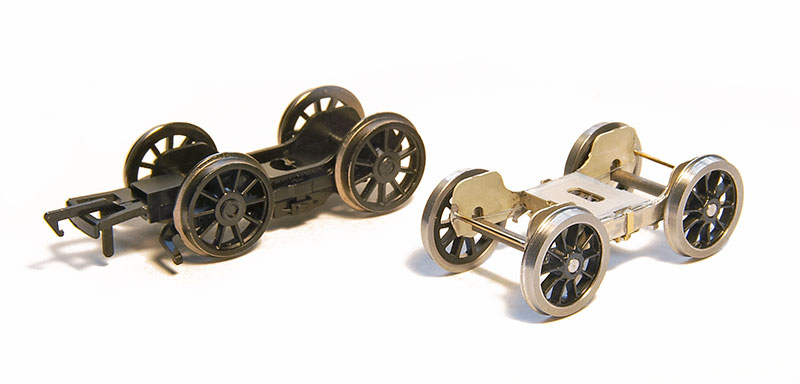
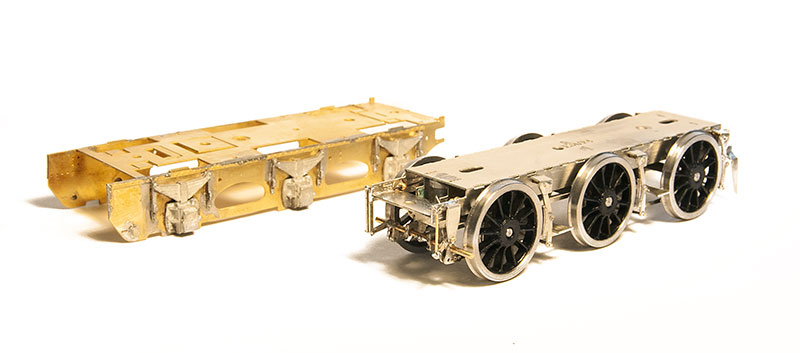
So to the bogie. There was nothing about the supplied RTR one that i wanted to keep so its a straight swap with a Comet example. As supplied they can be built with central springing for side control but no springing on the axles. Setting some simple springs up however couldn't be easier.

The loco chassis</strong

compound-loco-chassis.jpg


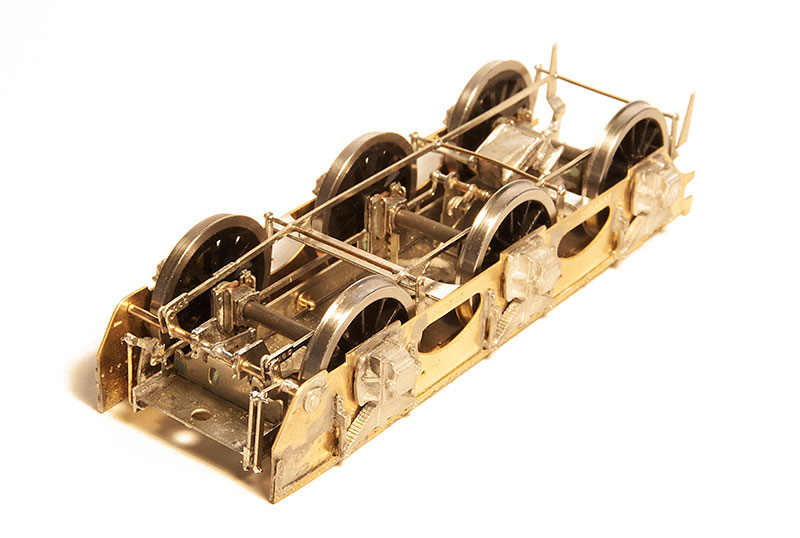
To the loco. I decided I wanted to use some of the Comet chassis bits but not exactly as intended. So the first process was deciding what of the RTR offering I wanted to keep and what I wanted to replace.

I wanted to use the sideframes in a sort of Brassmasters easychas inspired way and keep the original Bachmann drive. Initially I thought the crosshead was just an RTR bodge but they do actually look like that. So that and the cylinders were keepers. I also liked the brake gear so that stayed.

The Comet chassis is not designed for this model and is too long. The wheelbase between the driving wheels and hence the coupling rods are also too long. Comet do specify this is the case on their website. The Bachmann frames are actually the right width at the front of the loco but narrow from the cylinders back to accommodate the 00 wheels. The cylinders look, from underneath that they might fit on little pegs coming down from the footplate. They don't, they slot sideways into the chassis. Its best to pop them off and keep them safe.

I decided to split the chassis behind the forward step to loose some of its extra length. The front part being a relatively easy fit. The rear part needed some trial and error to cut away little sections to get it to fit. The Bachmann model is driven on the front driver ( it looks like the chassis was designed for gears but to both axles but it doesn't have them), so the Comet chassis was carefully titivated so that the rear axles position matched. I wasn't too worried about the front driver as I has decided to keep it rigid.

By leaving the RTR style bearings off the rear driving axle you get a little room for vertical movement. A Brassmasters sprung bearing was modified with a bit of tube (the Bachmann and hence Alan Gibson axles are an odd size). The frames were glued in place using 60 thou plasticard to space them out to something more prototypical. The springs are part of the RTR keeper plate so they are too to far back but I decided to leave them as is.

The brake gear needs a bit of modification to fit over the new frames and it was here that I hit a little unexpected snag. Bachmann use bigger wheels than scale. I wonder if this is because its a development of the national railway museum model which being an earlier example had bigger wheels? Anyway the effect of this is the brake gear sits too low and would likely hit the rails when crossing pointwork. The solution is to take a mm out of the top of the keeper plate so that everything moves up a little.

Valve gear

Lets be honest RTR valve gear is generally a bit weird. Its often both too big and too thin at the same time. The Bachmann coupling rods are about scale height (ignoring the bosses which are huge!!) but being only 1 piece of metal aren't thick enough. So these were discarded and the Comet ones used in their place. Suitability shortened by 2mm.

The connecting rods as supplied are quite good though. Much more meaty and they feature the big square bosses that the Comet ones don't, so hybrid valve gear it is then! The Bachmann crank pins are 2mm wide (really!) so a bit of tube was soldered in to make them fit the Gibson crank pins. While I was at it I made another 2 collars for the trailing driver a the coupling rods on a compound are outside of the connecting rods.

On to the tender

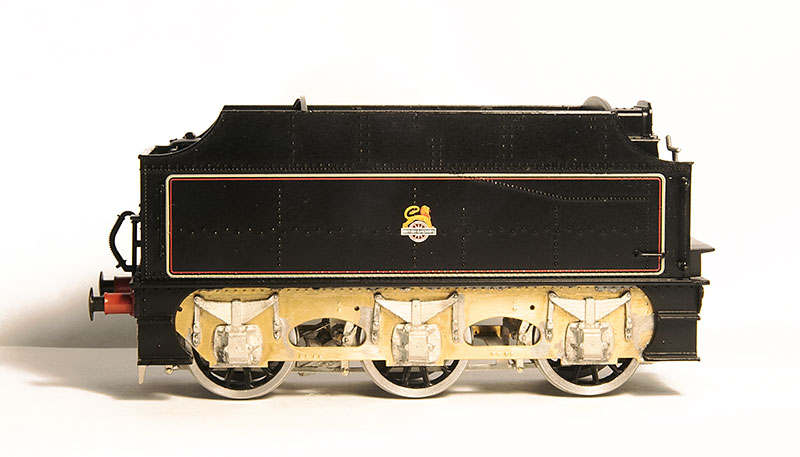
Body great but underframe - ugh!

tender-shiny-bits.jpg


Luckily Lanarkshire models do a replacement chassis kit for a Fowler tender. This was assembled as per the instructions. For the outer frames I was kindly supplied a spare etch by Brassmasters and mated this with some Comet springs and axleboxes. I decided to keep the Bachmann steps as they are moulded as part of the tender body.

tender-chassis-underside.jpg


As is often the case with this sort of stuff, the most pleasing view is the one you wont ever see!
compound-tender-chasssis-sorted.jpg


compound-chassis-sorted.jpg
 

Jim smith-wright

Western Thunderer
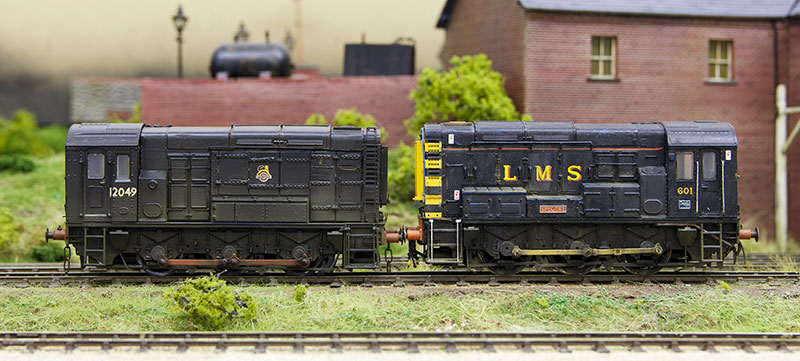
shunters-compared.jpg


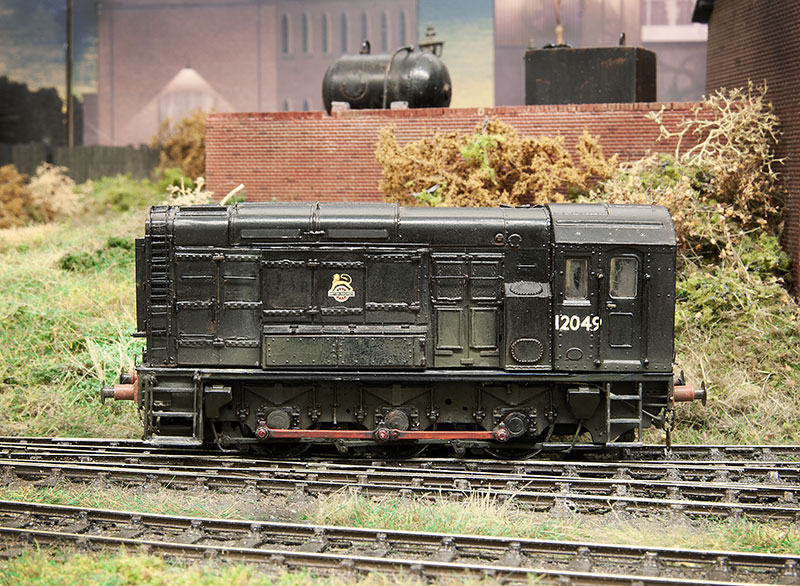
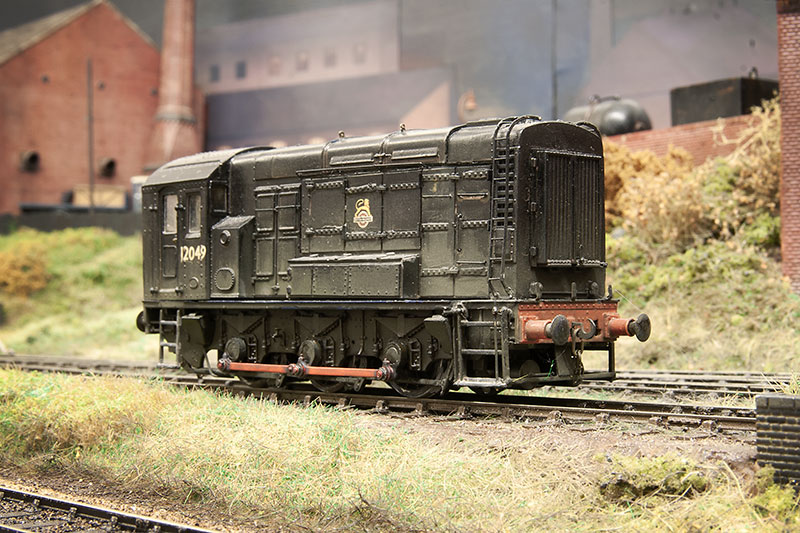
One thing that's always bugged me a little about the above image is the coupling rods on the class 11 (left). I cant remember why but I used the Brassmasters standard rods rather than their finescale ones. Well I finally got around to swapping them over.

class-11-new-rods-2.jpg


class-11-new-rods-1.jpg


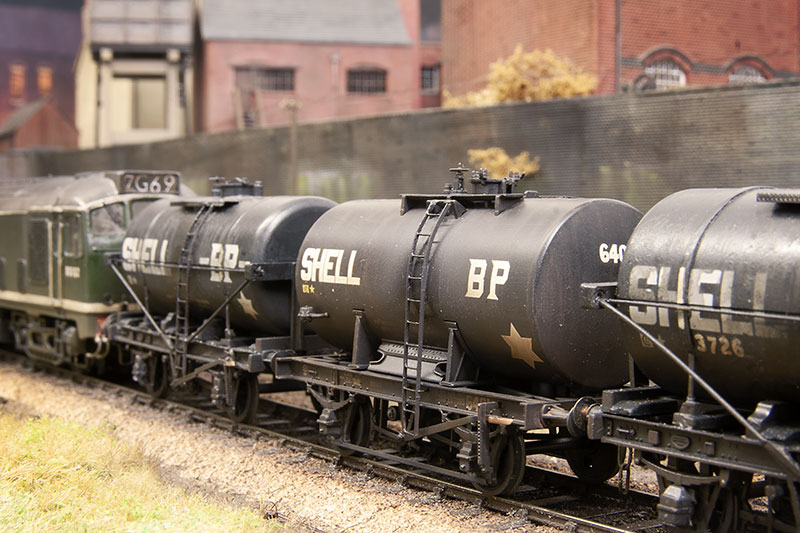
Another little distraction is this Bachmann anchor tank wagon.

anchor-tank.jpg


A simple wheel swap with a new etched discharge wheel and new ladders from Stenson models.

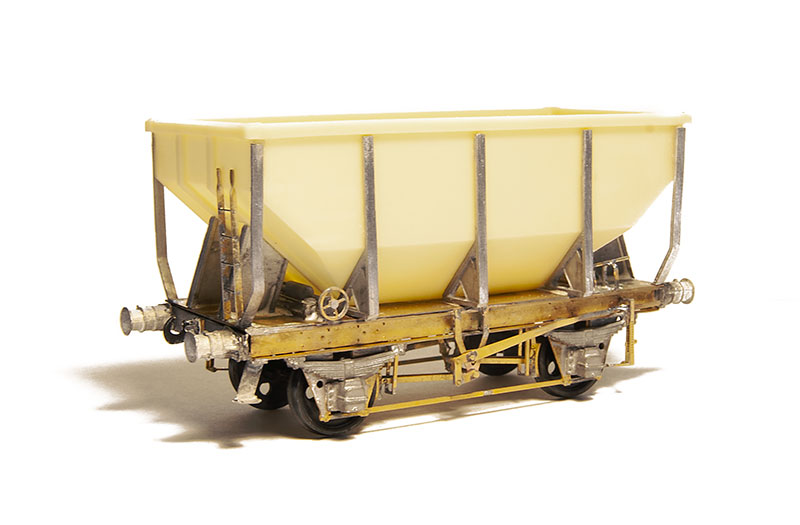
Dia1_163-ore-hopper.jpg


A bit more of a 'proper' project was this diagram 1/163 iron ore hopper from Wizard models. Quite a neat little project this one.

iron-ore-hopper-1.jpg


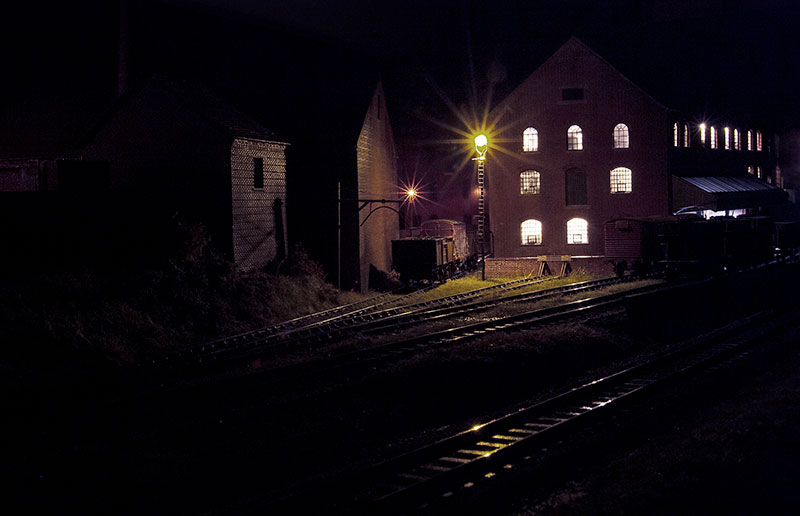
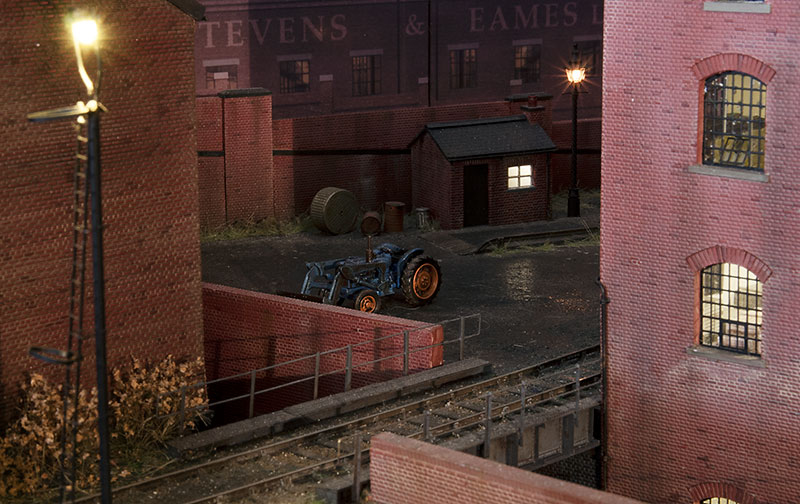
Finally, i don't want to remind anyone but the nights are drawing in again!
dark-sidings.jpg
 

Jim smith-wright

Western Thunderer
So back to the Bachmann compound then.

compound-body-mods.jpg


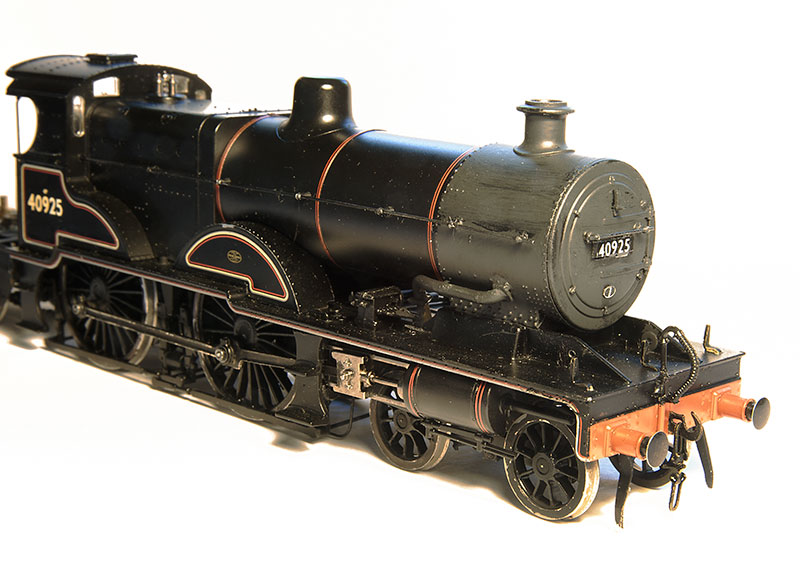
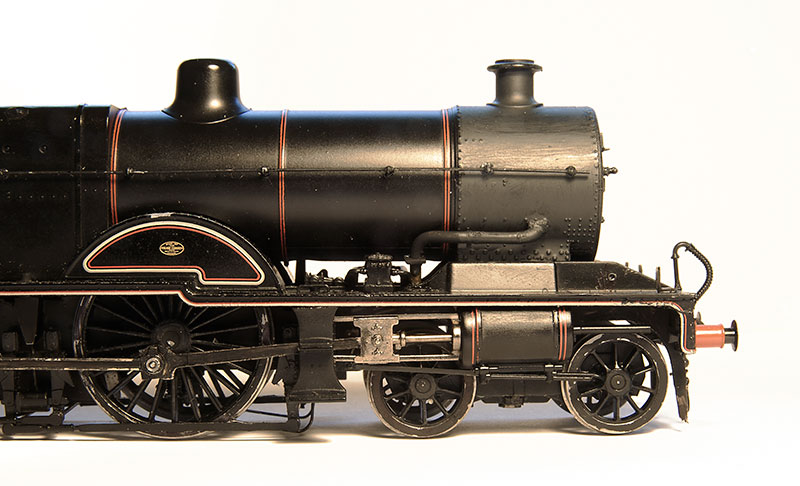
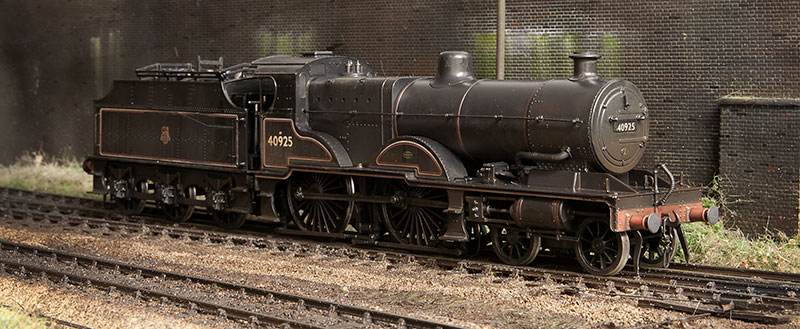
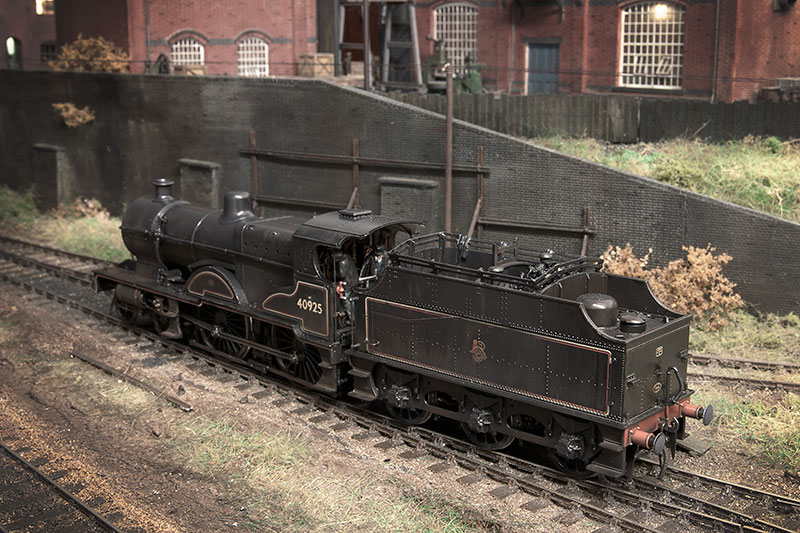
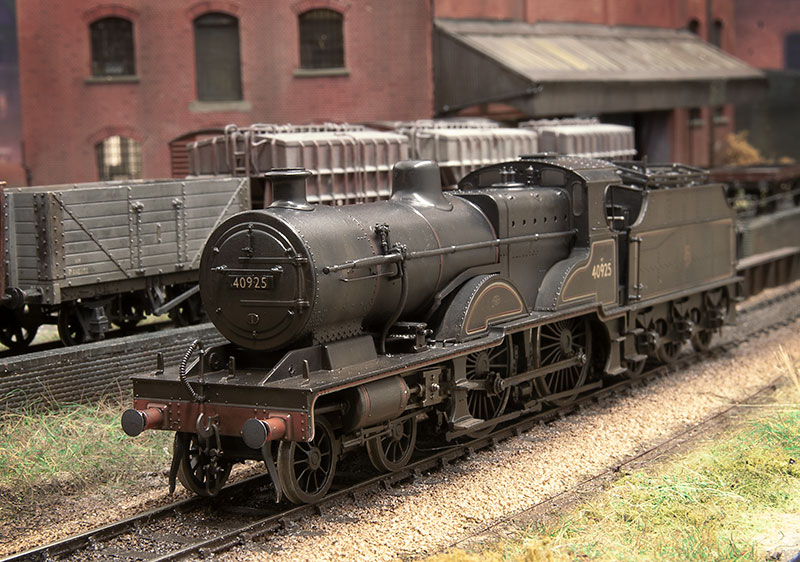
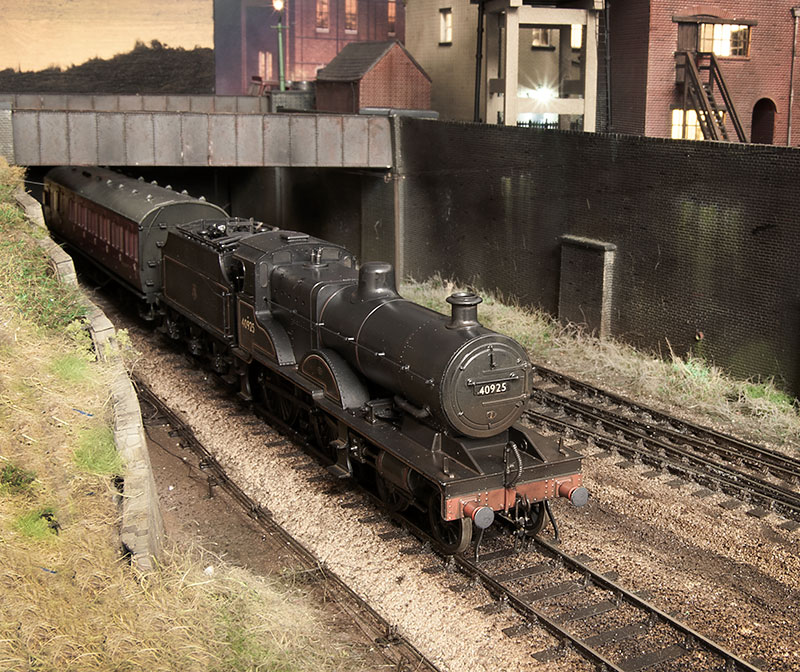
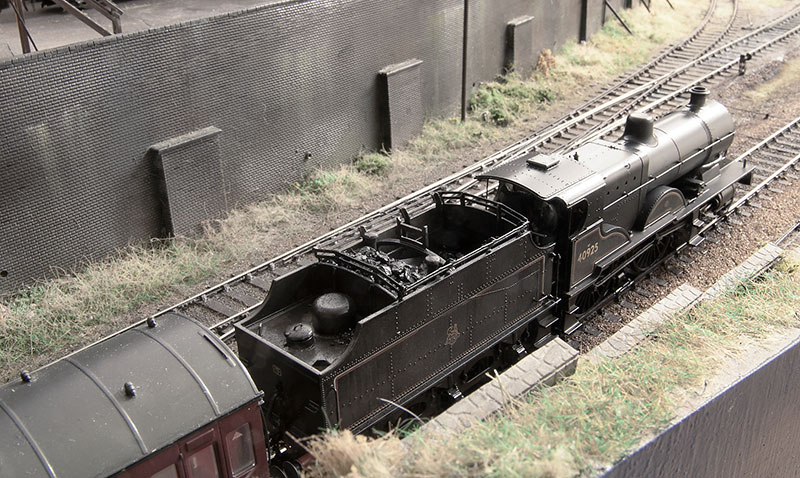
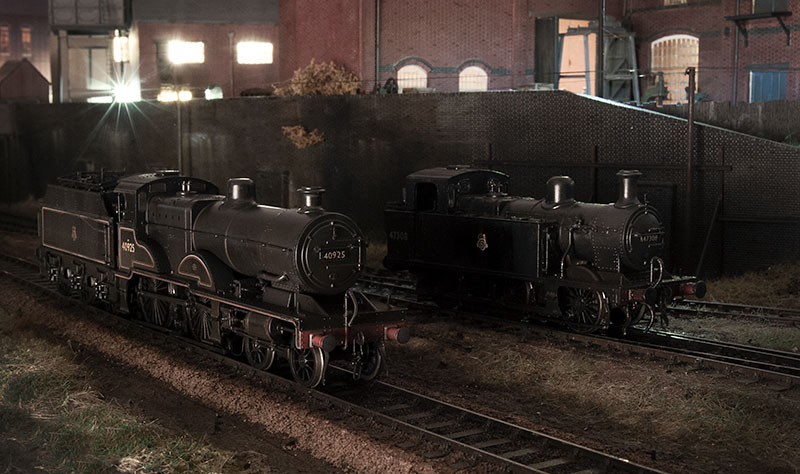
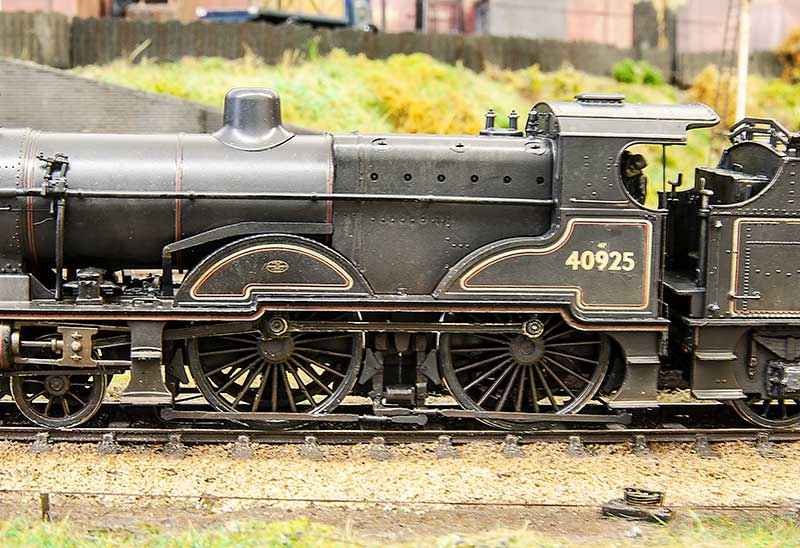
The body looks pretty much spot on to me and the firebox Bachmann had modeled suits the loco I have chosen to do. 40925 was a late survivor and based at Bournville so that's local enough for me. I added the lifting points to the front frames and the large pipe coming from the smokebox. This is an exhaust steam injector and not all compounds had them. As far as I can tell they were only fitted on one side, that being the side opposite the driver (compounds came in both left and right hand drive versions). The smoke box has been painted in Revell no9 and he difference looks a little stark at this stage.

extra-bracket.jpg


The ejectors are the Bachmann ones cu down, again refer to a pictures of your specific loco as these varied a lot. There's a connecting rod that appears to bo from the back of the ejectors to somewhere near the slide bar support bracket. In the pictures that show this well it always looks extremely close to the face of the rear bogie wheel. I decided the best way to replicate this was to mount it on the actual bogie instead.

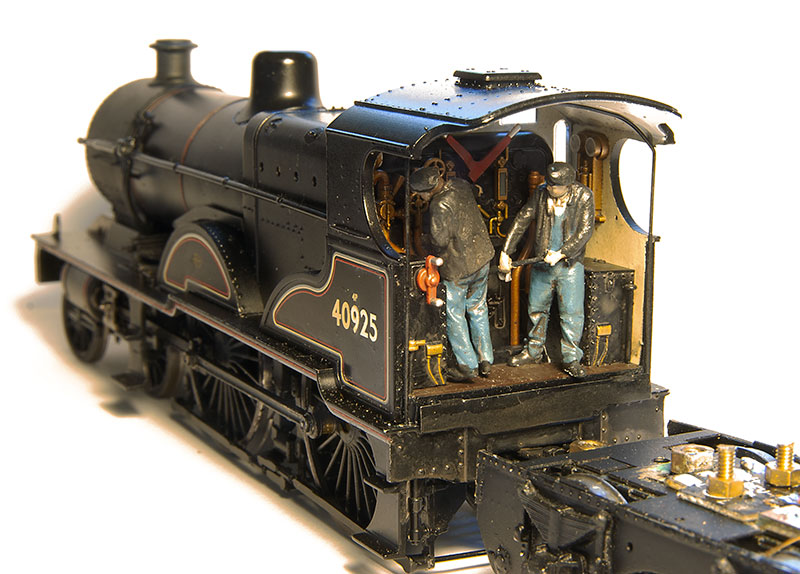
compound-crew.jpg

Crew from Modelu - the driver looks distinctly uncomfortable straining to see. A the compounds had very large cab roofs I haven gone for a rain sheet on this model.

On to the tender

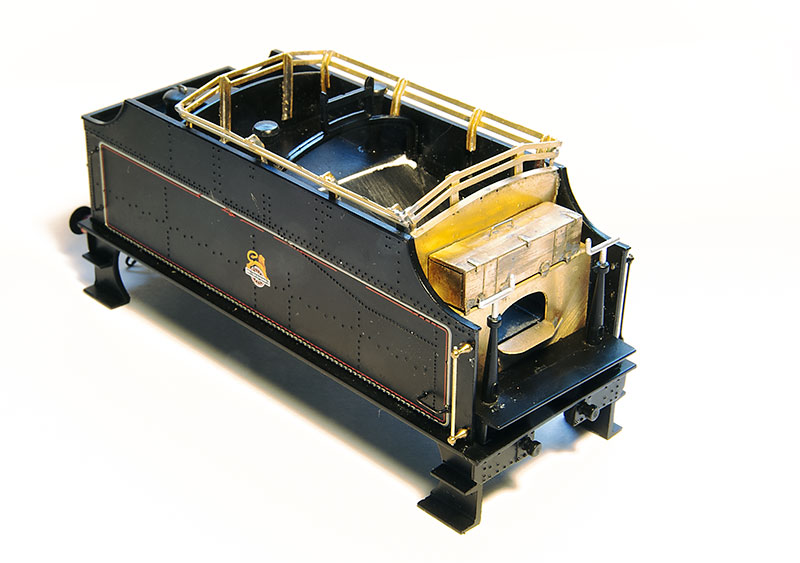
revised-tender-body.jpg


The body Bachmann supplied was a later Fowler type with coal tunnel and doors. Of course the loco I had picked had the earlier type without them. Luckily Brassmasters do a conversion kit and coal rails so that was what I used. The floor in the Bachmann model is flat fo i knocked up the coal chute from plasticard. Incidentally the supplied handrails are absolutely fine and don't need replacing. They had to be on the one side for no other reason than i mangled it!

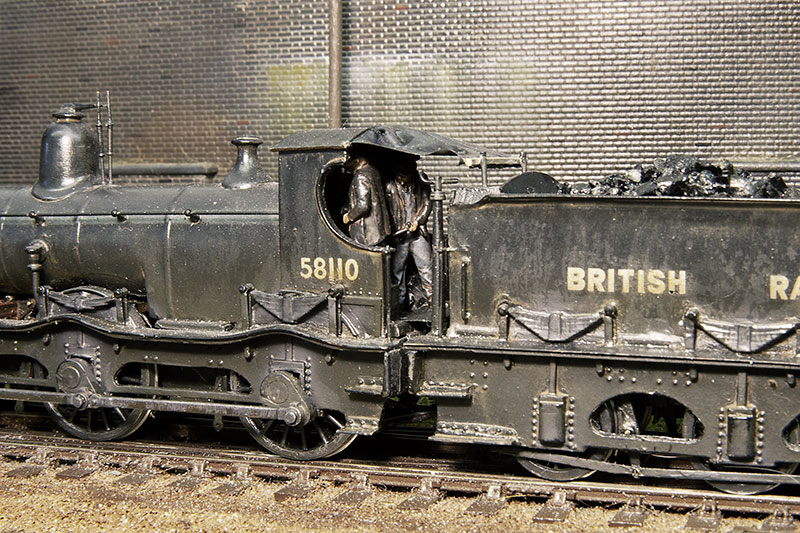
So the model has been weathered (to look tired but not scrap line) and aside from the wheel balance weights I can call this one done.

compound-@-BR-sept-2020e.jpg

compound-@-BR-sept-2020c.jpg

compound-@-BR-sept-2020d.jpg

compound-@-BR-sept-2020a.jpg

compound-@-BR-sept-2020f.jpg

compound-and-jinty-@BR.jpg
 

Overseer

Western Thunderer
Brakes? P4 wheels look great but the loco brakes being so far from where they need to be lets down the overall look of all the other improvements, IMO.
 

Jim smith-wright

Western Thunderer
I see what you mean. I’ve still got the comet bits. I’ll have a look if selective swapping of some parts will help. TBH the pull rods are a a smidge too wide as is and are cleaning the paint off the rear drivers anyway
 

Gerry Beale

Western Thunderer
I do like that Compound! There is something about all these old pre-grouping engines nearing the end of their days that makes them very appealing modelling subjects. A prefect shed mate for your Kirtley Goods!

Gerry
 
Top