Amanda's Workshop: Scratchbuilding Toward A Layout

Giles

Western Thunderer
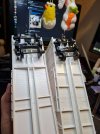
The nice photo above of laser cut rods is worthy of note because - not only does it show a nice job - but it shows the start and stop of the cut off the main part, which enables a clean cut and Kerf all around, instead of the usual indentation to the profile uou get when the cut starts on the job itself.

SCISS was certainly a good company for water-jet, they're owned by railway enthusiasts (coincidentally). I had some 16mm frames and motion cut by them years ago, and very nice too......
LASER can harden the edge of steel profiles, which takes its toll on your files etc.... on bigger stuff (non railway related) we would dress edges down with a flap wheel in a grinder to clean the job up.
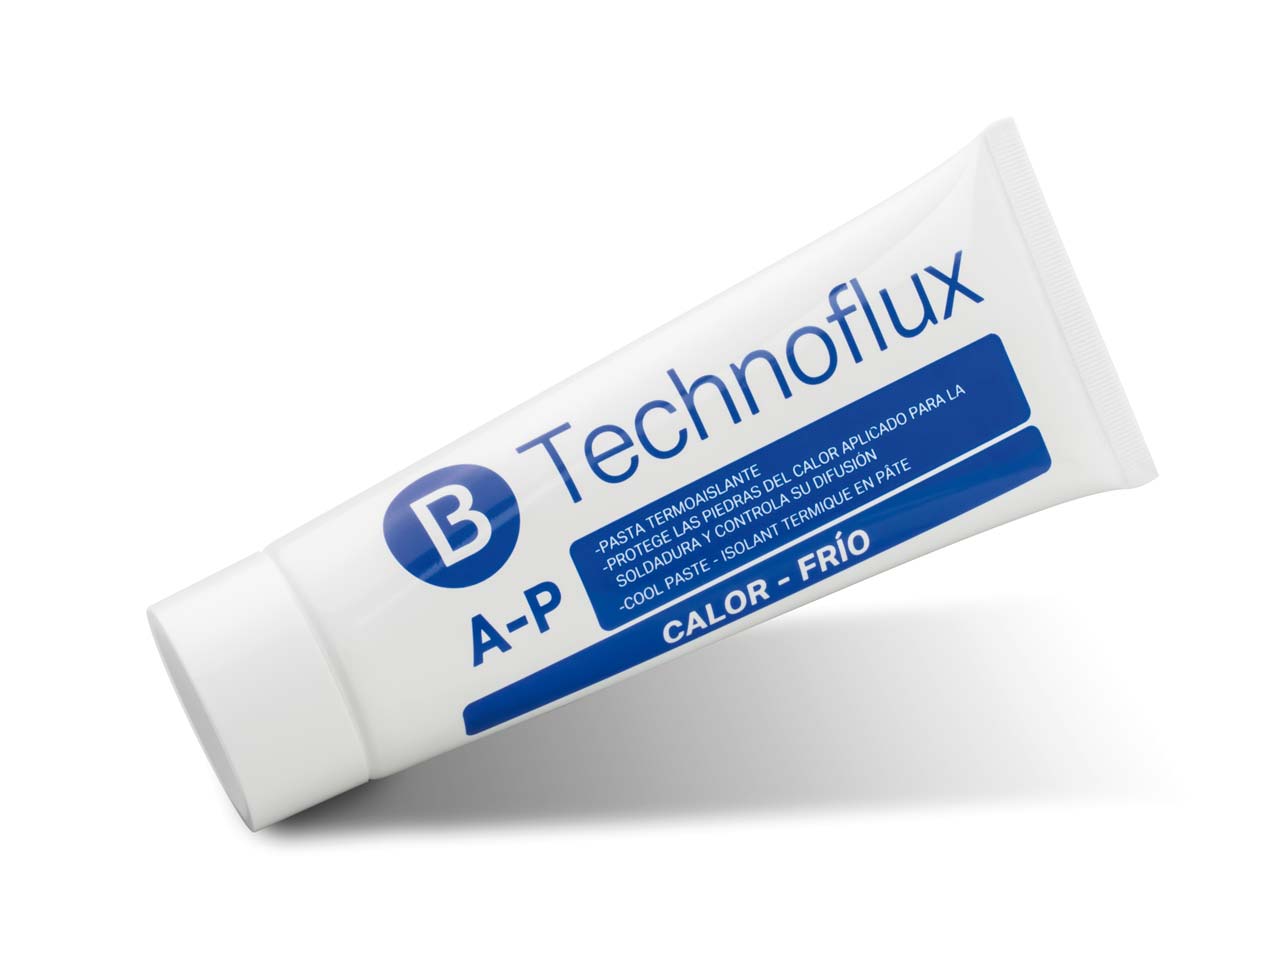
If soldering, use Cool Paste to stop previous joints from remelting. It's remarkably effective, verging on magic.
 

PhilH

Western Thunderer
LASER can harden the edge of steel profiles, which takes its toll on your files etc.... on bigger stuff (non railway related) we would dress edges down with a flap wheel in a grinder to clean the job up.

The laser cut edge did require some 'fettling', but I didn't have any problems due to hardening of the steel. I allowed an extra 0.2mm all round but found 0.1mm extra would have been sufficient to get an acceptably smooth surface.
 

Lyndhurstman

Western Thunderer
I don’t fancy an assembly. You could do it with an RSU, I guess, but cut from the solid would be my preference.

I have a link to a company that laser cuts steel, someone on here pointed it out, I’ve not had the opportunity to get a job priced up yet but it sounds interesting


I’m planning on getting them to do the valve gear for my Garratt, assuming the price is not ludicrous. I presume a set of bar frames would be child’s play assuming you can generate good 2D CAD. And they could be 2mm thick too.

atb
Simon

Indeed. I would have thought this need for localised heat would be right up an RSU's street. However, cutting from solid would at least give you control over the hornguides - and their relationship to each other - that building with bar couldn't. guarantee. At least not if I did it :)

Cheers

Jan
 

WM183

Western Thunderer
I love all the discussion in this thread. I've learned so much from you guys. Please keep sharing ideas and insights; there's no "derailing" to be had here, as long as we talk trains...stuffs.

I am interested in the era from 1920 to 1925 or so; this is when the Mikado and Pacific started to lose their status as the top of the pack for their roles, and also when harder to model features like corrugated ends, etc., became very commonplace on freight cars. I want to build a small, urban dock layout cameo - no more than a glimpse between a couple eastern US red-brick buildings to an alley with a couple boxcars being bothered by said H6 engine. For that, smaller cars and small engines (This H6 being the biggest planned!) are the order of the day.

Thankfully, freight cars are 1) way easier to build, 2) have a ton of available information. Both New York Central and Pennsylvania began to experiment with steel underframes for their boxcars relatively early; PRR in 1903 or so, and NYC only a couple years later. Eventually both companies would roster huge numbers of these cars; over 30,000 PRR "XL" type cars, and over 20,000 NYC "Standard Steel Underframe" cars by 1920. They would be seen in any train or at any dock in the Northeastern US, so... we'll also build one of each of these. Both are wooden sheathed cars, and thus spare us the agony of zillions of rivets, too.

9NTwrpA.png

UdLuAyE.png

I have GAs for the ends and many details too, and these drawings are plenty to build a very accurate model from. Both are small - for US freight cars, anyway - and should pair nicely with the USRA single sheath car and the PRR X29 car I have already built, though I may rebuild this one as an X25 - the X29 is juuust coming out of the shops in 1925. Other than wire details, ladders, and so on, these will be completely of styrene, with only trucks and couplers (I use Kadee 745s) needing to be bought.
 

Attachments

  • NYC Standard Box GA.png
    NYC Standard Box GA.png
    2.8 MB · Views: 1
  • PRR XL Box.png
    PRR XL Box.png
    2.7 MB · Views: 1

Sheffield

Active Member
When I made a bar framed Pacific recently I used 3mm square section brass tube, soldered up on a jig from individual pieces. I had no trouble soldering the joints at all.
 

WM183

Western Thunderer
Hi all.

I started on the floor of the NYC boxcar today. The floor and the structural elements of the car I build from .060 styrene, as it is plenty stiff and strong. The floor was cut to shape, scribed and marked for the 8 longitudinal timbers as well as the floorboards, and the headstocks made. I now must wait for some styrene 2mm x 5mm strip - I thought I could just cut it from a sheet, but it tends to get very curly and warped when cutting slices that thin. Oh well - it'll be here in a couple days!

I usually do complete underframes - the cars are big enough that they invite that level of examination - and the two cars I have finished (Well, 95%... need a few brake bits yet, paint, and transfers) show how I tend to do it.
 

Attachments

  • NYC Truss Rod Box Floor.jpg
    NYC Truss Rod Box Floor.jpg
    137.1 KB · Views: 36
  • Underframes 1.jpg
    Underframes 1.jpg
    111.4 KB · Views: 36

WM183

Western Thunderer
I built the body shell today from .060 styrene. This method makes a very nice, strong body, that leaves loads of room for extra weight. The body sheeting will be applied to the outside of this, and the floor will fit up inside the body, with the inner shell resting on the floor. This is a nice method that I've used for my previous builds, and I am always happy to see the car start to take shape. The screws that hold the couplers and coupler boxes in place also hold the floor and body together, enabling the car to be easily disassembled if required.

vHXntWf.jpg

Next begins the most tedious part of a wooden car; scribing the planks into the layers of .020 styrene that will sheath the body. The end result is worth it, but it is definitely tedious!
 

Attachments

  • Boxcar box car box thing.jpg
    Boxcar box car box thing.jpg
    278.3 KB · Views: 2

michael mott

Western Thunderer
I am wondering what you see as the advantage of scribing .020 styrene v’s scribing.060 and not having to ad a layer?
Michael
 
  • Like
Reactions: AJC

AJC

Western Thunderer
I am wondering what you see as the advantage of scribing .020 styrene v’s scribing.060 and not having to ad a layer?
Michael

I was wondering the same. For something with inset detail then, of course, but something like this doesn’t have those features so far as I can see?

Adam
 

WM183

Western Thunderer
Hi guys.
The 2-layer construction is necessary to have floor fit "inside" the body of a wood sided car. Wooden body siding (and often metal) will extend to the lower edge of the side sills. If I want the cars to be accurate and easy to disassemble, this method works best. It's also much easier to accurately scribe, cut, and fit the thinner material - for me, anyways. If I were building a car like a gondola where the frame was not hidden behind the side sheeting and had no need to ever come apart, I'd likely just scribe the 1 layer.
 

WM183

Western Thunderer
While I await a styrene shipment, I thought I'd start on a task I have been putting off; adding rivets to the 2 cars already constructed. This car is a "USRA Single-Sheathed Boxcar" of which 25,000 were built under USRA control, and many thousands of copies afterwards. This one will be painted and lettered for the Erie Railroad, as they received several thousand and I don't want *too many* PRR cars just yet. The rivets are just teeny cubes of .010 styrene, glued in place carefully with the aid of the tip of a Swann Morton no 10A Blade:

XA9zFw7.jpg

Yay! 1/2 of 1 side down, a load more and both ends to go!
 

Attachments

  • Rivets USRA SS Box.jpg
    Rivets USRA SS Box.jpg
    297.3 KB · Views: 19

76043

Western Thunderer
Wow, really impressed with the quality of your work. I was building a lowmac in styrene that has lots of rivets, but couldn't think of an efficient way of doing it. Apparently in the US there are stick on rivets, but there's too many types and I just got confused about what type to buy for a GER lowmac. Maybe I'll try this instead.

Styrene is my bag, not brass.
Tony
 

WM183

Western Thunderer
Thanks for the compliments folks. I really, really do appreciate them!

Archer used to make rivet transfers, but sadly, I believe they have gone out of business. I am trying to scratch and bash as much as I can for this project - couplers and trucks are the only things I cannot make at home - yet - and the couplers can at least be purchased in the EU. So, teeny bits of .010 plasticard it is, for now!

I love styrene too! No heat, no noise, no burns - just a sharp knife, some cement, and a cutting mat.
 
Top