Rebuilt Crosti 9f

Ian@StEnochs

Western Thunderer

adrian

Flying Squad
Before I start with the fibreglass pencil cleaning session tomorrow, does anyone use anything else to clean this sort of thing/mess up? I use wire wool and various grades of wet & dry paper as well, but wonder if there is something else I'm missing.
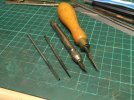
Apologies for being late to the party again - I can't abide fibreglass pencils so I don't use them at all. I have a mixture of scrapers and old needle files ground smooth. The wedge shaped one is perfect for flat surfaces. I rotate as required, also using a scalpel and steel burnishing brush (top right) - also garryflex blocks.

scrapers - 1.jpeg
 

spikey faz

Western Thunderer
I thought I'd best get back to the tender.
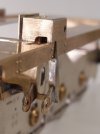
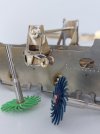
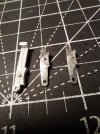
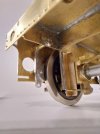
I've tried to use the supplied parts where possible, but have upgraded some to make visual improvements. As the brakes are to some extent hidden away, I've compromised and used the supplied brake shoes albeit with much modified mountings.

20220329_182853.jpg

20220329_202047.jpg
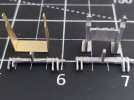
Whilst the supplied brake cross-shaft support bracket appears dimensionally correct, the Ragstone one is more detailed. The Ragstone cross-shaft is also a better casting.

20220329_145918.jpg
These parts (which came with the kit) will however be used, once I've hammered 'em into shape.

20220329_201803.jpg

Mike
 

Tim Hale

Western Thunderer
My apologies, this is directed at Adrian, I also abhor glass fibre pencil brushes but have not found a more suitable device for cleaning 4mm wheel tyres.

An alternative is eagerly sought - thanks for all suggestions

BR
 

adrian

Flying Squad
My apologies, this is directed at Adrian, I also abhor glass fibre pencil brushes but have not found a more suitable device for cleaning 4mm wheel tyres.

An alternative is eagerly sought - thanks for all suggestions

BR
I use either the little flappy wheels posted earlier or a garryflex block sliced to the width of the tyre.
 

Tim Hale

Western Thunderer
Anything to avoid those pieces of glass fibre. I recently stole my wife’s scotchbrite pad and polished some wheel treads, it worked.

It also came in handy preparing the M7 for painting.

BR
 

spikey faz

Western Thunderer
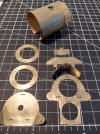
While I continue to chop the tender brake gear about, I thought I'd construct some of the bodywork. The idea being that if I come up against some obstacles in say the valve-gear, a quick glance at the rest of the loco that I've built will inspire me to keep going. Well, that's the theory.

20220331_184306.jpg
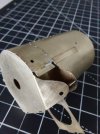
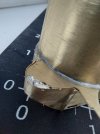
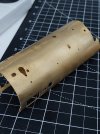
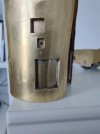
20220401_102154.jpgSmokebox comes ready-rolled. I just had to do some riveting.
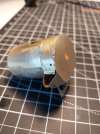
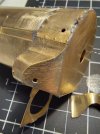
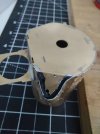
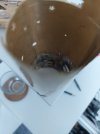
Then soldered it all together. I was expecting it to put up a fight, but was relatively drama free.

20220401_172642.jpg
20220401_172743.jpg

Temporarily in place.

20220401_172904.jpg


20220401_173007.jpg


20220401_173347.jpg
Mike
 

spikey faz

Western Thunderer
Some more random pics of my progress. Apologies for jumping about from tender to loco and back again, but I am encountering a few construction issues!

20220403_143755.jpg

20220403_143824.jpg

20220403_151054.jpg

20220403_151904.jpg

I've been doing some work on the boiler. Adding multiple layers internally is 'interesting '.

20220403_155232.jpg

20220404_110850.jpg

20220405_141933.jpg

20220405_141958.jpg

20220405_142006.jpg

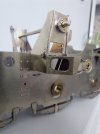
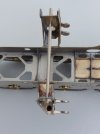
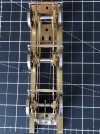
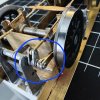
I had a bit of a tidy up on the tender brakes. I've had to do a cut & shut job on the pull rods to get round the horn guides. Bodge-tastic!
20220405_141708.jpg

I also had a riveting session on some of the tender panels. Spot the error where the rivets don't seem to line up properly! :rant:I should have checked as it turns out the etched dimples are not in the right place. Oh , and I think the holes for the ladder might be on the wrong side!

20220406_085514.jpg

20220406_085550.jpg
Mike
 
Top