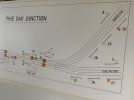
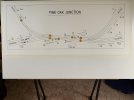
Drawing of the SIGNAL BOX DIAGRAM
David Waite
Western Thunderer
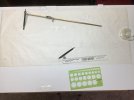
Now that the Compass had been made I could continue on with the Diagram.
The reason for the use of the Tracing paper for the trial sketch was only because it is easy to remove mistakes with an Eraser so nothing to do with tracing. The Compass worked a treat, it took many attempts to get the sketch correct as allowance had to be made for the the Signals to fit as these are 46mm long with a spacing of 25mm and so both junctions were moved a few times as well as the alignment of the main lines and naturally the radius of all the tracks changed slightly each time for both, as each radius was done I circled the Needle hole with a pencil and wrote the radius next to it.
When I was finally happy with the track work I cut up pieces of thick card and taped it over where the Needle point holes were, I then went over each radius again with the Compass and once correct I pushed the Needle into the card leaving a new Needle point hole, now that I knew these card pieces worked and maintained the correct position and without the Needle point going through them I removed these small pieces of card and replaced them with better ones, some of them I replaced with longer ones these were taped firmly to the drawing board away from the tracing paper and laid gently across the top of Tracing paper with a new Needle point hole placed in them at the correct position.
The idea behind this is so I could un tape the Tracing paper and slide it out from under the card and replace it with the Digram paper by sliding this back under the card pieces.
The other reason for the card was to prevent any holes being put into the final Diagram drawing
This shows the completed sketch in pencil [0.3mm] and the test pieces of card for the pivot positions of the Compass
The paper that I used for the Diagram is made in France by ARCHES its a Hot Pressed 360 gram Acid free Cotton Fibre paper, I chose this thick paper to help prevent any buckling of the Diagram from the likes of moisture.
I didn't take any photos of the Diagram with only the pencil lines as they didn't show up very well on the white paper.
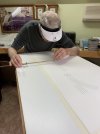
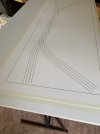
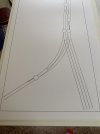
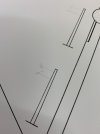
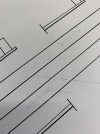
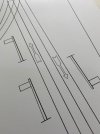
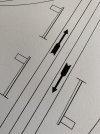
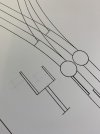
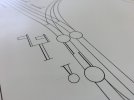
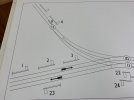
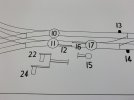
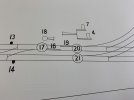
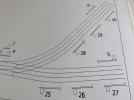
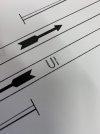
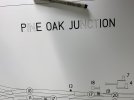
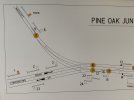
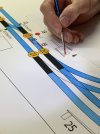
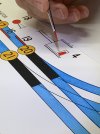
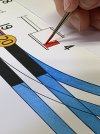
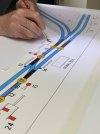
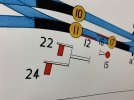
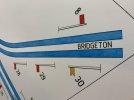
In this photo I am slowly Inking over each pencil line with the permanent Ink pen trying to keep my shaky arms still, this kept my nerves on edge I was glad when it was done, in this photo most of the card pieces have been removed as the lines were done and they were no longer needed.
First major stage done.
The reason for the use of the Tracing paper for the trial sketch was only because it is easy to remove mistakes with an Eraser so nothing to do with tracing. The Compass worked a treat, it took many attempts to get the sketch correct as allowance had to be made for the the Signals to fit as these are 46mm long with a spacing of 25mm and so both junctions were moved a few times as well as the alignment of the main lines and naturally the radius of all the tracks changed slightly each time for both, as each radius was done I circled the Needle hole with a pencil and wrote the radius next to it.
When I was finally happy with the track work I cut up pieces of thick card and taped it over where the Needle point holes were, I then went over each radius again with the Compass and once correct I pushed the Needle into the card leaving a new Needle point hole, now that I knew these card pieces worked and maintained the correct position and without the Needle point going through them I removed these small pieces of card and replaced them with better ones, some of them I replaced with longer ones these were taped firmly to the drawing board away from the tracing paper and laid gently across the top of Tracing paper with a new Needle point hole placed in them at the correct position.
The idea behind this is so I could un tape the Tracing paper and slide it out from under the card and replace it with the Digram paper by sliding this back under the card pieces.
The other reason for the card was to prevent any holes being put into the final Diagram drawing
This shows the completed sketch in pencil [0.3mm] and the test pieces of card for the pivot positions of the Compass

The paper that I used for the Diagram is made in France by ARCHES its a Hot Pressed 360 gram Acid free Cotton Fibre paper, I chose this thick paper to help prevent any buckling of the Diagram from the likes of moisture.
I didn't take any photos of the Diagram with only the pencil lines as they didn't show up very well on the white paper.
In this photo I am slowly Inking over each pencil line with the permanent Ink pen trying to keep my shaky arms still, this kept my nerves on edge I was glad when it was done, in this photo most of the card pieces have been removed as the lines were done and they were no longer needed.

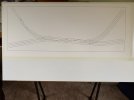
First major stage done.





 )
)
