V2 4 wheel parcel van1/32 and G3

michael mott

Western Thunderer
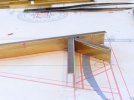
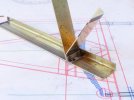
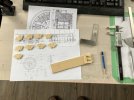
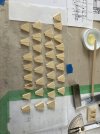
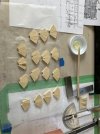
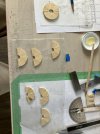
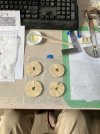
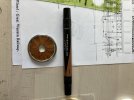
Having realized that I had not assembled the triple joint properly, a second test has been completed, I am now even more impressed by those of you who put together 7mm and smaller kits made of brass. I have a completely new regard for the old watchmakers of pocket watches I cannot eve imagine the skills needed to make a 21 jeweled ladies wrist watch.
The second attempt is much closer to what I am hoping to achieve, But I really need to sort out the sequence.
IMG_5592x1024.jpg

IMG_5588x1024.jpg

IMG_5590x1024.jpg

IMG_5589x1024.jpg

These were all done with the tiny copper nails, .026" in diameter.

Michael
 

Lyndhurstman

Western Thunderer
Very wonderful, Michael. I do like your approach to fidelity where possible. My LNER Y4 build is currently on hold because I need to source/make some small rivets for the Walschaerts motion.

Cheers

Jan
 

michael mott

Western Thunderer
Hello Jan thank you for your comment, fidelity is a bit of a conundrum in our hobby, one of the great inspirations for me was reading about the locomotive built by Dr Bradbury Winter called Como.
We have to make all sorts of compromises in order to satisfy our own expectations when building a model. For me the challenge is stretching my skills and abilities.
Michael
 

michael mott

Western Thunderer
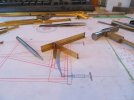
Not much to report. I am plodding on with the minutiae of the drawing of the frame and brake system elements. One step forward and two steps back seems to be the order of the day.
Michael
 

michael mott

Western Thunderer
Michael
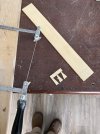
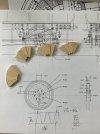
I’m always amazed at the high standard of your work. Tell me, how do you manage to cut those segments so accurately?

Jon
Hi Jon, I have been using a jewelers saw for so long I can’t really explain it in words but I can do a demonstration so that is what I will do. The wood does cut nicely though.
Michael
 

Jon Nazareth

Western Thunderer
As promised a short video on cutting the wedges

And the second part My video making definitely needs improving.

Michael
Michael
I have a jewellers saw that I use for cutting out all sorts of things. However, because I can’t seem to saw straight or curved pieces, I have to allow enough to clean back. You make it look so easy. Thank you for taking the time to film your demonstration.

Jon
 

michael mott

Western Thunderer
Jon Thanks it is not always easy it very much depends on the material. having the right blade also helps. the blade I used for this job was a # 1/0 they do go down to a #8/0 which is the finest that I have got they are Swiss blades and come in packs of 12.

Michael
 

simond

Western Thunderer
Some blades will not cut straight. Doesn't seem to be a question of cost or where bought, it’s just some blades. They need throwing away.
 

michael mott

Western Thunderer
Some blades will not cut straight. Doesn't seem to be a question of cost or where bought, it’s just some blades. They need throwing away.
Simon, I agree with you on that score, one in a while a batch just does not work well, and yes I do just that throw them away.

Michael
 

michael mott

Western Thunderer
One thing I will say is that I don't concentrate on the point where the blade is but at the end point of where I am going and that seems to translate into the micro muscle movements that we subconsciously impart onto the saw handle, to help cut straight.

Michael
 

michael mott

Western Thunderer
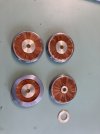
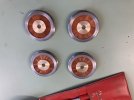
After gluing the wood disks I made waste chuck out of a disk of 1/2 inch aluminum.
The bored the centers to .5” Next I turned the hubs out of some .875diameter brass and the .044keeper disks.
IMG_2317.jpeg
IMG_2319.jpeg
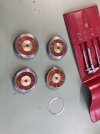
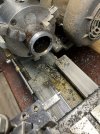
Next a chunk of 2” thick wall steel tube was used to make the .020 steel keeper rings
IMG_2320.jpeg
The tube was parted off with a small tool steel parting tool after radiusing the inside edge.

IMG_2321.jpeg
Next task will be to drill all the holes for the rivets.
Michael
 

Ian@StEnochs

Western Thunderer
Excellent work Michael but I don’t envy you having to mark out and drill those rings for fixings.

Some time ago I made a couple of similar rings with equally spaced bolts to detail a kit cylinder front. For that I drilled the tube using a rotary table and pillar drill and then parted off individual rings.

Ian.
 
Top