2mm Matt's 2mm tribulations.

mermaids done

Matt.S.

Western Thunderer
Couple of distractions recently including some great canoeing...
IMG-20231129-WA0023.jpg
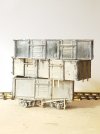
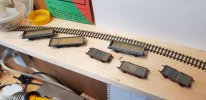
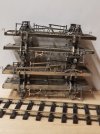
Finally however, these four are wrapped up - excluding buffers which are on order prior to paint.
20231203_230853.jpg
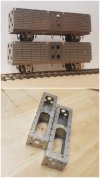
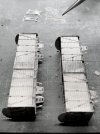
Which gives me a nice rake of ex GW mermaids (I'll be doing some clasp brake BR ones in time...)
20231203_230809.jpg
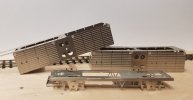
For my next trick I've elected to start a BR and LMS pair of D2026 CCTs.
20231203_230825.jpg
 
Last edited:
D2026 LMS CCT

Matt.S.

Western Thunderer
The Harris kits often require good attention to the basics and a methodical approach, unlike many of the assoc kits where one may be a little more creative.

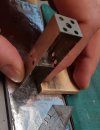
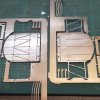
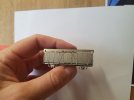
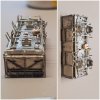
The CCT is no exception. Prior to folding, all folds are scored to assist with a sharp edge. The body is then folded up with care to ensure the bottom and sides are truly square around the windows in the floor. The partition fitted, then partition and ends soldered.

At this point the body top must sit on the partition, flush with the sides and inside the ends which requires the ends to be soldered perfectly flush and the tiniest etch cusp scraped back.

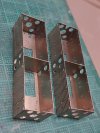
These two are pending fettling - I was a touch distracted by the IMechE president discussing HSTs on Zoom.

20231205_222924.jpg20231205_223004.jpg20231205_223022.jpg
 
Last edited:

Matt.S.

Western Thunderer
20231208_210404.jpg
Sadly the beach weather didn't last, a cold front heading north caught us.

20231210_155453.jpg
The BR build ply ends were easy enough - plenty of tinning.
20231210_155420.jpg
The planked LMS ends however require reversing the steelwork, using the marks in the etch as a guide to location.
20231210_170303.jpg
Which went pretty well, ends sweated on and I decided to put the iron away for my own good.
 

Matt.S.

Western Thunderer
Thanks gents, probably fair to say cleaning up a little etch cusp here and there goes a long way in such a small size. The Harris mineral bodies almost click together if you get it right - the kits are pretty well thought out, the designer's interest in building the things shines through.
 

Matt.S.

Western Thunderer
Mojo's taken a battering recently - seems to be one step forward and a couple back when I sit down to model.

Still, framing on, everything off, eventually everything stayed on.

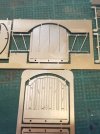
Doors sweated on, wonky ones redone a few times, then onto the door edge strips with hinges to fold and sweat onto the door panels.
20231224_162258.jpg

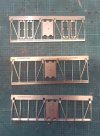
Next up fettling forty framing parts - this might call for something stronger than tea!
20231224_162152.jpg
 

Matt.S.

Western Thunderer
And a short walk to the world's southernmost railway tunnel... a tim tam to anyone other than Brian M who knows where it is...Screenshot_20240127-210551_Gallery.jpg
 
MINFIT

Matt.S.

Western Thunderer
Well, it's been a while... finally scraped up enough mojo to get out to the shed after a solid two months of real trains.

Cautious that I didn't want to mess up the cct framing I fabricated two missing ribs for the plate started last year and hit it with a quick primer coat.
20240304_090844.jpg

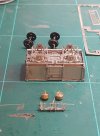
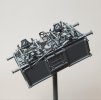
Mojo rising I decoded it was time to face a Harris mineral... as a minfit! Photos scrutinised, two hours later we have most of the fiddly bits ready to drop in place next session...
20240304_090825.jpg
 

Matt.S.

Western Thunderer
Thanks Jan - ironically this variation was one that I'd convinced myself wasn't for modellers like me, but with a little care it's not really put up much of a fight!
 

Matt.S.

Western Thunderer
Thanks Julian, I still maintain that it's not as hard as it looks!

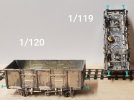
MINFIT ready for the paint shop, I decided to crack on with two MDO wagons. Stephen has helpfully provided bits fo20240317_214521.jpgr diag 1/119 and 1/120 so one of each is in order.

(Yes that wonky bit of framing has been corrected, no of course I didn't notice until putting this up).
 

Matt.S.

Western Thunderer
Once again the last days of summer and a poorly other half put paid to small progress. Good views from Mt Holdsworth though. IMG-20240420-WA0023.jpg
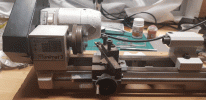
A lathe arrived which should help me be a little more self sufficient over the coming years. 20240319_204628.gif
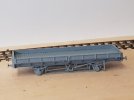
The MINFIT is in the priming pile, the MDVs took a bit of cusp fettling to fit the brake gear but are both on the home straight.
20240504_210510.jpg
Today was rounded off with some more experimenting with the paints that are stocked here. Citadel Tuskgor Fur as faded bauxite and Vallejo paints for planking.
20240504_154829.jpg
Next time, we'll be back in the world of the LMS/BR CCT...
 
Top