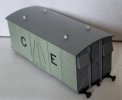
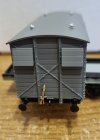
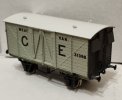
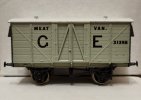
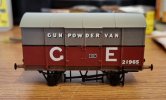
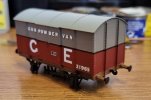
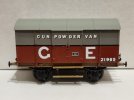
Liver & Fry
Western Thunderer
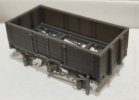
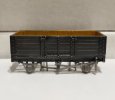
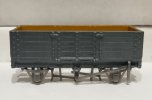
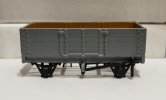
To start things off, here is a wagon build I undertook in January 2023 during some downtime between night shifts.
It is a GER lowmac (later Mac K), using the Dapol lowmac kit as a starting point. The Dapol kit is based on the BR built 'Mac K' lowmacs which themselves were built to a GER design incorporating Diagrams 25/50/75 between 1886 and 1914. This gave me the perfect starting point for a kit bash that would give me another GER wagon.
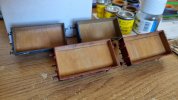
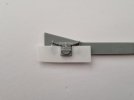
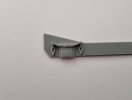
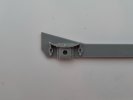
The starting point for this was to prepare the wagon sides; namely removal of the axleboxes and fitting appropriate GER ones. This was done using a dremel and by making a makeshift guard out of plasticard the slot around the axlebox, allowing me to sand back to a level without damaging the rivet detail on the original mould. The moulded bearings were then drilled out to take brass bearings. This process is demonstrated below:
Other erroneous details were also removed as part of the preparation process.
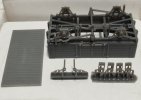
The kit was then built "as intended", following the instructions provided, with the exception of fitting a brass coupling hook and whitemetal buffers that are of a greater quality than those provided by Dapol.
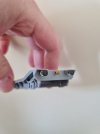
Having built the kit, I then fitted the new axleboxes. These are GER Type E axleboxes salvaged from a spare Oxford Rail GER van chassis.
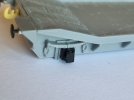
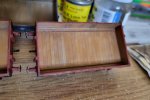
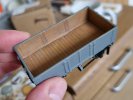
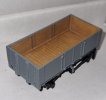
One of the main visual differences between the original GER wagons and the later Mac K's is the orientation of the planks on the deck; on the later wagons, as represented by the kit, these are horizontal but on the GER examples these were longitudinal. To rectify this on the kit, I sanded down the raised moulded details on the deck and used Evergreen 2mm plastic strips (1.5mm for the outer edges), cut to size and laid plank by plank on the deck of the wagon. I then created and fitted some wire tie down loops using a technique I discovered in this handy video:
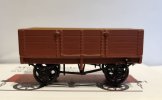
This was the result of those efforts:
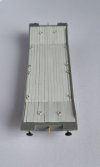
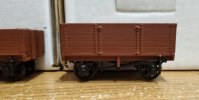
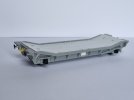
Some final details were added and Alan Gibson wheels were fitted, meaning that the building aspect of the project was now complete:
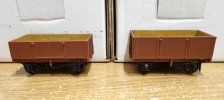
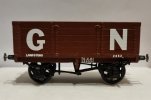
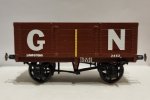
All that was left was to paint and add lettering, using Powsides presfix transfers (a fiddly job for the smaller letters and numbers!):
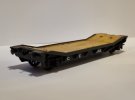
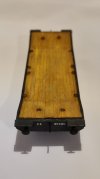
Weight in the form of Liquid Gravity was added underneath, although it is my long term intention to build and add a load, such as a stationary engine, to aid this.
I have to say I'm quite proud of what I achieved! It was my first foray into learning how to paint a realistic wood finish and this is something I've continued to develop and enjoy as the year has progressed (In fact, my current wagon builds, a pair of Jones Highland Railway opens with sheep flakes fitted, were chosen so I had an excuse to paint some more wood!).
Let me know what you think!
- James
It is a GER lowmac (later Mac K), using the Dapol lowmac kit as a starting point. The Dapol kit is based on the BR built 'Mac K' lowmacs which themselves were built to a GER design incorporating Diagrams 25/50/75 between 1886 and 1914. This gave me the perfect starting point for a kit bash that would give me another GER wagon.
The starting point for this was to prepare the wagon sides; namely removal of the axleboxes and fitting appropriate GER ones. This was done using a dremel and by making a makeshift guard out of plasticard the slot around the axlebox, allowing me to sand back to a level without damaging the rivet detail on the original mould. The moulded bearings were then drilled out to take brass bearings. This process is demonstrated below:


Other erroneous details were also removed as part of the preparation process.
The kit was then built "as intended", following the instructions provided, with the exception of fitting a brass coupling hook and whitemetal buffers that are of a greater quality than those provided by Dapol.

Having built the kit, I then fitted the new axleboxes. These are GER Type E axleboxes salvaged from a spare Oxford Rail GER van chassis.

One of the main visual differences between the original GER wagons and the later Mac K's is the orientation of the planks on the deck; on the later wagons, as represented by the kit, these are horizontal but on the GER examples these were longitudinal. To rectify this on the kit, I sanded down the raised moulded details on the deck and used Evergreen 2mm plastic strips (1.5mm for the outer edges), cut to size and laid plank by plank on the deck of the wagon. I then created and fitted some wire tie down loops using a technique I discovered in this handy video:
This was the result of those efforts:

Some final details were added and Alan Gibson wheels were fitted, meaning that the building aspect of the project was now complete:

All that was left was to paint and add lettering, using Powsides presfix transfers (a fiddly job for the smaller letters and numbers!):


Weight in the form of Liquid Gravity was added underneath, although it is my long term intention to build and add a load, such as a stationary engine, to aid this.
I have to say I'm quite proud of what I achieved! It was my first foray into learning how to paint a realistic wood finish and this is something I've continued to develop and enjoy as the year has progressed (In fact, my current wagon builds, a pair of Jones Highland Railway opens with sheep flakes fitted, were chosen so I had an excuse to paint some more wood!).
Let me know what you think!
- James

