Giles' misc. Work bench.

Giles

Western Thunderer
HA..... I haven't got over the last one yet....!!!!!


I've printed up the correct centres for the pony truck. Before cleaning up


2023-01-15_06-46-46


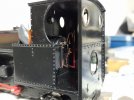
I've used the pony truck pivot stretcher as a foundation for the motor mount (radio control 8mm gearmotor). Build up with epoxy putty, and when dry, the motor is held in with two small blobs of epoxy glue.


2023-01-15_06-47-28


The gearmotor sits just below the cab floor. Also visible is the ball for the pony truck.


2023-01-15_06-47-52


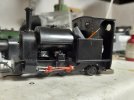
From the side, you can see that the gearmotor isn't very visible.
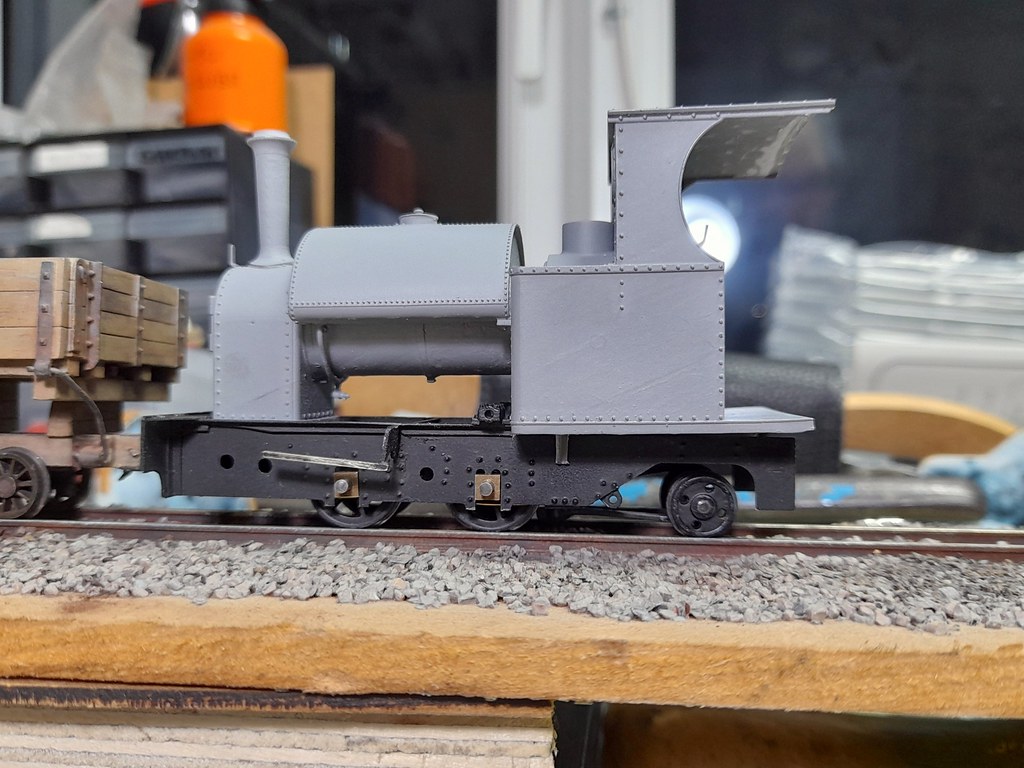


2023-01-15_06-48-27 1673810043788.gif


The view between the frames. Obviously a conventional drive will be more obtrusive than this.
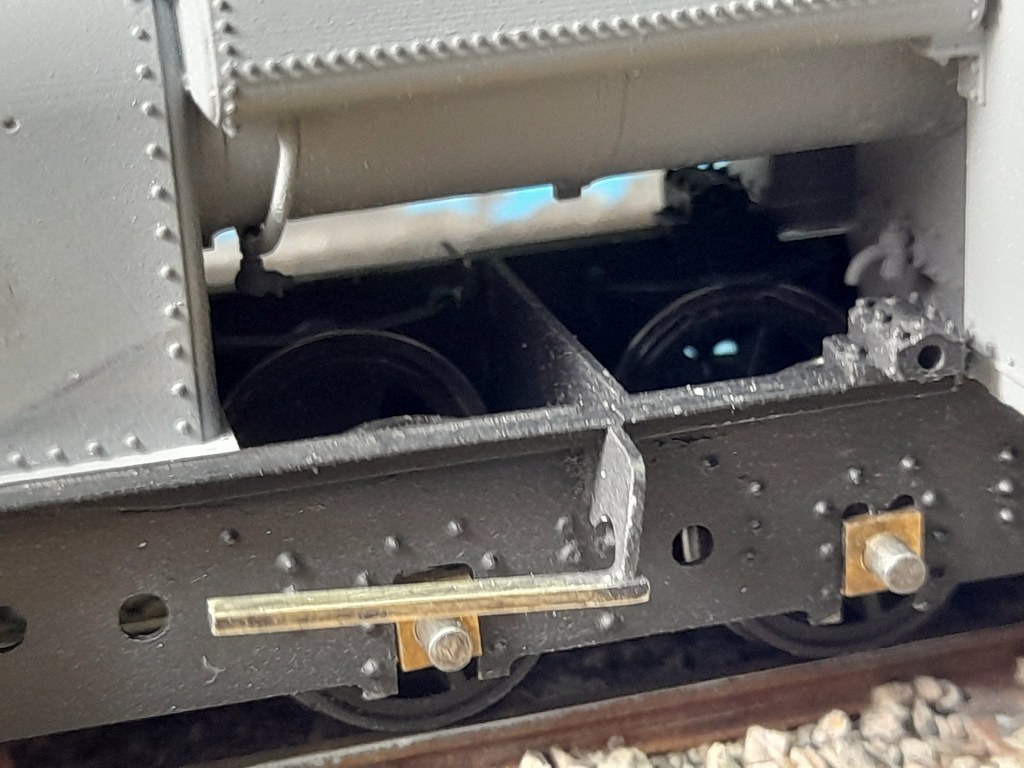


2023-01-15_06-48-53 1673810043805.gif


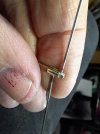
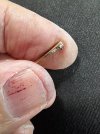
Lastly, the Cranks ready for fitting, having had holes whilst mounted in the printed collets seen earlier.


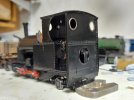
2023-01-15_06-50-11 1673810043822.gif
 

Renovater

Western Thunderer
Thanks for the info, that's a handy little lathe for lots of small different things. I've just bought one on the ebay (37 euros !) after reading your post to try it out, the motor runs on dc, so it's easy to fit a controller, wait and see.

Cheers Colin.
Got the lathe and i have to say i am more than well impressed, only 37 euros ! I am going to order the chuck for a drill the other end. It's actually quite/very good quality wise, i honestly didn't expect it to be that good. There's a speed control on the transformer but i will get an extra dc controller to reduce it down even more to crawling speed. Everything runs true and it's quite heavy for its size. A real bargain and it's getting good reviews across the net. The chisels with it aren't much cop but i didn't need them anyway. A handy portable lathe for small jobs, thanks again for the info.

Colin
 

michael mott

Western Thunderer
Very interesting Giles, your work is pointing out some possibilities with plastic that i would not ordinarily have thought rigid enough for the motion work. On the other hand thinking back to the Airfix Beyer Garrett that I motorized back in the 60's with the styrene motion and wheels, it makes sense given the progress in plastics. I wonder how similar work could be achieved with various Evergreen or Plastruct sections for those of us without access to our own printers or cad programs.
My guess looking at what you have done is that it would work well on these sorts of applications. which then leads to the issues of friction and wear, there are of course slippery plastics such as Delrin but gluing them becomes the issue.

Michael
 

Tim Watson

Western Thunderer
Very interesting Giles, your work is pointing out some possibilities with plastic that i would not ordinarily have thought rigid enough for the motion work. On the other hand thinking back to the Airfix Beyer Garrett that I motorized back in the 60's with the styrene motion and wheels, it makes sense given the progress in plastics. I wonder how similar work could be achieved with various Evergreen or Plastruct sections for those of us without access to our own printers or cad programs.
My guess looking at what you have done is that it would work well on these sorts of applications. which then leads to the issues of friction and wear, there are of course slippery plastics such as Delrin but gluing them becomes the issue.

Michael
Interesting, that Michael, I also attempted to motorise a Kitmaster Beyer Garret - unsuccessfully. Many high end continental models have plastic valve gear: obviously in greasy tough materials.

Tim
 

michael mott

Western Thunderer
Tim Yes I think it was probably somewhere between 1960 - 1962 just around the time Airfix purchased Kitmaster so mine was likely a Kitmaster as well. I had a small shelf like layout about 6 feet long perhaps 18inches wide at most with a station and engine shed at one end and a tunnel at the other, no fiddleyard.
swapped the layout for an old Drummond round bed lathe like the one illustrated but incomplete.

Michael
 

Giles

Western Thunderer
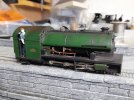
The new cab back in place, but not fixed....... also the battery is stuffed in the boiler, and I'm trying to get my head round the wiring. I'm not sure whether these cylindrical batteries have built in protection circuitry (it's not visible If they do) - so I've got separate little boards to protect against over charging and discharge, which fit in the bunker. Should the battery really need replacing, it can be withdrawn through the hole in the cab back sheet (So long as it hasn't swollen....)


52642859330_e0075cb010_b.jpg


52642422296_2c61622c6a_b.jpg


52642677554_2ff18e696a_b.jpg
 

Giles

Western Thunderer
some pipework added, but also cylinder lubricators. These are also printed rather than Laurie Griffen lovely brass ones, as this Tattoo may yet become a kit via EDM Models, together with the wooden side tippers. the lubrucators are printed with a hollow core to take a wire right up 'em, both to reinforce them, and to provide a mounting spike into the valve chest cover. The wheel of course rmains vulnerable.
Still got valve gear to do, but the materials are on order.


Giles

Western Thunderer
A bit of fun


A long awaited parcel came from Squires containng brass section, which I need to make the Hackworth valve gear for the Tattoo. Also, some hypodermic needles, which I wanted for hollow bushes, sized to (almost) take shirt pins.

Instead of using plain pins for valve gear joints, and the hassle that that entails, my idea was to silver solder hypodermic needles into the major link, ccut it off to length with a grinding disc (surgical steel), slip the minor link over the tube provided by the needle, and retain it by using a dressed and trimmed shirt pin (which is smaller and finer than a dress making pin) loctited into the tube of the needle. actually, this is really easy to do in practice. I don't think it would be anything like as easy with soft solder, but really easy with siver solder. Why didn't I do this years ago.....


The upper one in what will be the die-block is a hypodermic needle, which will be cut off eventually. The lower one is simply nickel silver rod forming the pivot for the expansion link.


52665427259_d66156acdb_b.jpg


the die-block before trimming to length, showing the trimmed hypodermic needle

52665571205_b4e59f0245_b.jpg
 
Top