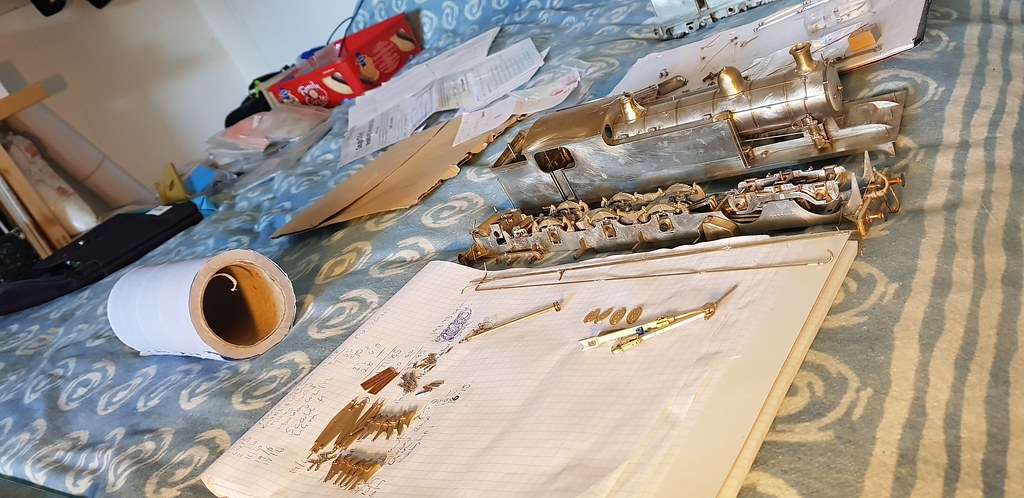
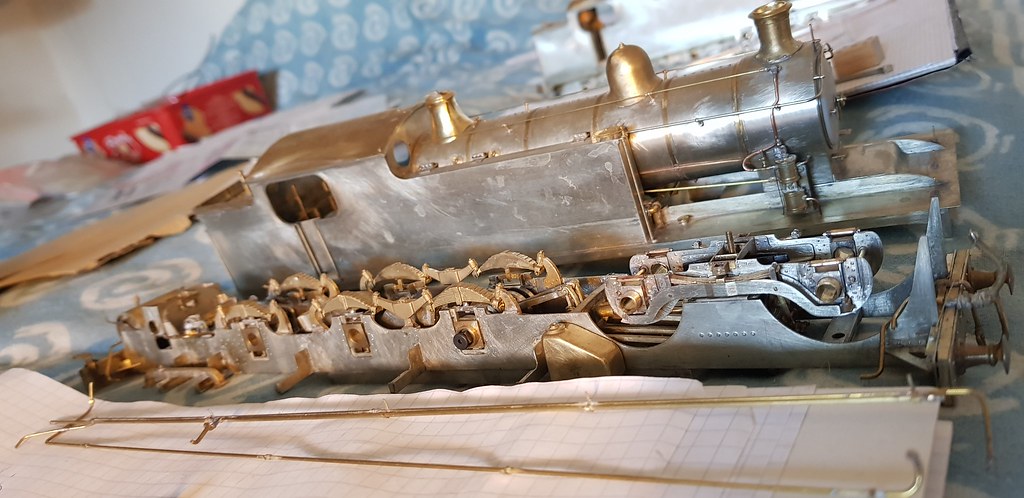
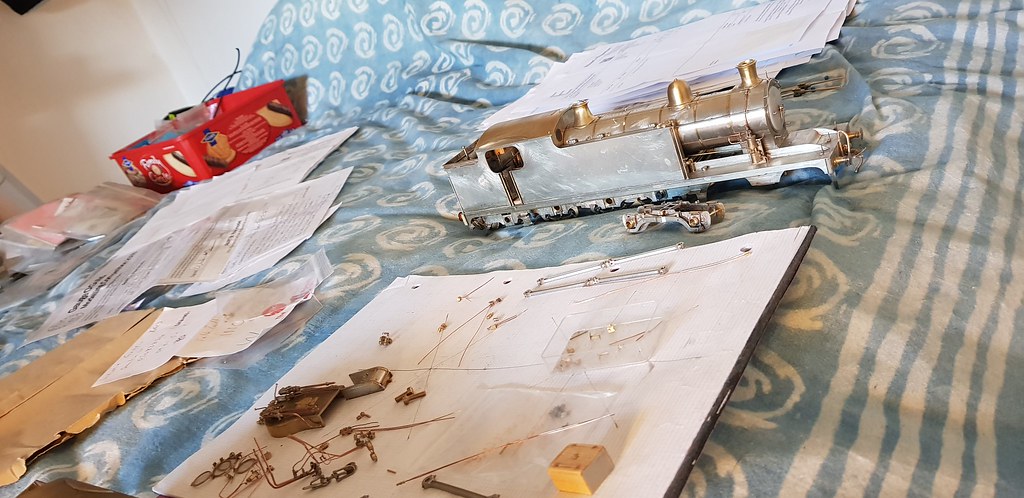
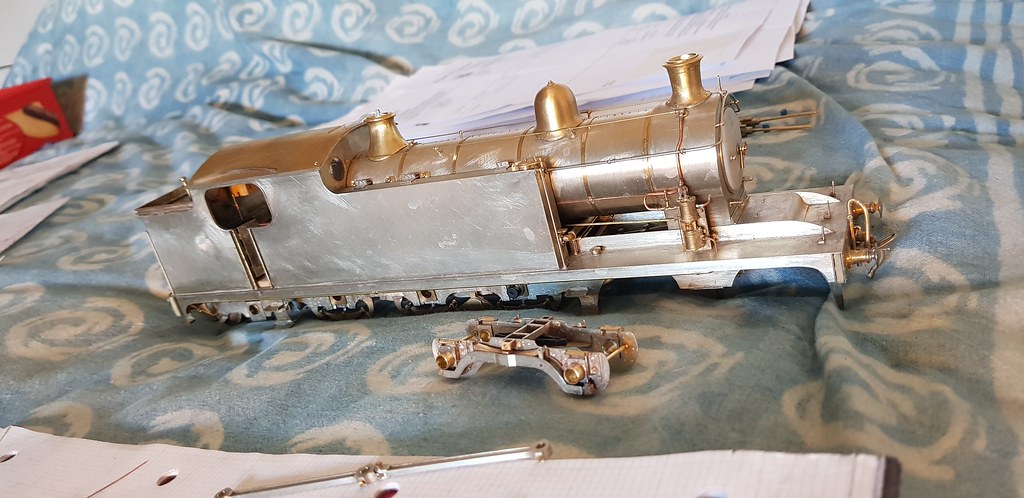
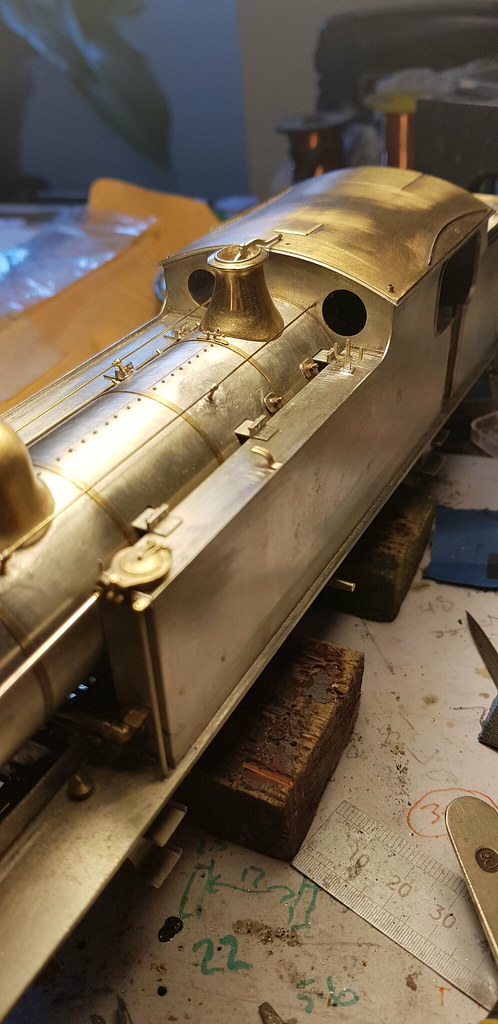
Nick Dunhill's 7mm W (A6) or Whitby Tank Workbench

Nick Dunhill

Western Thunderer
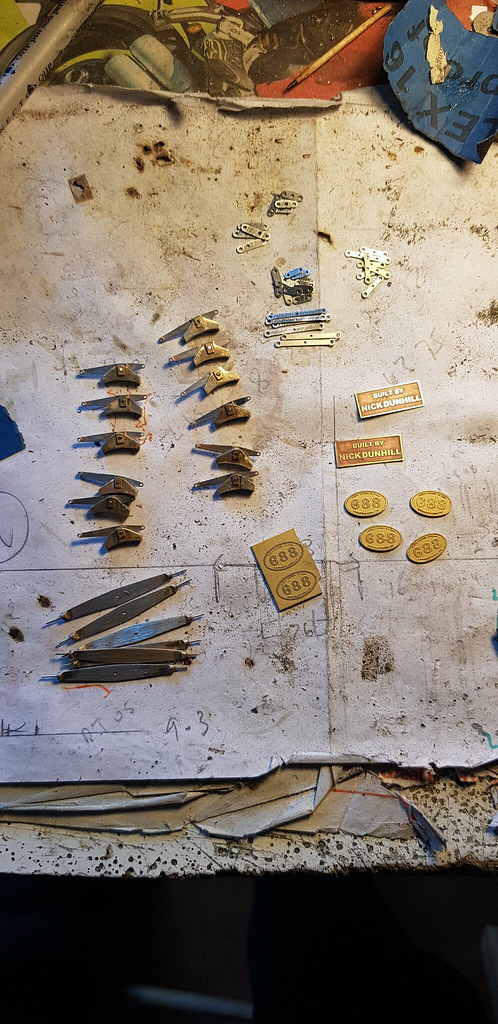
...before I started with the bogies I prepared all the brake parts. I can't really get much further assembling the brake system until I have some wheels. They're going to be made available by Slater's quite soon I understand, hope so!
28586343497_0ff80395b0_b.jpg


I cut out the name plates too. A sign the end is near when I cut out the plates! (If anyone is doing pre-grouping NER and wants the spare pair of plates get in touch.)

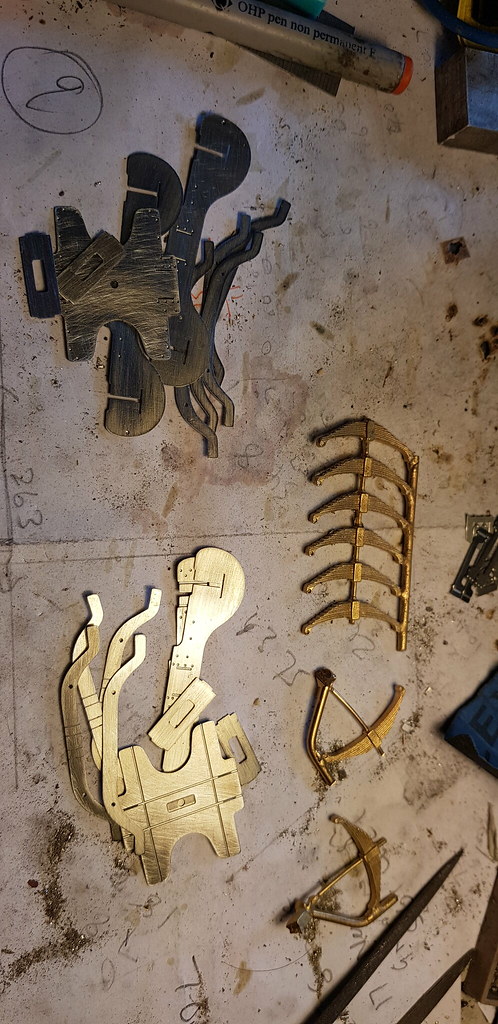
I also prepared all the etchings for the bogie and got some suitable spring castings from LGM (they're GWR ones I believe,) they required the fixings cutting off and straightening slightly. This was achieved easily by carefully gripping them in 2 pairs of pliers and bending to the required deflection.
42568424405_aa059357b3_b.jpg


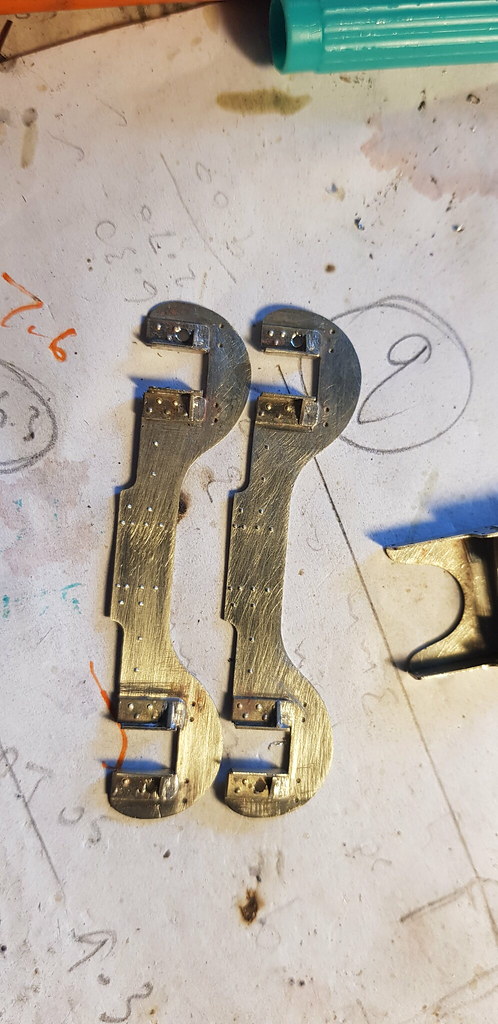
The horn guides on the bogie sides were detailed up using NS strip suitably embossed with rivet heads and the triangular gussets added.

28586343677_dd83dfc2a2_b.jpg


42568426935_492c21130a_b.jpg


The guides as supplied on the etches can be used straight if you prefer, but as can be seen above in Tom's post they're actually curved. I had to cut a bit off the top of each guide, as it won't now be located in an half-etched slot. The guides were gently curved and the stretcher was folded up with the curved guides held captive.

28586348847_6e60e61f31_b.jpg


A simple die block was made as a slider which was held captive with a couple of strips of brass. The side plates were attached using the half etched locating slots.
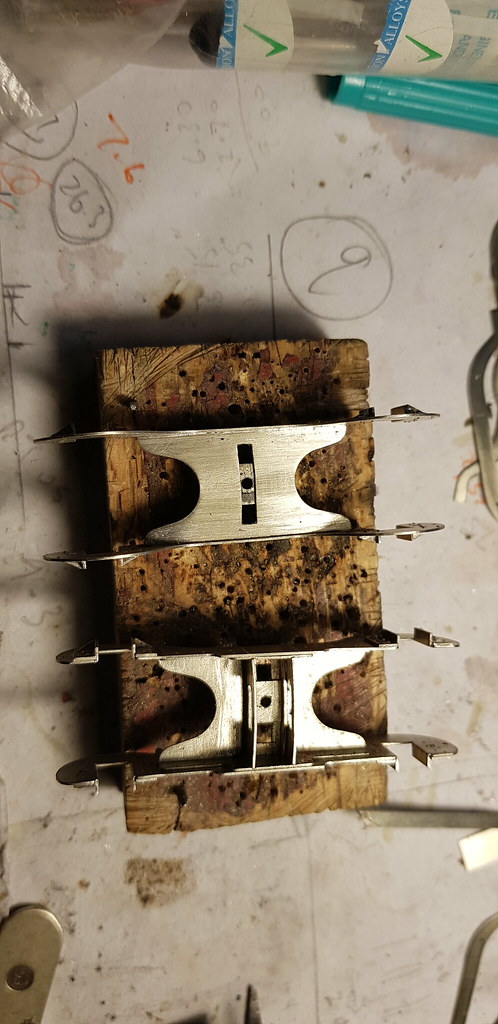
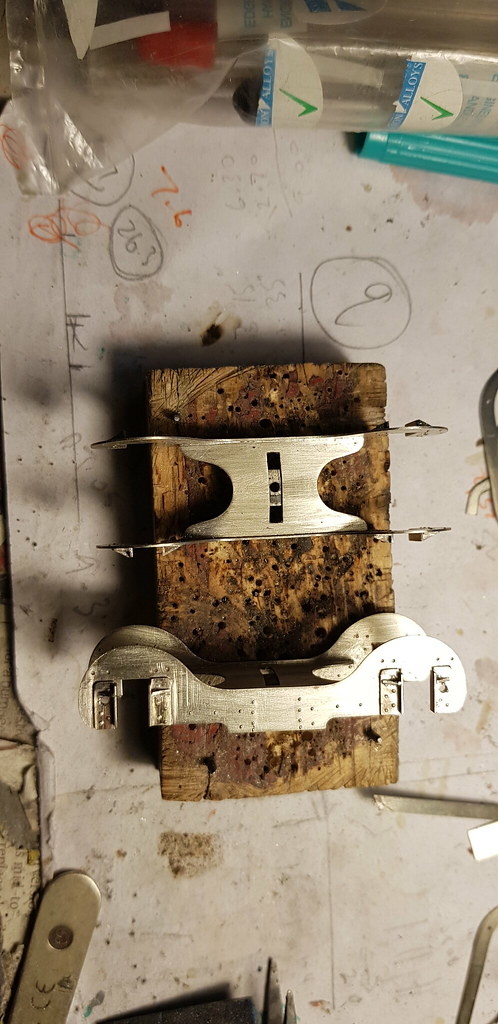
42756654214_5b3cf81984_b.jpg


41665449960_0b8d3ee3d9_b.jpg


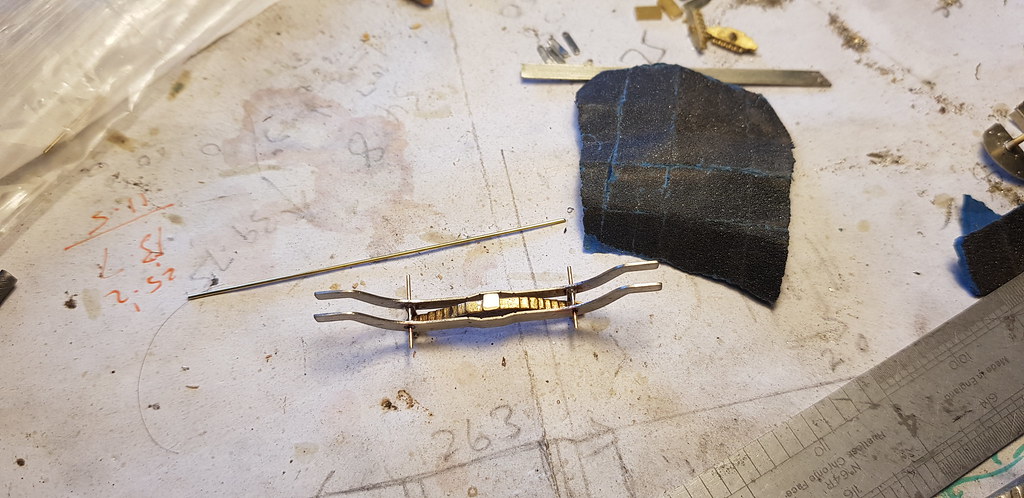
The equalising beams were made up from the etches and cast springs. A simple jig was made to facilitate this and 8 drop links (per bogie) for the springs were also made.
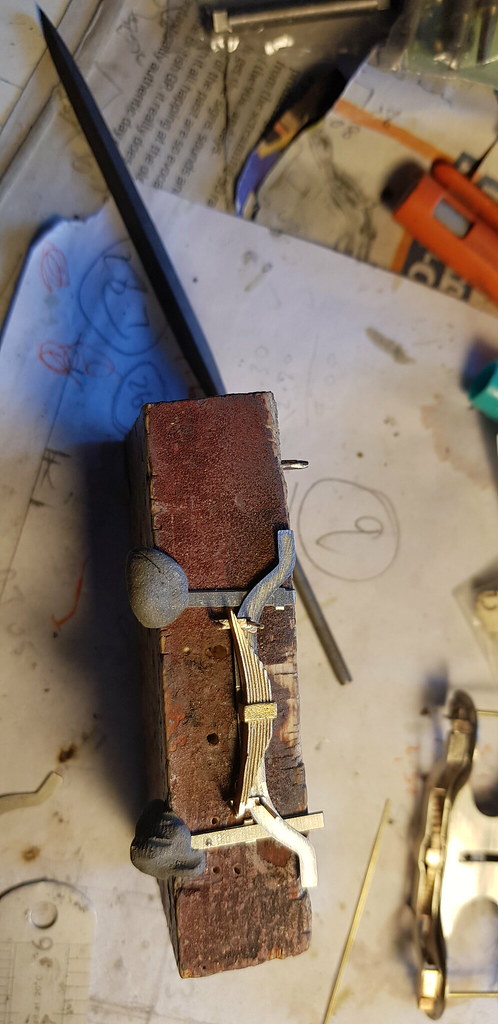
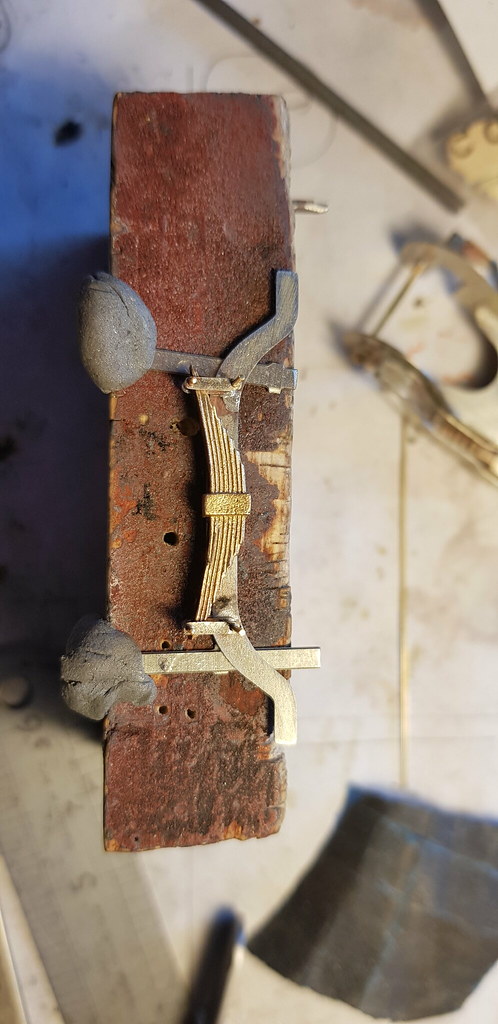
43473120441_02eb8f8df6_b.jpg


42568428825_961f484ca2_b.jpg


This is how the beams look when removed from the jig.
43425024162_e1c218c3ec_b.jpg


A block and oil box was added to the ends of each beam.

28586359037_9dfa779240_b.jpg


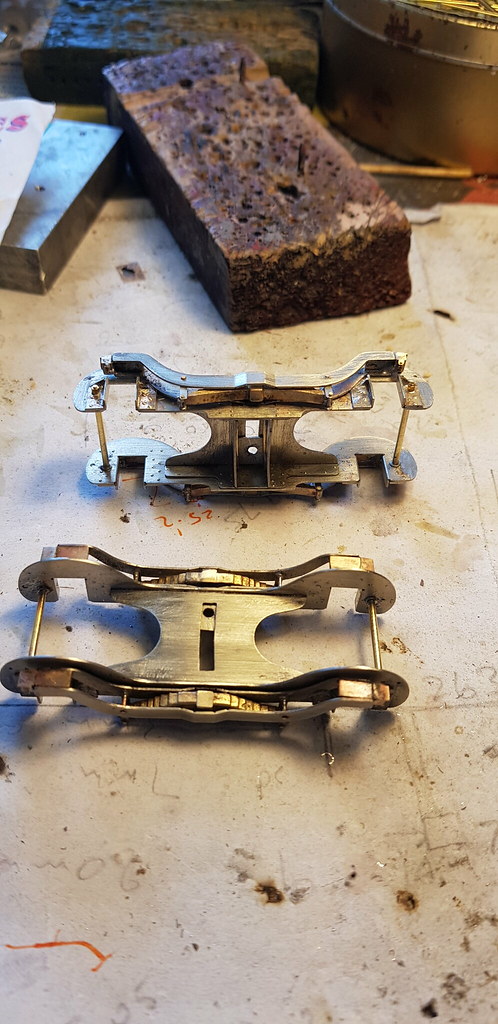
The beams are simply then added to the sides of the bogie frames, this required some cutting away of the inner triangular strengthening gussets on the horn guides. This is the result.
29602200898_8cee5c7916_b.jpg


I need to add some axleboxes and keeper plates, and some plastic (cosmetic) wagon springs for the side control. Plus I need to work out how best to make the side control work (suggestions welcome, but I'm looking for something unobtrusive.)

Of course if you are building one of these yourself and don't mind them not being compensated LGM does some nice cast ones. It will save a couple of days fabricating!

1-001: NER F & M Class locomotives etc. – LG Miniatures

This marks the end of the etches Mick and I produced for this loco. There have been no further mistakes in the sheets other than the ones outlined earlier in this thread. Thanks for your help Mick it was invaluable.

Has anyone had any of the S7 Britannia wheels off Slater's? If so what diameter are the bogie and pony axles?

Next I finish off the bogies and do some painting and decorating in our house whilst patiently waiting for wheels......
 

Nick Dunhill

Western Thunderer
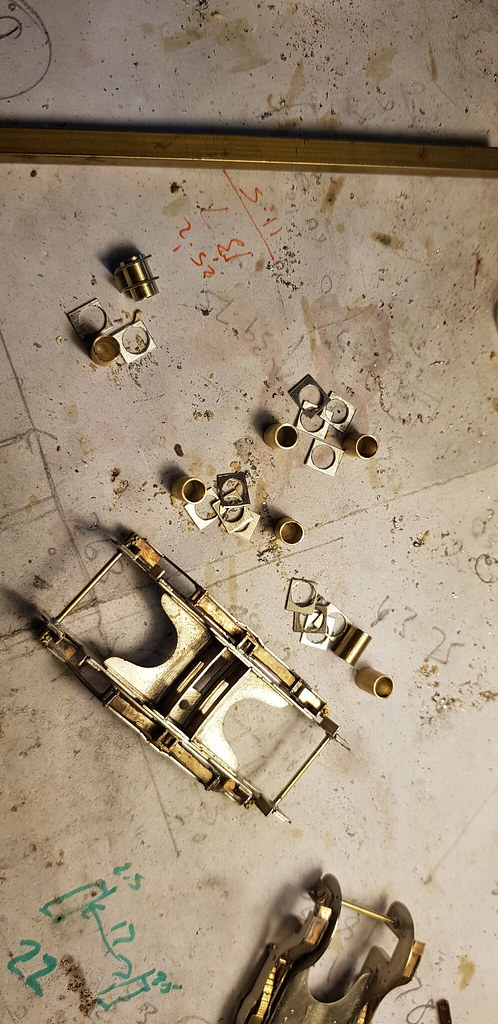
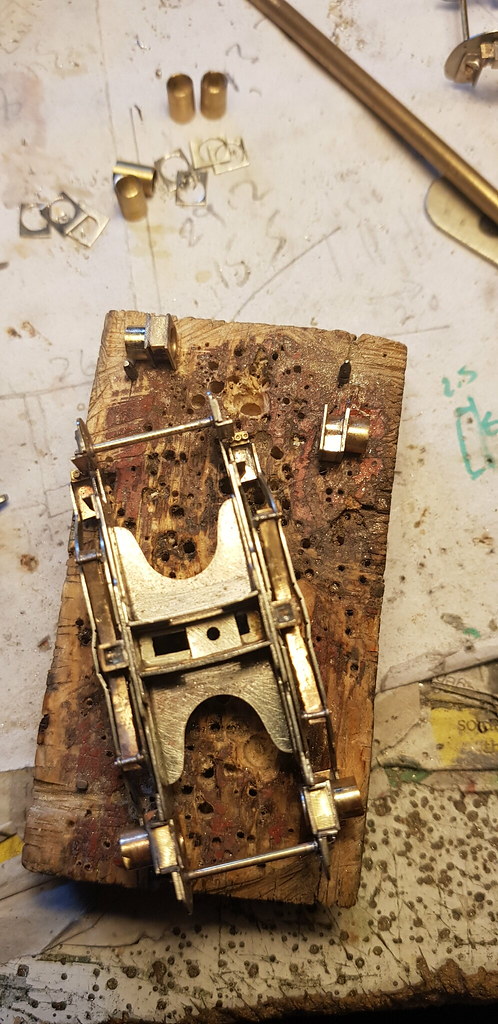
.....the lovely weather has brought about a reduction in modelling and an increase in motorcycling. This week though I have managed to make some horn blocks for the bogies. If I had a laithe and mill these would have taken an hour or two. I haven't, so they've taken a week. They're made from lengths of tube cut to size in the chuck of my mini drill and plates for the front and back of the bearing. The plates are made by opening up a hole and cutting out a rectangle round them. They sandwich the horn cheeks as they do in the real thing. The axleboxes are prevented from rotating by soldering some appropriately sized channel inside the bottom.

41838463700_1cd557419c_b.jpg


41838463650_b16192d225_b.jpg


I will make some keeper plates next, then finish the dummy and real side control stuff.....
 
Last edited:

Nick Dunhill

Western Thunderer
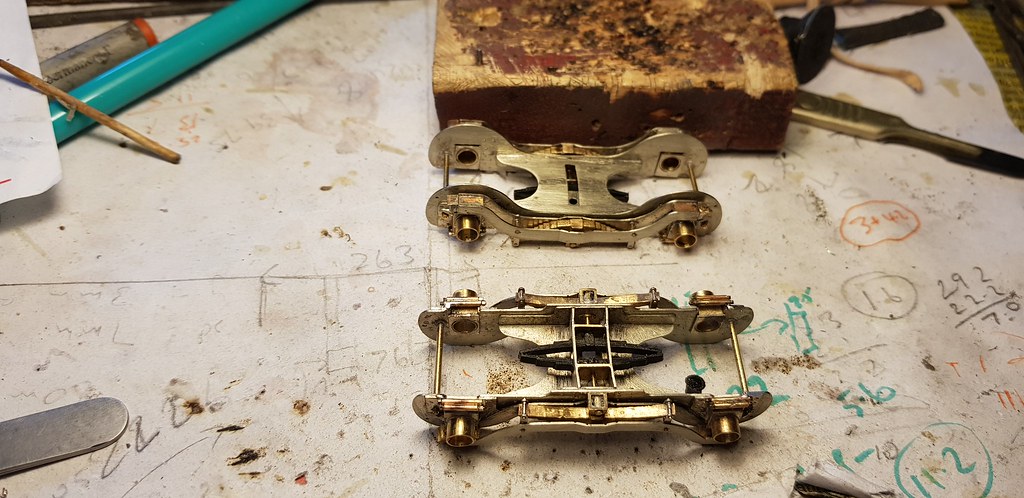
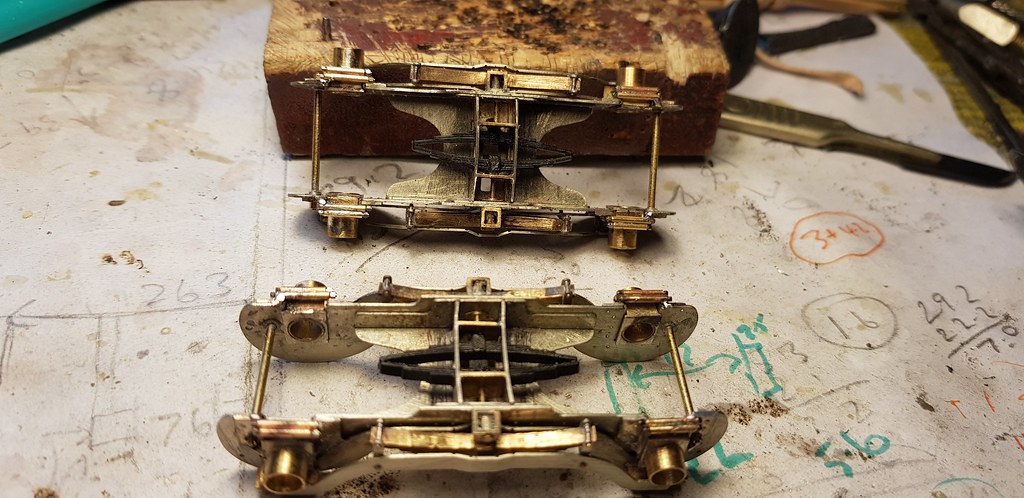
.....I have added the plastic wagon springs that Rob Pulham supplied (many thanks buddy) and added a bit more side control detail. I also made the keeper plates for the horn blocks from tube and left over Scale Hardware fake fasteners.

29823167428_35c57f4884_b.jpg


29823168578_896ee6d07e_b.jpg


Nothing more I can do now until Slater's have manufactured the correct wheels for the loco. They're imminent I'm told. Here are the two finished locos sitting patiently on our attic bed waiting for the final flurry.

29823168228_408db1706f_b.jpg


43646448822_eff32b582f_b.jpg


29823171278_3abfde3349_b.jpg


28803925217_1505b734b0_b.jpg


I have ordered 'kits' for all the people that have asked for one, to be delivered at Telford. Anyone who fancies a set of parts to make one of these mahoosive tanks should get in touch quickly. I have 2 sets of parts left that are for sale for around £200 each (+ P&P, depending on any price increase from the etching company) and once the last two have gone that's it, no more!........
 

Nick Dunhill

Western Thunderer
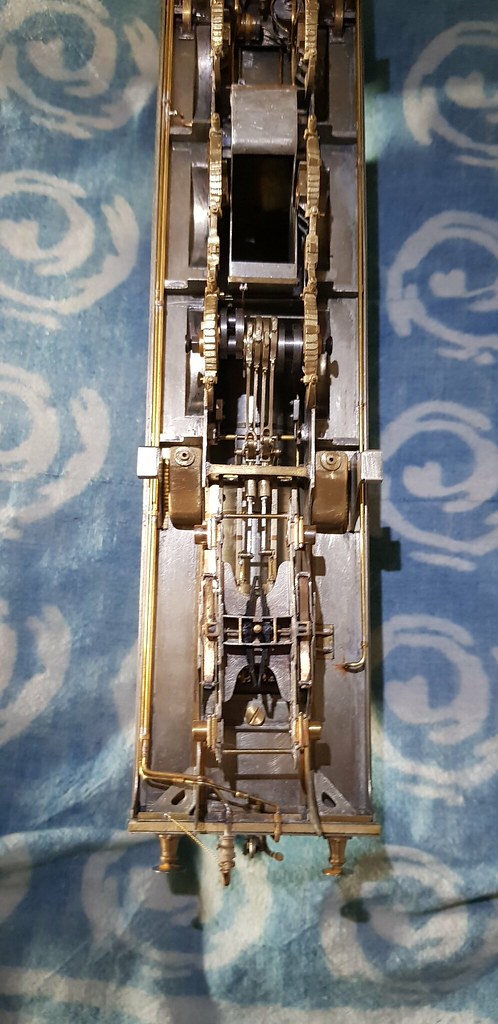
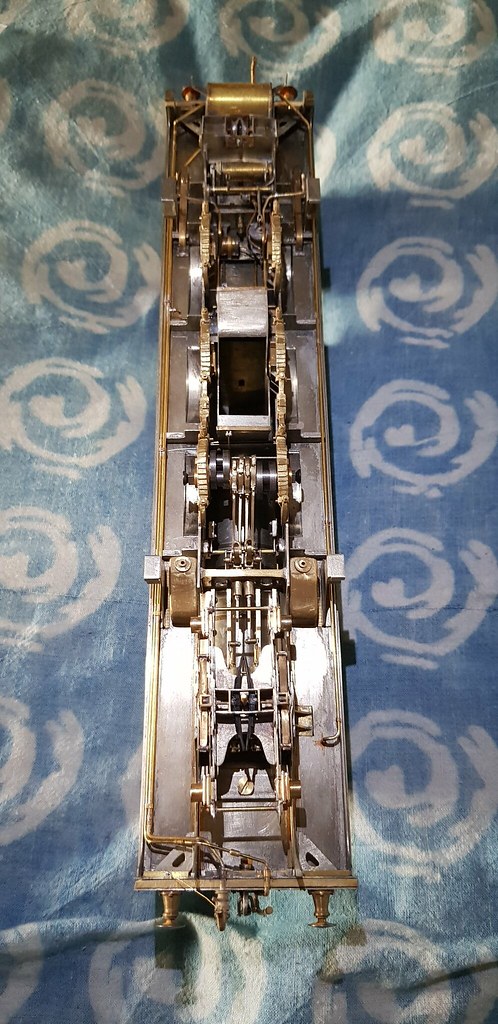
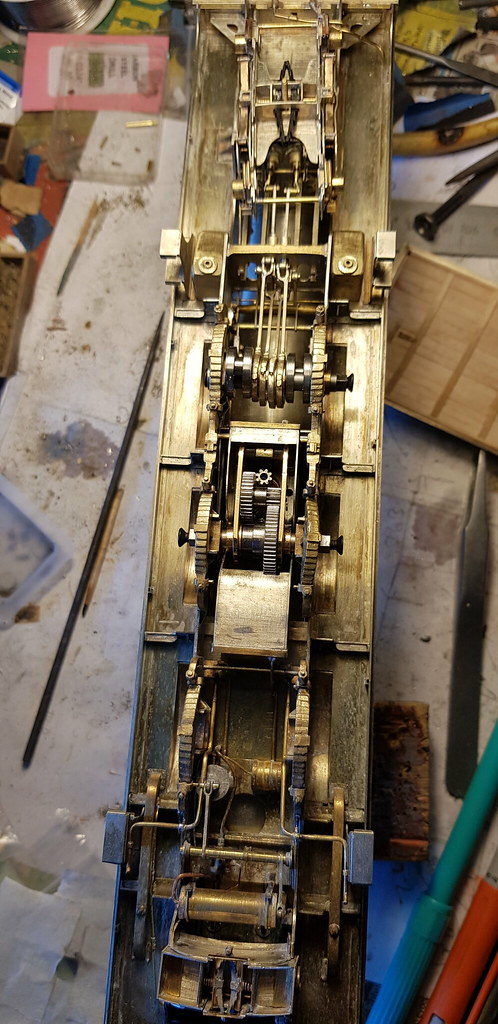
...A last peek at the model before I go on holiday. I had to move the injector overflow pipes (the ones behind the cab step bottoms) further to the rear to avoid a conflict with the wheel flanges. This is my favourite part of the model, I obsess about the underside detail. I like making all the tiny fittings and runs of pipes (in the cab too!)

28803925217_1505b734b0_b.jpg


It's this one upside down.

28832470417_190a57d400_b.jpg


43768492551_e45502f4ba_b.jpg


28832470567_f23c77b039_b.jpg


Finished apart from fitting up the wheels. Just realised no brakes or sand pipes. It's finished apart from the sand pipes, brakes and wheels.......
 

Nick Dunhill

Western Thunderer
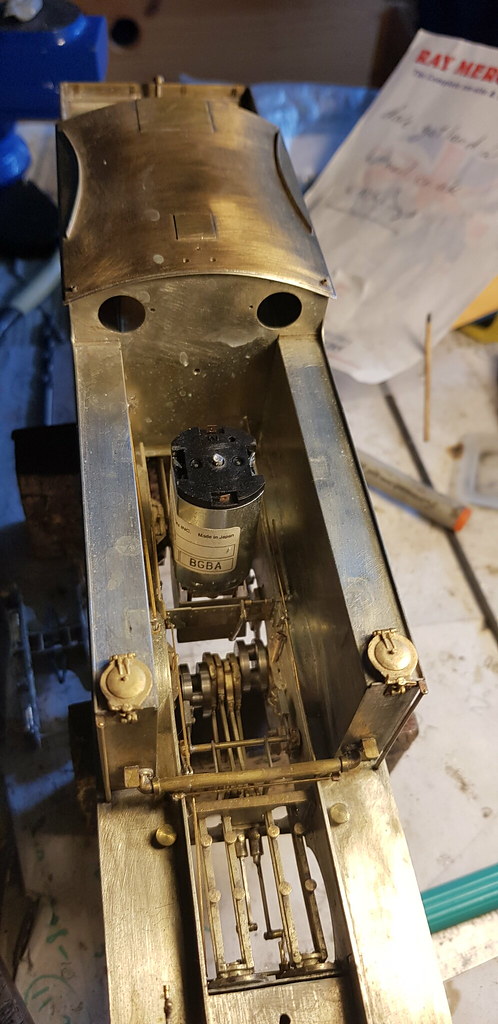
....Got some motors and gearboxes and fitted them up. They're ABC Mini-S types with Canon motors. Brian Clapperton's (ABC) website has a printable page of gearbox templates. I printed one and cut out the Mini-S template and built the ashpan round it. Consequently the motor fits right in with no fenagling required. Good planning for a change!

I strengthened the ashpan mounts as the pivot/mount for the gearbox (a U shaped bracket that clasps the rear gearbox pillar) is mounted inside the ashpan assembly. The body and boiler fit perfectly with loads of space for DCC wiring and chips and some extra ballast.

30267299328_195c74cc0f_b.jpg


42326229140_f790aae07d_b.jpg


30267298918_d9fc886d20_b.jpg


Next TELFORD yay......
 

Peter Cross

Western Thunderer
Looks very good, motor and box fits a treat Nick.
Is the water fill on left hand side, (right in bottom photo.) Slightly on the P. Or is it just the photo?
 

Nick Dunhill

Western Thunderer
Bad casting/photo distortion. It's a shame, they're an example of castings that are beautifully cast and the patterns are very intricate BUT are a bit skewiff. Why go to all the trouble to make a fundamentally flawed pattern (and put it in the market) I'll never know!

I might make some replacements.
 
Last edited:

Nick Dunhill

Western Thunderer
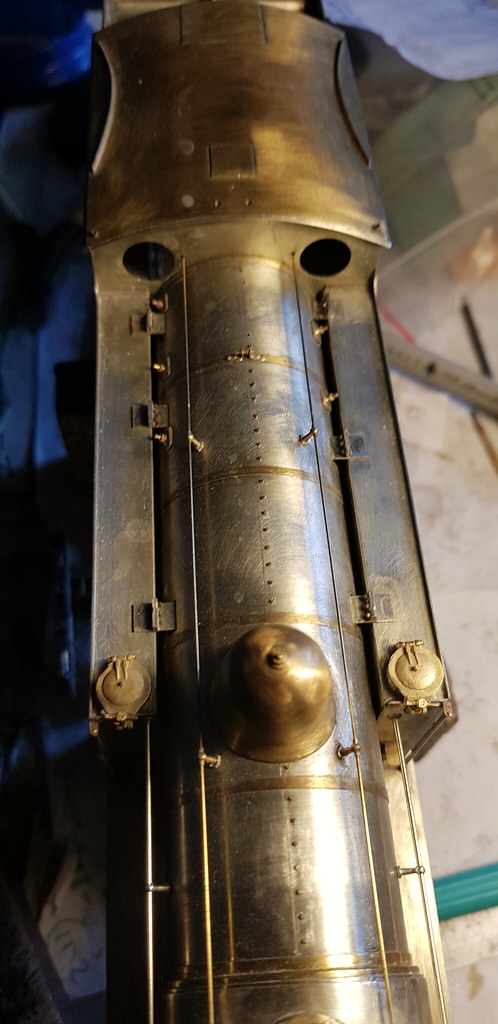
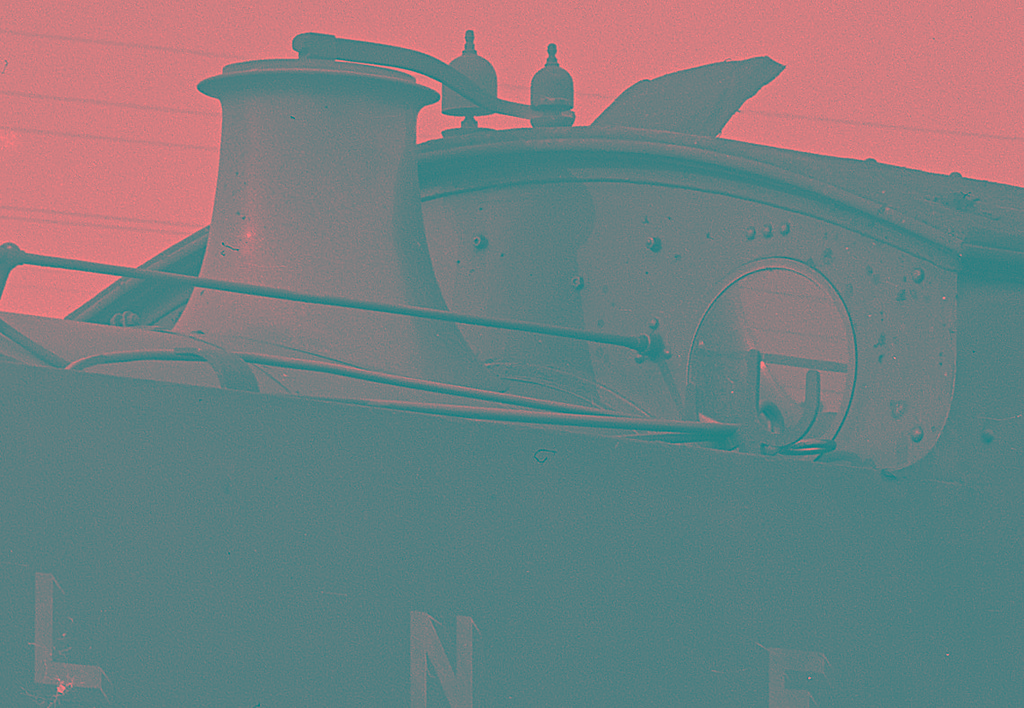
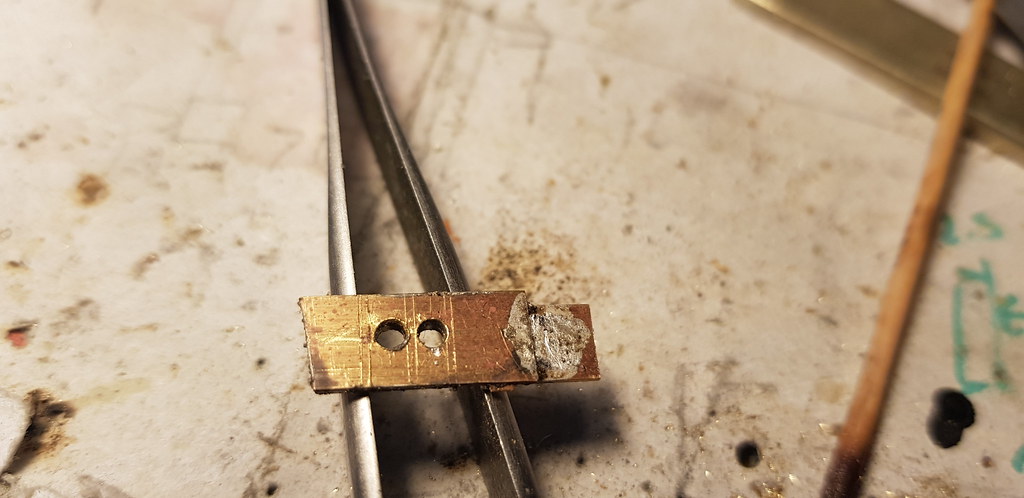
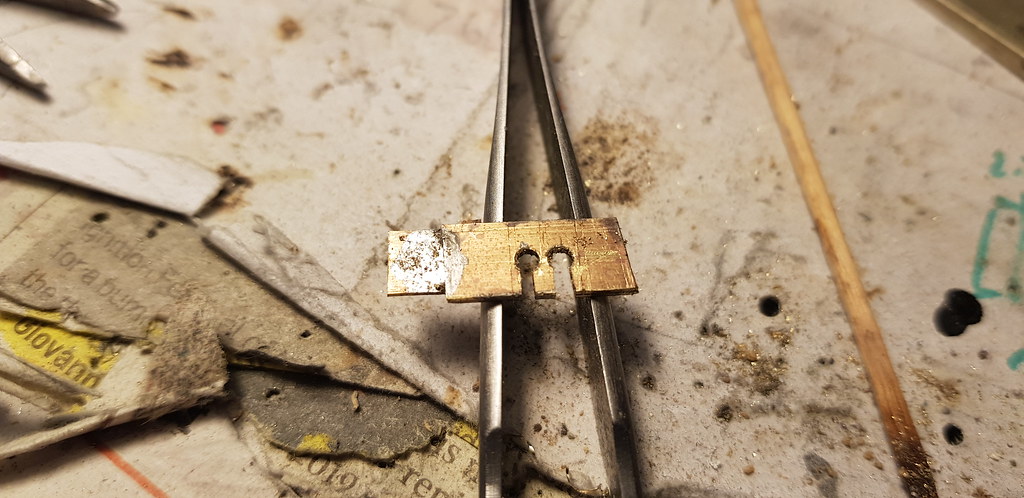
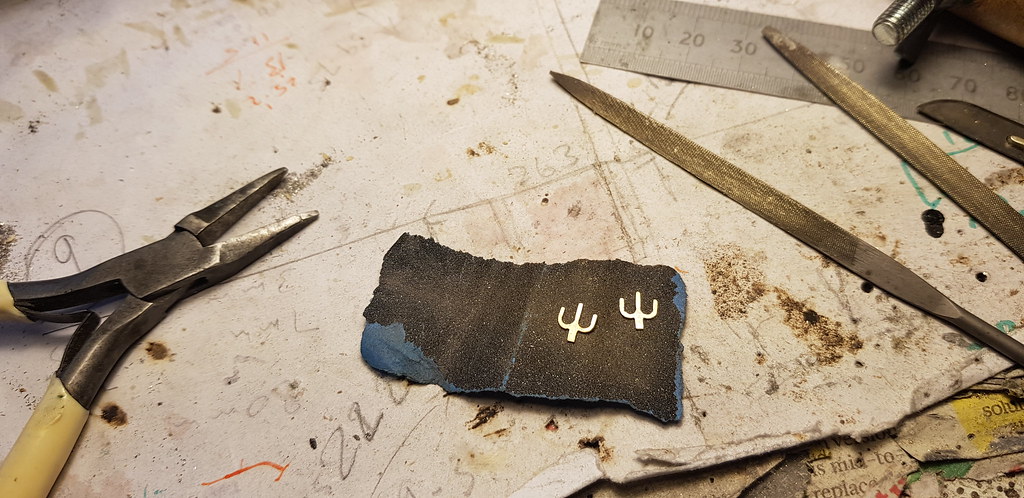
....I wasn't going to do anymore modelling until after Telford, but a rainy day in Sheffield has prevented any motorcycling activity and I've come to a temporary break in the punishing schedule of household decorating chores. Someone pointed out to me that I had missed out the fire iron brackets from the tank top and that they are an interesting thing to model. Oddly the real thing looks like they've been cut out of sheet, so I cut mine out of a 6 mm x 6 mm square. I think the photos are pretty self explanatory.

29305573377_dde9b9f2cb_b.jpg


29305149437_40e1fdaa73_b.jpg


29305149647_b897e45ed0_b.jpg


43335189705_c165979532_b.jpg


44240809121_38b812851a_b.jpg


44192034522_d8b7107a9a_b.jpg


42433063620_0148f9af14_b.jpg


30373685748_7cea5f1f22_b.jpg


You can see that the NER put a curved bracket at the front too, presumably to stop the irons falling off the tank top. Note to self - buy fire iron set at Telford!.......
 
Last edited:

Overseer

Western Thunderer
.

You can see that the NER put a curved bracket at the front too, presumably to stop the irons falling off the tank top. Note to self - buy fire iron set at Telford!.......
Surely you can make fire irons yourself from some wire? A few minutes with a pair of round nose pliers and you would have a set of scale sized fire irons, as straight or as bent as the prototype irons. If you use iron wire you could blacken them (heat and drop in oil).
 

adrian

Flying Squad
Surely you can make fire irons yourself from some wire? A few minutes with a pair of round nose pliers and you would have a set of scale sized fire irons, as straight or as bent as the prototype irons. If you use iron wire you could blacken them (heat and drop in oil).
I've got some jewellery binding wire - used for silver-soldering which is soft iron wire. It already has a nice patina to it so blackening not essential, 20secs to straighten in a vice and make a handle.
fire-iron - 1.jpg

I can bring some down to Telford if you'd like some to try.
 

mickoo

Western Thunderer
Agree with others above, just make them, you know the ones you buy you'll end up modifying or adapting, save yourself the time and make bespoke ones and be done :thumbs:
 

Nick Dunhill

Western Thunderer
I only buy them because I'm not sure what's in a set? A shovelly one, one with a pointy arrow head on the end, the one above at a right angle, any more?

Thanks for the offer of a bit of wire Adrian, can I have a bit to give it a go? I'll be on the modelling competition stand all weekend.
 

Nick Dunhill

Western Thunderer
.....hey remember these? Because of the travails at Slater's HQ this summer there is going to be a delay in the manufacture of better quality NER wheels (they are coming apparently, but I've had enough of waiting.) So on with the tedious job of modifying the nearest in David's excellent range. The drivers have a D-section rib running round the perimeter of the rim, so I got myself some half round plastic strip.


The first job was to bend the strip to the same diameter as the wheels. These circular pots that come as packaging in some of the Slater's products (eg couplings) are about right, so I coiled the strip up inside the pots and filled them with boiling water. After a soak for a minute or two the water was drained and the pot with the coils of D-section within were dried on the top of the radiator in my workshop.


49111420368_b6c00f010b_b.jpg


The strip was cut into 4.5 mm lengths, and a peedie piece stuck with superglue between each spoke.


49112120432_3ebe2fe7de_b.jpg


49111924171_83f923faf6_b.jpg


49111419763_6bae9c09d2_b.jpg


I think they look ok, and will look better when painted. Let's hope I don't lose the will to live doing it........
 

Overseer

Western Thunderer
.....hey remember these? Because of the travails at Slater's HQ this summer there is going to be a delay in the manufacture of better quality NER wheels (they are coming apparently, but I've had enough of waiting.) So on with the tedious job of modifying the nearest in David's excellent range. The drivers have a D-section rib running round the perimeter of the rim, so I got myself some half round plastic strip.


The first job was to bend the strip to the same diameter as the wheels. These circular pots that come as packaging in some of the Slater's products (eg couplings) are about right, so I coiled the strip up inside the pots and filled them with boiling water. After a soak for a minute or two the water was drained and the pot with the coils of D-section within were dried on the top of the radiator in my workshop.


The strip was cut into 4.5 mm lengths, and a peedie piece stuck with superglue between each spoke.


I think they look ok, and will look better when painted. Let's hope I don't lose the will to live doing it........
Nick, I don't want to push you over the edge, but the modified wheel looks odd. I had to look at some prototype photos to see what you were trying to replicate so I am certainly not an expert on NER wheels. To match the real thing I think you need to use a smaller size of half round strip so it is narrower than the spokes and then there won't be all the exposed ends of your little strips showing.
 

Nick Dunhill

Western Thunderer
49115297702_66b435075b_b.jpg


Hi Mr O. At first glance this morning I have to say that I agreed with you, and was contemplating ringing Phil at Hobby Holidays for some smaller D-section. Anyway I had a look at the drawing above, and the ratio of lump to width of tyre is 0.57 (8/14 mm on my screen) and the ratio of the strip to the tyre width (on my Slater's wheels) is 0.5 (2/4 mm.) So actually, and to my complete surprise, the strip is slightly too small! (Just checked the height measurements too, and the strip is small in that direction as well.) The strip is just contained within the spokes too, except where I put the strips on a bit squint! Thanks though, it did make me think.
 
Last edited:

Overseer

Western Thunderer
Not sure I follow your logic. Surely being in proportion to an over scale wheel rim would make the hump over scale as well? I would also be wary of measuring this sort of detail from a GA, you need the wheel drawing with the dimensions on it. To me the hump looks less pronounced in photos but if you are happy with it it will be OK.

Edit: Sorry for keeping going on about this. If the models weren't so magnificent I wouldn't bother.
NER W wheels.jpg
This is what I see as the issue - your wheel overlaid on the first image in this thread. To me it shows the added D section looking too large in proportion to the wheel. I think it would be better to accept the not quite right wheels as they are rather than modify them to still be not quite right and look odd.
 
Last edited:

LarryG

Western Thunderer
See how the wheel looks once it has been sprayed black or whatever. Your effort is to be applauded. I would probably have gone for a Stanier bevel-rim wheel.
 

Tim Watson

Western Thunderer
See how the wheel looks once it has been sprayed black or whatever. Your effort is to be applauded. I would probably have gone for a Stanier bevel-rim wheel.
I wondered about that too, but don’t do 7mm wheels. The bevel could be rounded with a few strokes of a file. I definitely believe in keeping wheel rims skinny: most model wheel systems end up with them a bit fat.

Tim
 

tomburnham

Member
As Nick's contact at the North Eastern Railway Association I've been discussing the matter of the D section with him and have been able to provide this cross section of the wheel taken from the 1 in to 1 ft GA of a NER Class C, which uses the same driving wheels as the Class W. No doubt Nick will post his solution to the oversize hump shortly.

Tom.

Class C Wheel_edited-1.jpg
 
Top