4mm Poppy Lane - Not so much a plank, more a lolly stick!

Terry

Western Thunderer
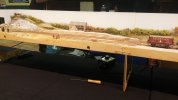
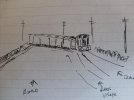
My problem is that I can't look at any small offcut of chipboard, plywood or mdf without wondering if I could fit a model railway thereon. And so it was that I was stood, staring at the small piece of mdf before me, measuring just four feet by five and a half inches. Yes, that's right - five and a half inches! I considered a small wayside halt but fancying something different, I opted for a 'watching the trains go by' type layout. I use the word 'layout' rather loosely as it amounted to a single line of track on my small piece of mdf. I decided that a roadside tramway would be nice, using both the Wantage Tramway and the Wisbech & Upwell Tramway as my inspiration. This would give me the opportunity to run my collection class 03, 04 and 08 shunters with small trains of wagons in tow. This is how I envisaged the scene:
shunting plank 012.JPG

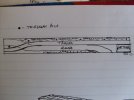
I drew a plan, which showed the track crossing the road at the left-hand end. In the event this proved impossible to achieve due to the narrow board.
shunting plank 013.JPG

The cottage on the right would act as a 'view-blocker' for trains entering and leaving at that end of the layout. Advertisment hoardings would do the same at the left-hand end. There would be a short fiddle-stick at both ends of the layout.

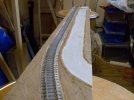
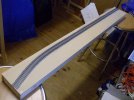
A single line of C&L code 75 track was glued to the board and ballast was sprinkled thereon. Various heavy objects were placed on the track which was left overnight to dry:
shunting plank 001.JPG

Two wires were soldered to the rails for DC operation. No need for a wiring diagramme!

The rails and chairs were painted a suitable rust colour using enamel paint.

Terry
 
Last edited:

Terry

Western Thunderer
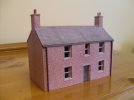
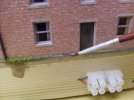
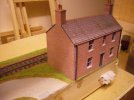
I decided to build the very nice Scalescenes Lock Keeper's Cottage, minus the office part, as the 'view-blocker' on the right of the layout:
shunting plank 002.JPG

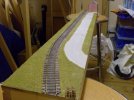
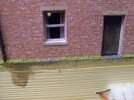
The road was cut from some 1.5mm mount board in three pieces. These were glued in position and the joins were covered with air-drying clay, before the whole road was painted with shellac (french polish) to seal the card. When dry, the road was painted. The terrain either side of the road and track was built up slightly by applying thin strips of plaster imprenated bandage before being painted with a light brown acrylic paint.

shunting plank 7 010.JPG

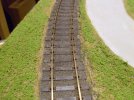
It took me ten minutes to cover the terrain with static grass. Amazing how this stuff transforms the scene.

shunting plank 8 001.JPG

Terry
 

Terry

Western Thunderer
Tony 1 - very interesting layout . I haven't seen it as yet. Thanks for posting the photos.

Tony 2 - maybe I should have had a few drinks beforeinstalling the cottage!

Is everybody on this website called Tony!

Terry
 

Terry

Western Thunderer
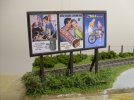
At this stage I decided to construct the advertisment hoarding for the left end of the layout.

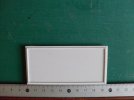
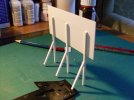
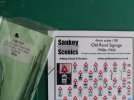
Take some styrene sheet and cut out a rectangle large enough to take the poster of your choice, or in my case, three small Sankey Scenics posters, plus a couple of millimetres extra all round. Stick some narrow strip on the front to form a frame, about 2mm from the edges.
shunting plank 10 001.JPG

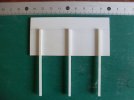
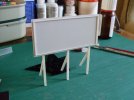
Cut three legs and attach to the back.
shunting plank 10 002.JPG

Add three supporting pieces.
shunting plank 10 004.JPG

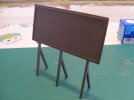
One advertisement hoarding.
shunting plank 10 007.JPG

Off to the paintshops...
shunting plank 11 001.JPG

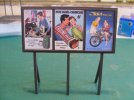
Advertisements courtesy of Sankey Scenics...
shunting plank 11 010.JPG

And this is how it eventually looked in situ, nicely balancing the cottage at the other end of the layout.
shunting plank 11 011.JPG

Terry
 

Terry

Western Thunderer
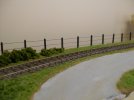
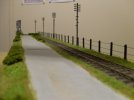
At this stage some Ratio telegraph poles and fence posts were given a lick of paint to get rid of the brown shiny plastic look. These would eventually run along the back of the layout.
shunting plank 14 011.JPG
shunting plank 14 002.JPG

Take some Sankey Scenics 1940s - 1960s roadsigns and some wire (in this case plastic-coated steel).
shunting plank 11 003.JPG

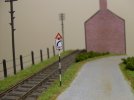
Take a sharp breath and a sharp scalpel blade, together with a steel rule, and cut out the required signs, in this case both left and right-hand bend signs...
shunting plank 11 007.JPG

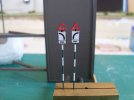
Paint the rear of the signs black. Cut the wire to the required length and paint black and white. I actually used dark grey and white as I didn't have any black paint at the time. Glue the signs to the posts.
shunting plank 11 009.JPG
shunting plank 14 003.JPG
As you can see above, by this time I was also adding further scenic treatment in the form of bushes.

Terry
 

Terry

Western Thunderer
Must have some road transport on the layout.shunting plank 15 001.JPG

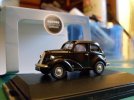
Yes, it's a nice, shiny, black Ford Popular. Just what we need for the road on this shunting plank. However, this 'showroom' model needs to be brought into the real world...

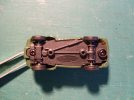
Turn the model over and see this...
shunting plank 15 002.JPG

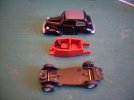
Remove the two end screws and the model breaks down into this...
shunting plank 15 003.JPG

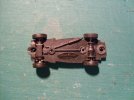
Drop some superglue into those axles to fix them solid. When dry, rub the chassis from side to side on some sandpaper to create slight 'flats' on the bottom of the tyres. This is to represent the tyres yielding to the weight of the car. There are three protruding lugs on the underside of the chassis, all of which need to be removed, or they will show when looking at the vehicle side on.
shunting plank 15 004.JPG

For fixing to the road, a piece of brass rod was subsequently glued into the second hole from the right and into a pre-drilled hole in the road surface.
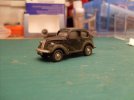
I brushed a thin wash of acrylic paint (mixture of brown and grey) over the body and wheels, followed by a spray of matt varnish. The vehicle was quickly put back together and here she is in all her dirty glory, waiting to take her place on the plank. And yes, before you ask, I have seen a vehicle in this filthy state...it's sitting outside on my drive right now!
shunting plank 15 008.JPG

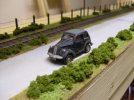
The Ford Popular in position on the road.
shunting plank 16 001.JPG

Terry
 

Terry

Western Thunderer
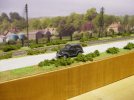
A backscene was added as well as a strip of varnished plywood to the front of the layout.
shunting plank 18 004.JPG


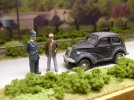
Two figures from the 'Monty's Models' range from Dart Castings were painted and fixed in position to create a little scene around the car.
shunting plank 22 010.JPG


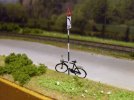
And nearby, the policeman's bicycle rests lazily against a road sign.
shunting plank 29 022.JPG
Courtesy of 'Shire Scenes' etched brass bicycles, again from Dart Castings.

Terry
 

Overseer

Western Thunderer
Appropriate for a Ford Pop to be on Poppy Road. Did you consider changing the wheels to something closer to the skinny cross ply tyres the real ones had? Fat balloon tyres are one of the not so good bits of the Oxford models, another is the ride height. The top of the tyres should be nearly into the guards, or even further with a load or sagged springs.
 

Jordan

Mid-Western Thunderer
The wipers are a slight let down on the Ford Pop, but that is being picky, sorry :oops: but I love the cameo that PC Plod was able to pull him over riding a bicycle - very 1950s!! :))
And the backscene - wow, does that make a difference to the scene!! :) :thumbs:
 
Top