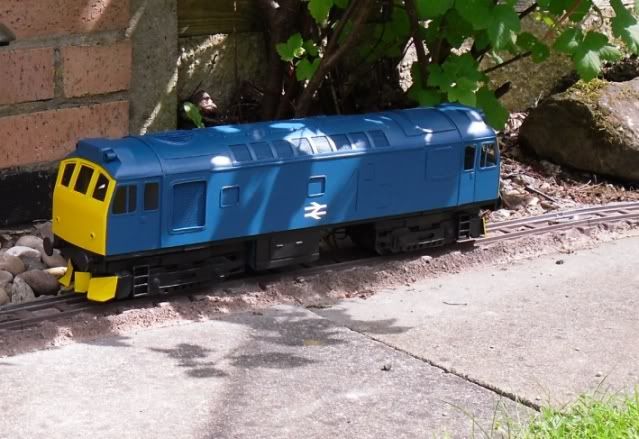
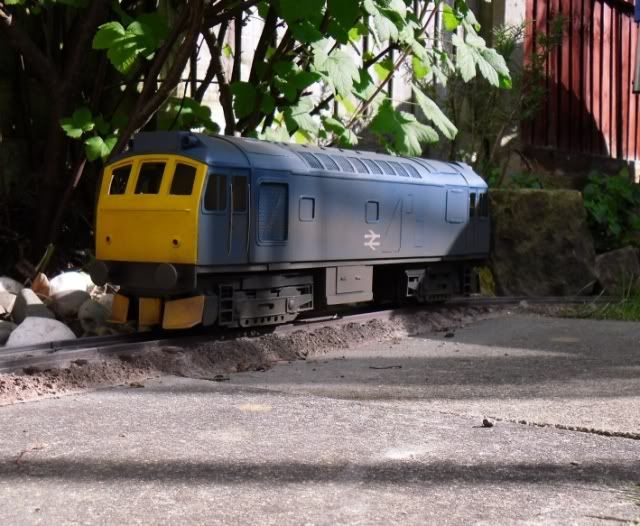
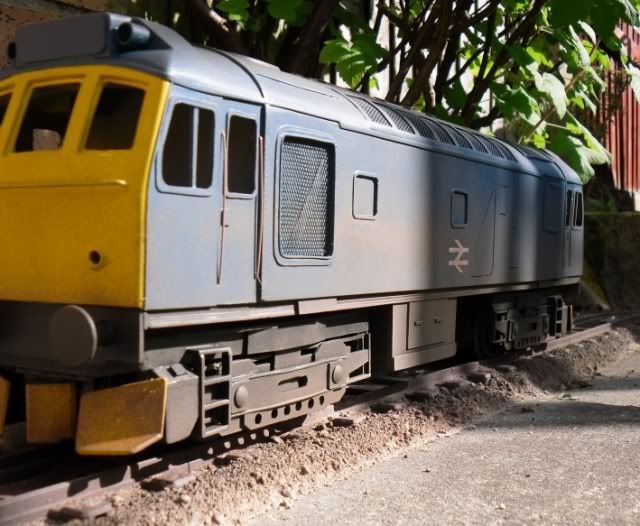
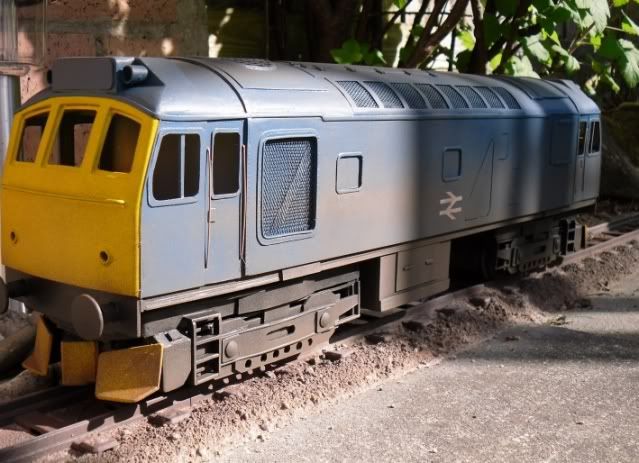
thanks for the feedback, all comments welcome.
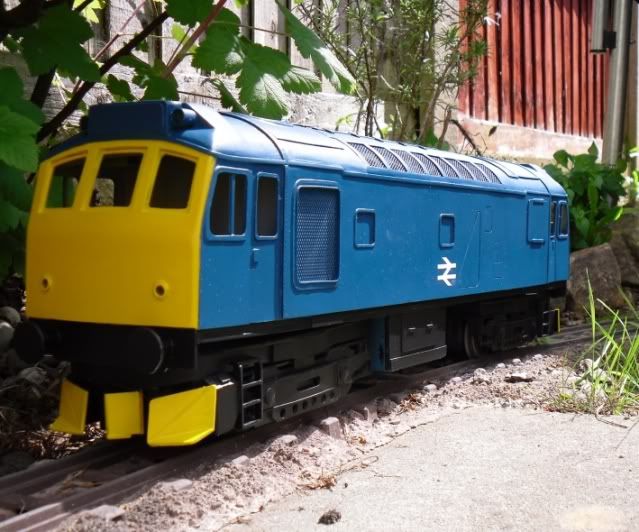
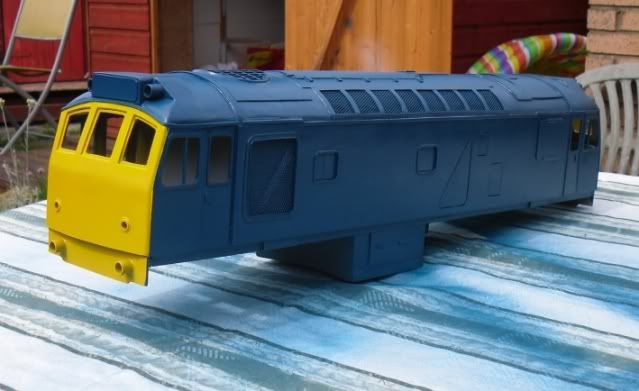
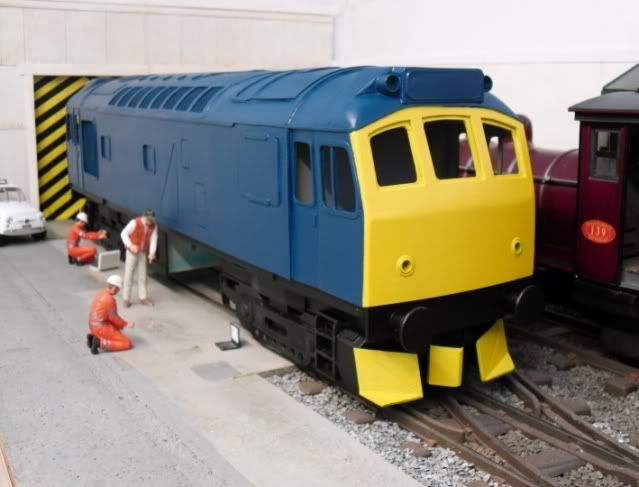
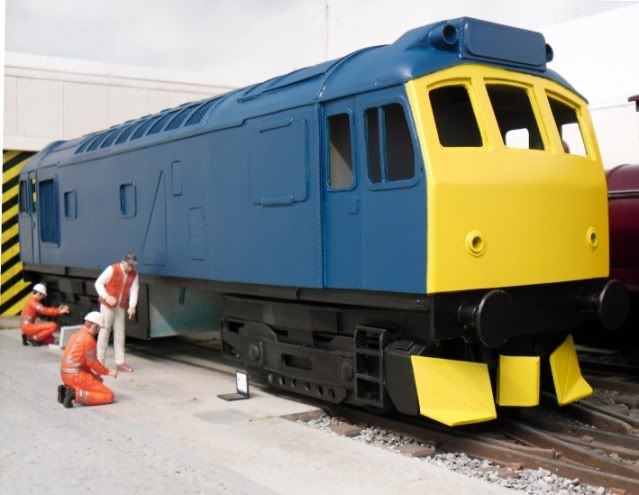
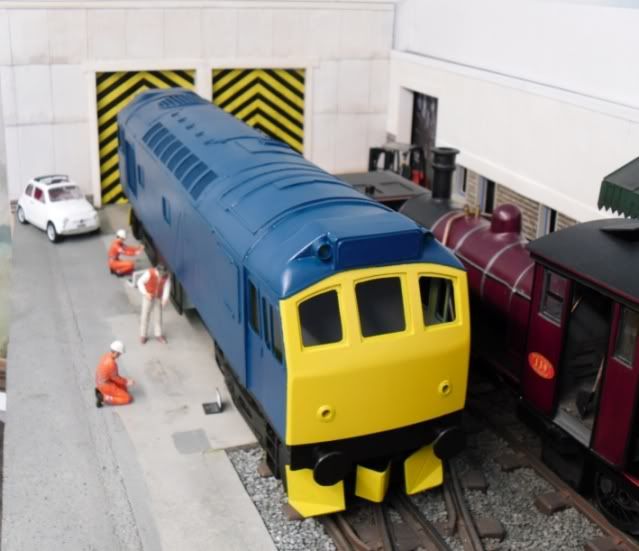
the windows, I assume that as no one felt the outer windscreens were to narrow before I fitted the white frames, that the frames had made some difference. they were fitted from the back and looking at them they did reduce the overall window size too much. So I have thinned the border they create considerablly and I think they
a) look better and
b) when checked dimensionally are considerably closer to what they should be.
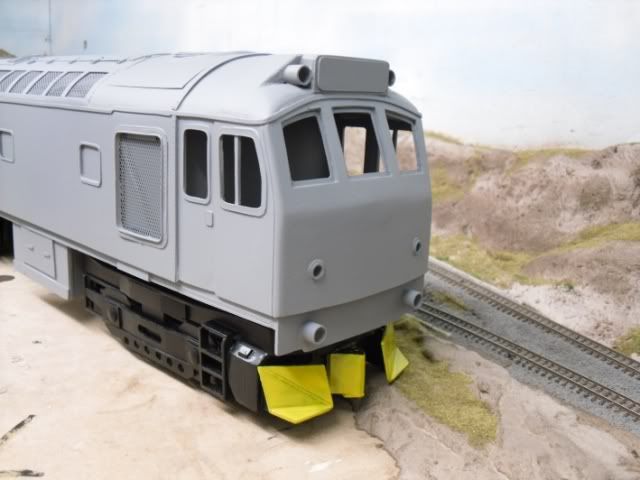
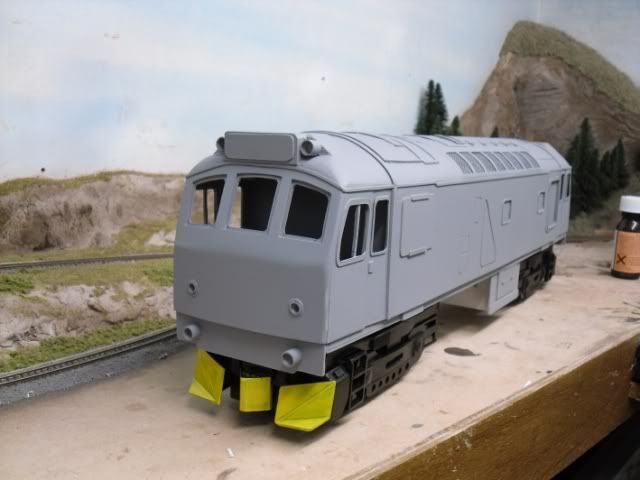
Making any further adjustments would be harder and possibly in the is it worth it catagory.
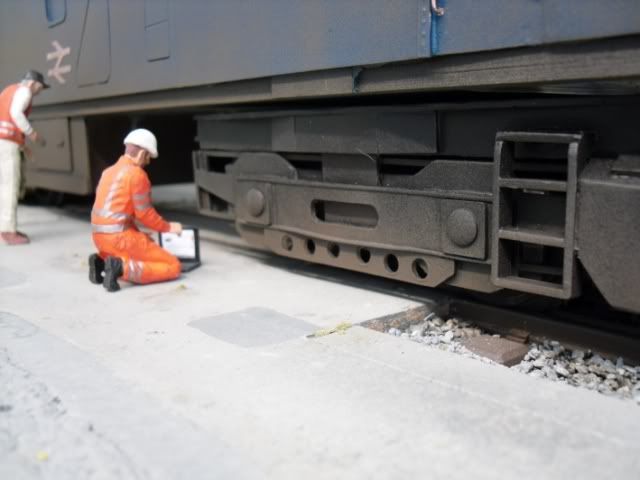
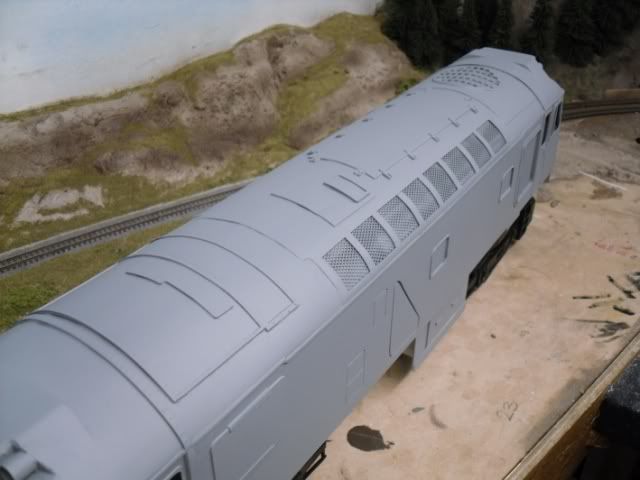
No rivet strip was used, all the window and grill frames were cut from a flat sheet of 10thou, the outer shape cut first the then inner shape cut out leaving a thin single piece frame. Then this was turned over and placed on a cutting mat, the rivets formed by pressing a pointed implement in from the back creating a blip on the front. all the the other rivet strips were formed the same way, but its easier when its a straight strip.
Jordan, yes you have a LOT to answer for !
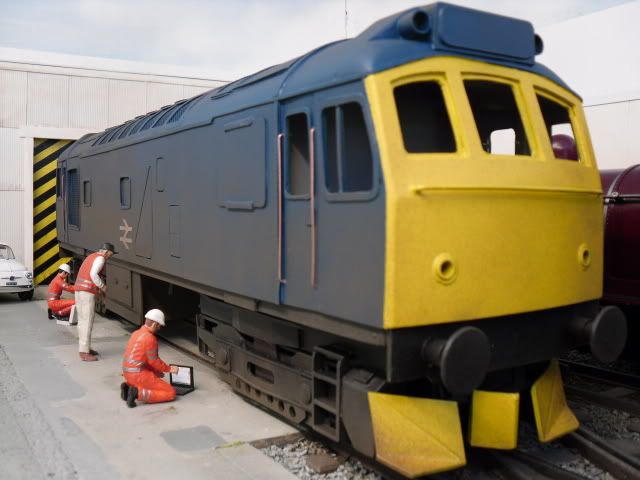
As can be seen its all primer grey again now and nearing paint shop condition.
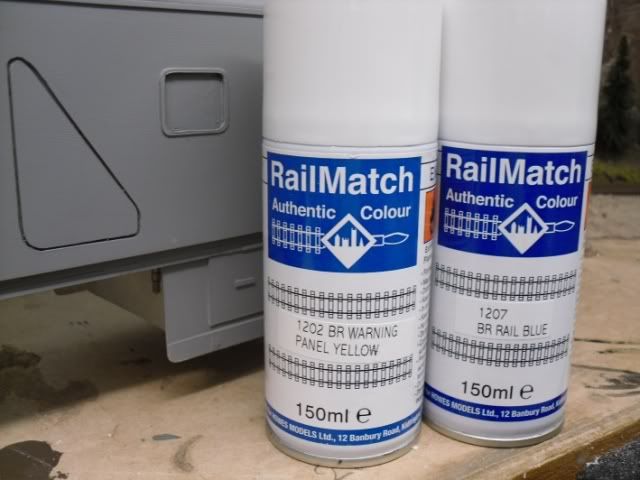
Any one point me in the direction of a good inside cab picture ? So I can knock something together.
John
the windows, I assume that as no one felt the outer windscreens were to narrow before I fitted the white frames, that the frames had made some difference. they were fitted from the back and looking at them they did reduce the overall window size too much. So I have thinned the border they create considerablly and I think they
a) look better and
b) when checked dimensionally are considerably closer to what they should be.


Making any further adjustments would be harder and possibly in the is it worth it catagory.
No rivet strip was used, all the window and grill frames were cut from a flat sheet of 10thou, the outer shape cut first the then inner shape cut out leaving a thin single piece frame. Then this was turned over and placed on a cutting mat, the rivets formed by pressing a pointed implement in from the back creating a blip on the front. all the the other rivet strips were formed the same way, but its easier when its a straight strip.
Jordan, yes you have a LOT to answer for !

As can be seen its all primer grey again now and nearing paint shop condition.


Any one point me in the direction of a good inside cab picture ? So I can knock something together.
John


 Some great pictures of cab interiors there thankyou..


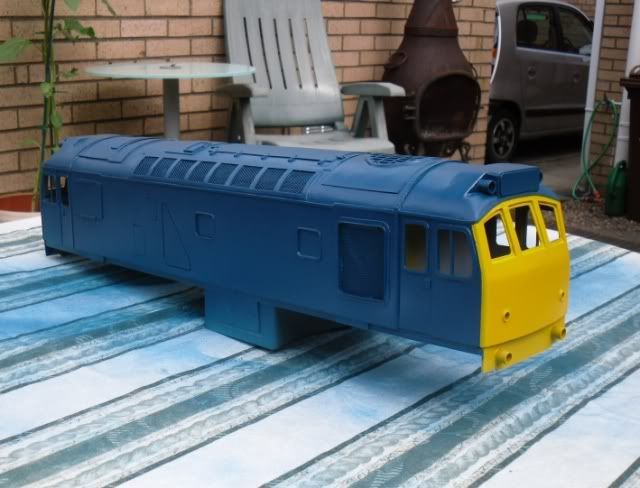

 )
)