Yorky D's Küchentisch - Jonny half-a-job...

jonte

Western Thunderer
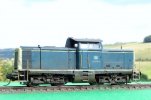
Nothing as scientific as a recipe Jonte, just a random mixture of AK Interactive Warm grey, Rock Grey and a smidge of Burnt umber followed by a black/brown wash when dry.
That’s rocket science to me, Dave ;)

Many thanks for sharing and for your prompt reply.

Best,

Jon
 
DB Br 290 (V90)

Yorkshire Dave

Western Thunderer
One of the things I've been messing about with is the head and tail lights on the Br 290 (V90).

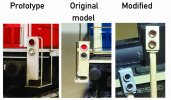
Firstly they were removed hollowed out and new surrounds made up from 2.4mm copper tube to make them look more in keeping with the prototype.

V90 16.jpg

V90 17.jpg

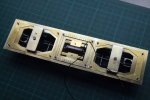
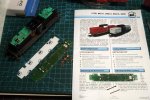
Two new L shaped circuit boards were made up and SMRs (Surface Mount Resistor) soldered on.

V90 11.jpg

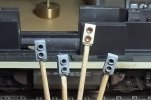
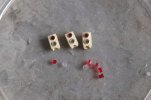
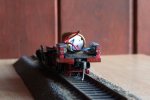
2mm lenses available as spare parts from Roco (for the Br 212 (V100)) were filed down on the reverse side, polished and inserted in the modified light housings. They are held in with canopy glue and three are shown here.

V90 18.jpg


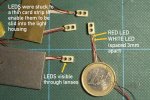
Red and white nano LEDS were stuck to thin strips of card so they can be inserted into the light housings.

V90 14.jpg


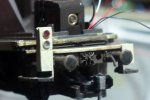
Once inserted and the glue set they were mounted onto the footstep moulding (apologies for the quality of the next three photos as they were taken in low light)

V90 19.jpg

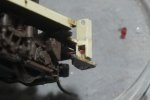
While the footstep mouldings were off the chassis I drilled some holes in the lower part of the light housing to enable the wiring to be routed behind the buffer beam out of view.

V90 20.jpg

And the wiring hidden from view.

V90 21.jpg


And under test using the LED test function on my multimeter. Front....

V90 23.jpg

.... and rear

V90 22.jpg

Now to crack on with the speaker, decoder and stay-alive installation....:rolleyes:
 

Big Train James

Western Thunderer
Dave,
Which color of white did you purchase? I've been looking for a "bright white" pre-wired 0402 LED for a while now. Most are either too warm and yellow (2700 ish temp) or too cold and blue (4000 ish plus temps) I'm looking for something around 3000 or 3500 temp.
 

Yorkshire Dave

Western Thunderer
Which color of white did you purchase? I've been looking for a "bright white" pre-wired 0402 LED for a while now. Most are either too warm and yellow (2700 ish temp) or too cold and blue (4000 ish plus temps) I'm looking for something around 3000 or 3500 temp.

I purchased warm white as this is closer to incandescent bulbs. However they are specified for the range to be between 2300K - 3500K.

I do know what you mean about the 'pure white/bright white' LEDs appearing too cold and blue which are only suitable for todays modern locomotive LED headlights.
 

Big Train James

Western Thunderer
However they are specified for the range to be between 2300K - 3500K.
Maybe a silly question, but I'm still learning on the electronics front, so maybe not. Does that specification mean that the same LED can display different qualities of light? I presume based on what voltage is fed to it? Or is it just a disclaimer so to indicate that not all iterations of the same product will necessarily display the same color of light?

In other words, can I force the LED to display at the 3500K end of the spectrum by feeding it a certain voltage?

Jim
 

simond

Western Thunderer
Jim,

no, the colour will not depend on the voltage, it’s a property of the semiconductor material. The brightness will vary with current (up to a limit!).

I suspect that the range quoted is precisely to allow a range of different components to fit the specification.

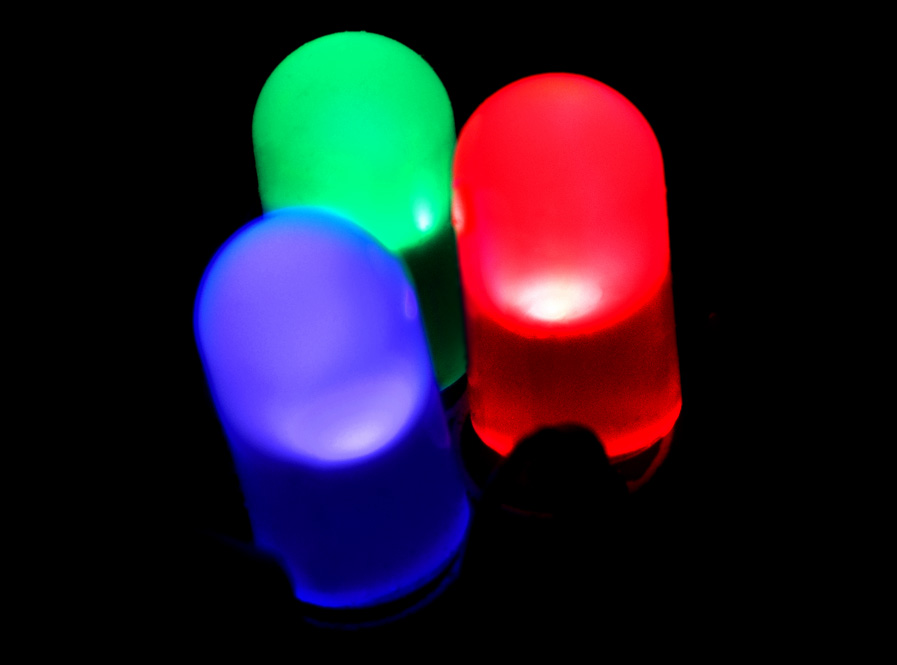
there are multi-colour LEDs, effectively two or three colours of LED in a single enclosure, and with one common lead, but the colour changes are then modulated by controlling the brightness of each of the LEDs independently to mix the light output.

lots of info here


atb
Simon
 

Yorkshire Dave

Western Thunderer
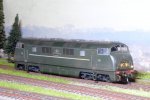
This is my one and only western region model - a repowered Fleischmann V200 Warship using a Roco V200 drive bogies.

I had the Fleischmann model and Roco V200 drive trucks kicking around for years and finally got around to doing something about them.

Despite the Fleischmann model being introduced during the 1970's the detail is very good.

Warship 1.jpg

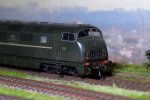
...and the tail lights work.

Warship 2.jpg

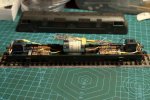
A view of the guts.... the Zimo decoder is temporary and will be replaced in due course by an ESU Loksound 5 with the V200 sound profile.

Warship 3.jpg

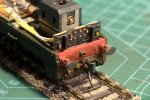
And one of the two replacement circuit boards I made with SMDs for the head, tail and headcode box lights.

Warship 4.jpg

There are a few items to sort out such as the cab interior, making yellow warning panels from yellow decal sheet, adding overhead electrification warning decals and ordering a set of replacement bogie frames from Roco spares. The latter to chop up and replace the Warship bogie side with the speedo. This was carried on a bar on the V200 as can be seen in the photo but not by the Warships.

Warship 5.jpg

And finally a question - how can you visually tell which is the number 1 and 2 cab on the warship as BR do to appear to use 1 and 2 externally unlike the DB below - Br 218 photo included for the interest of balance :)).

Neu 2 27 Oct.jpg
 
Last edited:

mickoo

Western Thunderer
I believe the WR hydraulics were labeled A and B ends, not 1 and 2.

The way to check is to look directly down on top at the boiler port, it's not exactly dead centre, laterally or longitudinally. The boiler port will be slightly closer to one end than the other, that will be the 'B' end, the other end (which it is furthest from) is the A end.

For the rest of the double cab BR diesels I'm sure the No 1 end was the radiator end, not sure about the single cab engines (classes 15,16,17,20 etc)
 

Tim Hale

Western Thunderer
Hi Dave,

Despite several attempts using the search facility at the top right of the webpage, I cannot find the images or indeed any reference to the rebuild of a Fleischmann T3 0-6-0t BR89 with a coreless motor.

I am waiting the arrival of a cheapo example for rebuilding and ‘chipping’, if I can relocate the images of your T3, I might even upgrade the motor.

Thanks in advance

Tim
 
Br 89.70

Yorkshire Dave

Western Thunderer
Despite several attempts using the search facility at the top right of the webpage, I cannot find the images or indeed any reference to the rebuild of a Fleischmann T3 0-6-0t BR89 with a coreless motor.

I am waiting the arrival of a cheapo example for rebuilding and ‘chipping’, if I can relocate the images of your T3, I might even upgrade the motor.

Hi Tim

Here are the photos of the re-motored Fleischmann Br89. It was a 'I wonder if' experiment which worked.

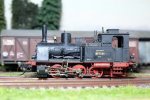
The motor is a coreless 1015 which I mounted in a 10mm ID tube. The ensemble is held in place with Blu-Tac on the original motor mount I made up when I re-motored the loco for the first time with a small Mashima motor.

DSCF4891.jpg

DSCF4892.jpg

DSCF4893.jpg

And is hidden from normal viewing angles.

DSCF4894.jpg
 

Yorkshire Dave

Western Thunderer
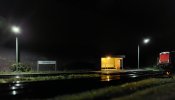
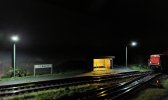
Not much to show modelling-wise except installing some platform lighting I made towards the back end of last year and installing a light in the waiting shelter.

Lights 4.jpg

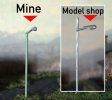
I had originally purchased some ready made lights from a model shop, took one look at them and thought to myself - I can make some better than this. Then set about making some from a few LEDs, some fine wire, brass tube, 1mm brass U channel and some epoxy.

Lights 3.jpg
 
Last edited:

Yorkshire Dave

Western Thunderer
A few more developments....

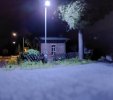
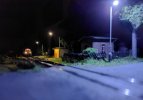
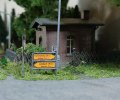
Firstly a Straßenlanterne (street light) installed near the Bahnübergang (level crossing).

Street Light 1.jpg

Street Light 3.jpg

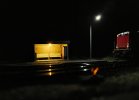
And some lighting in the waiting shelter made up from a miniature LED.

Lights 5.jpg

Lights 6.jpg

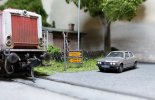
Then over the last few days I made up some Verkehrszeichen (road signs) using t'internet downloads as templates.

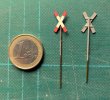
Some Andreaskreuze (Saltire) for the Bahnübergang from downloads printed on photo paper, stuck to some thin styrene and cut out. They are mounted on 1mm brass wire posts.

Andreas kreuz 1.jpg

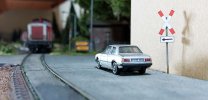
This one has an additional sign to indicate where the crossing is after the road junction. I need to acquire some post 1997 vehicles and make up some euro numberplates for them

Strasse 6.jpg

And some direction signs. Again made up on t'internet download, scaled down, added the towns and distances and mounted them in frame made up from 0.8mm brass wire. The towns are actually near München and I just made up the distances.

Strasse 3.jpg

Strasse 4.jpg

Strasse 5.jpg

Development is starting to take place on the right of the layout (which doubles up as the switch lead for the inglenook) and the buildings are just mock-ups. I have simply taken the Olef style street running and moved it to Bayern.

Strasse 1.jpg
 

Yorkshire Dave

Western Thunderer
Another new secondhand item arrived last week - a Roco HO Ozeanblau V100........

.....a V100.10 (Br 211) to be precise as it a model of the first series with V100.20 (Br 212 and Br 213) being the second series.

It's already been across my workbench to receive new upright handrails at the ends, UIC sockets on the noses plus some weathering... and it's the third in my V100 fleet (2 x V100.20 (Br 212) + 1 x V100.10 (Br 211)).

211 070-8 01.jpg

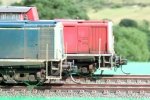
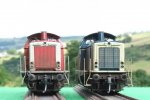
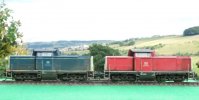
As with any loco class they all look the same.... however there are detail differences at the front end between the first and second series - namely the radiator grilles/shutters, access door and the gap between the air tank and the first upright hand grab indicative of the revised loco length V100.10 (Br 211) left and V100.20 (Br212) right.

211 070-8 03.jpg

Br212 left and Br211 right.
211 070-8 04.jpg

The first series is slightly shorter and at first glance you would think the model is out of scale but it is 1:87 :) - as was the original Märklin and the current Märklin/Trix, Brawa and Piko HO models. Alas the Fleischmann HO V100 was 1:85, although a nice model.

211 070-8 05.jpg

However, the V100.10 (Br211) is 12,100mm LüP and the V100.20 (Br212) is 12,300mm LüP - with the length changing from V100 2022 (212 022-3).

The V100 story is a bit complex as the front end radiator grilles and shutters changed during the construction of the second series (when the length was extended by 200mm) so there are a handful of early V100.20s (Br212) with the V100.10 (Br211) grilles and shutters.

The Ozeanblau Br 211 (V100.10) will receive a replacement circuit board from AMW Hübsch equipped to take a Next18 sound decoder as shown on my Br 212 (V100.20) below plus some Weinert detail parts.

V100 19.jpg

V100 22.jpg
 
NER ES1

Yorkshire Dave

Western Thunderer
And now for something completely different. Another electric loco....how boringly uncool, yawn, yawn, I hear you say ;)

Having acquired this kit a year ago and with my modelling mojo slowing returning :eek: after a heart op 15 months ago, I started faffing around wielding a hot stick :).

NER 01.jpg

The kit is a bit basic and is a scaled up version of the 4mm version with some panels being suitable for a battleship. The instructions are text (no pictures or drawings showing how parts go together) and relies on a degree of kitbuilding experience.

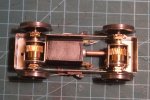
Firstly by building the truck inner frames, which already shows the bearings I'm using - 1/8'' roller/ball race bearings.
NER 02.jpg

The instructions tell you to mount the frame stretcher to the inner frame and then solder the outer frames once you have inserted the wheels, gears etc. Something I'm not in favour of as it makes painting difficult. As can be seen in the photo above I made up some end stretchers from square brass tube for the inner frames.
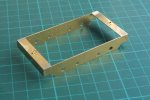
NER 03.jpg

The outer frames were made up and are mounted to the inner frames by M1.4 screws.
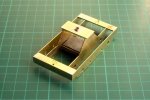
NER 03a.jpg

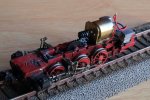
This shows the some of the components for the drive trucks. SDMP/Finney 7 gearboxes, Slaters wagon wheels (alas not the chocolate variety) and the Roxey universal joint drive shaft. Brass tube was used to sleeve from 1/8'' to 3/16'' for the gearboxes.
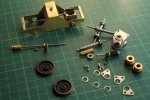
NER 04.jpg

Before the one shot assembly the inner trucks were given a blast of etch primer. However, in a worst case scenario I can disassemble the trucks as the bearings are only an interference fit.
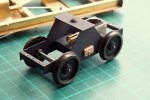
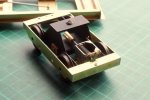
NER 05.jpg

NER 07.jpg

In between all of this I did make up the sill/underframe which also had a few modifications. I wanted a central motor drive - ideally all axle - but I settled for driving the two outer axles. As a result the motor does protrude above an below the sill and I lose some daylight underneath - one of the compromises I settled for.

The next sequence shows how the trucks appear in the sill/underframe and the scratchbuilt motor mount.
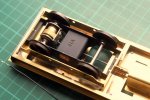
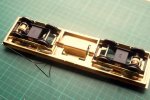
NER 06.jpg

NER 08.jpg

NER 10.jpg

And sitting on a Peco Setrack curve.
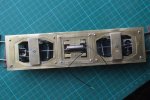
NER 09.jpg

And it does work under power, naturally........:rolleyes:
 
Last edited:

Rob Pulham

Western Thunderer
Good morning Dave,
I have had one of these in the pile for a number of years and it's my plan to build it as my next build for myself after finishing a couple of shelf queens.
Mine will take a different approach as I have twin motors/gearboxes and delrin chain. It should make a change from steam locos.
 

Yorkshire Dave

Western Thunderer
Mine will take a different approach as I have twin motors/gearboxes and delrin chain. It should make a change from steam locos.

Sounds like yours will be a simpler build than mine by virtue of the use of the recommended drive. However, you'll find it will be a pleasant change from steam locos. I had considered using Alan Gibson 4mm hornblocks before settling on the roller/ball race bearings.

I've tried using a delrin chain drive in the past but couldn't get on with it. In all honesty I prefer a central motor/cardan shaft drive and sit them as low as possible within the chassis/sill leaving loads of room in the body for the DCC decoder, lighting circuit boards, loudspeakers and weight.

I suppose the Rolls Royce solution is to use the SDMP/Finney7 gearboxes with smaller motors and shoehorn them into the ES1 6'6'' wheelbase trucks.

In the battery electric loco BEL2 (currently one of the many shelf queens) I managed to squeeze a drive into the 8' wheelbase chassis (the body is plonked on the chassis which is why it appears out of alignment).

BEL2 15.jpg

BEL2 16.jpg
 
Top