Rob Pulham
Western Thunderer
At the Summer show in Doncaster my bargain of the day was a Double Leakey Rivets press bought for the princely sum of £19 from the Bring and Buy stand.
I was quite late visiting the B&B because I was trying to be disciplined in my purchases, making sure that I had collected and paid for pre orders and bough other essentials before looking out for anything on spec. When I saw the rivet press and realised what it was I was quite surprised that it was still there. I mentioned my surprise to John Kneeshaw, who served me when I bought it and he had thought the same he said that he wouldn't have been surprised if someone had pulled it out of his hand as he was adding it to the table.
This is what it looked like when I got it home.
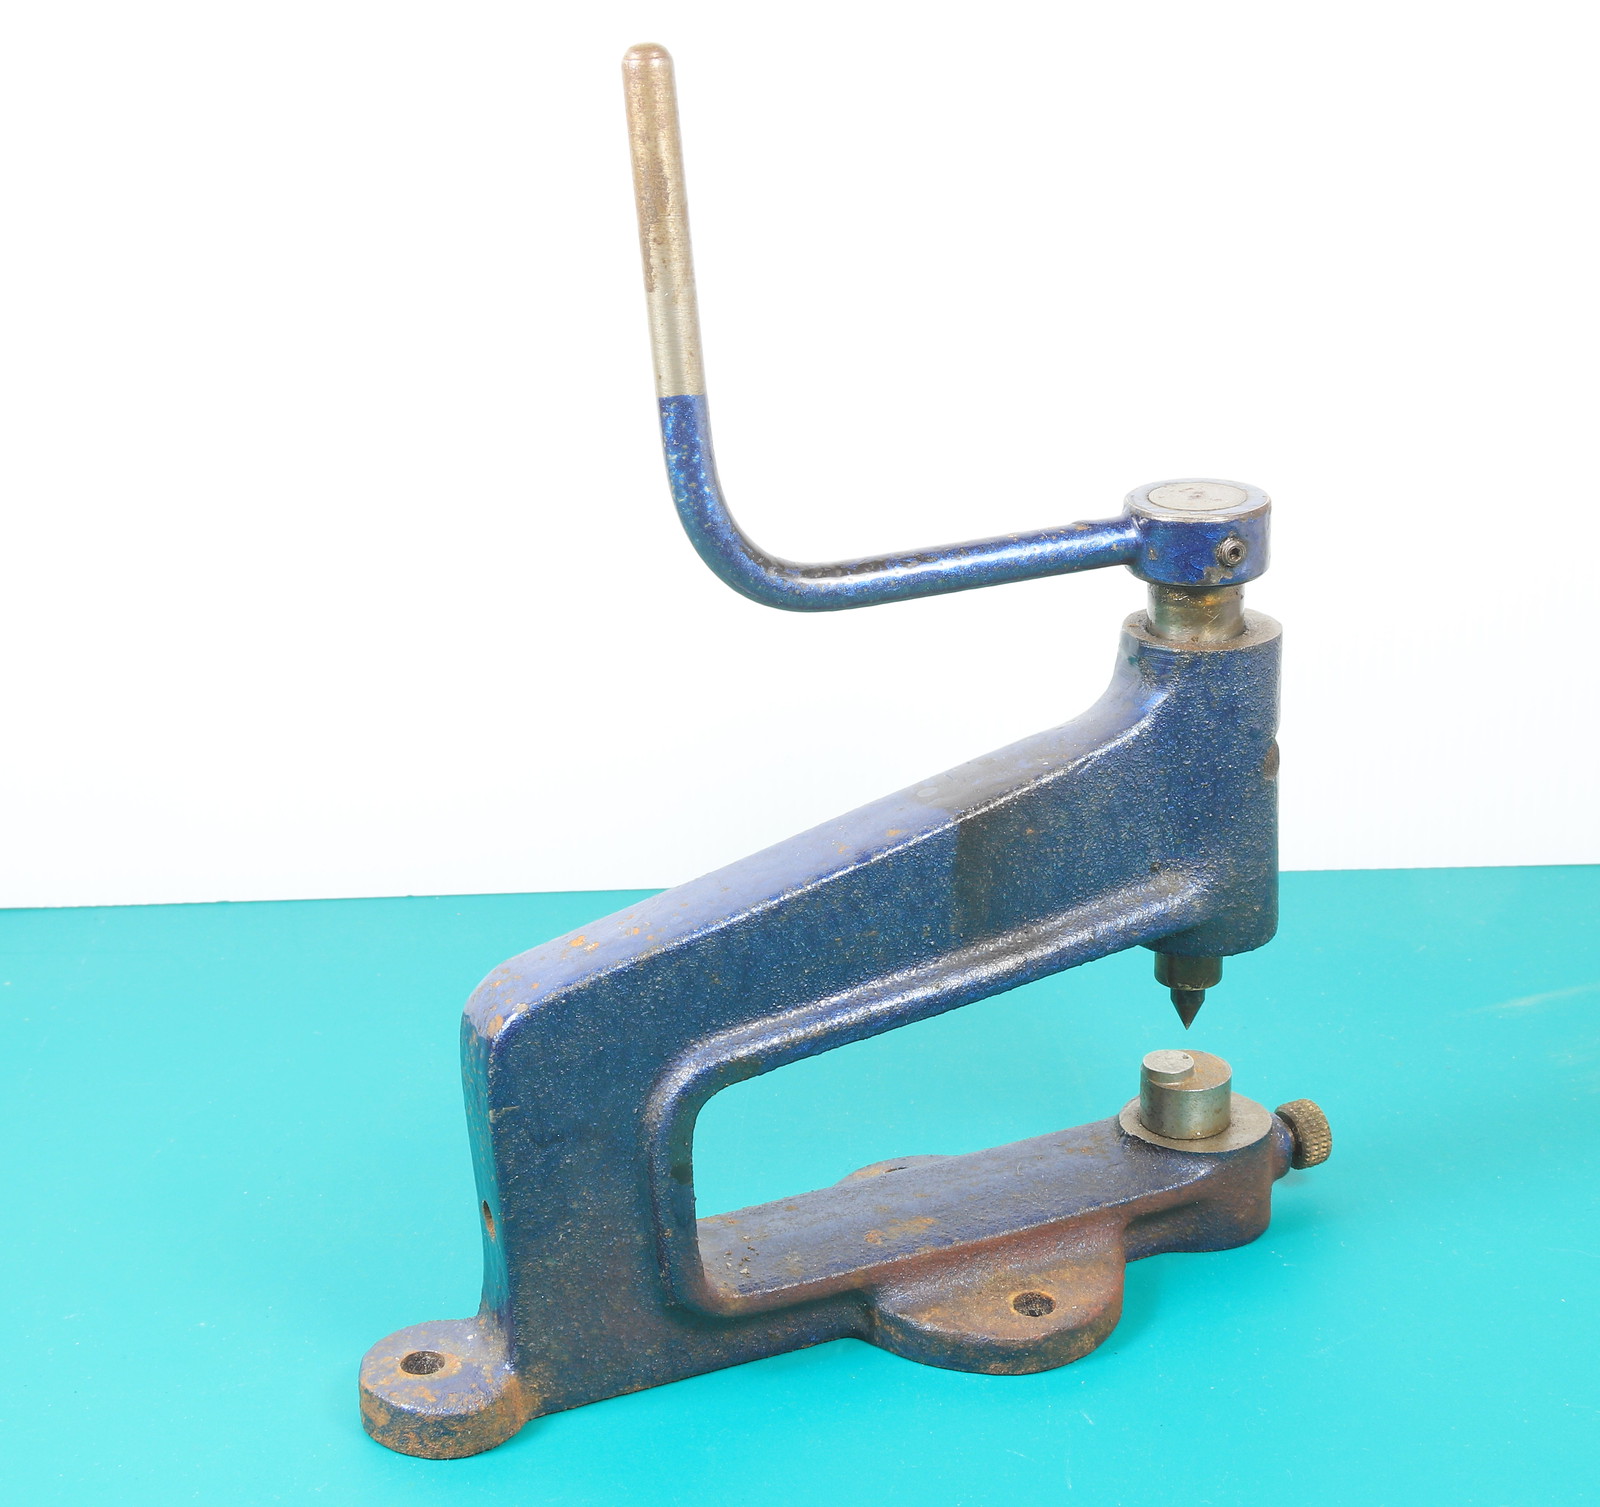

A quick search on the internet revealed that the handle was on upside down and that the guide was missing. The handle was an easy fix as it was retained by a grub screw. By good luck I had a choice of nickel rod or silver steel to make the replacement so I choose the latter as being more in keeping with the 'tool'


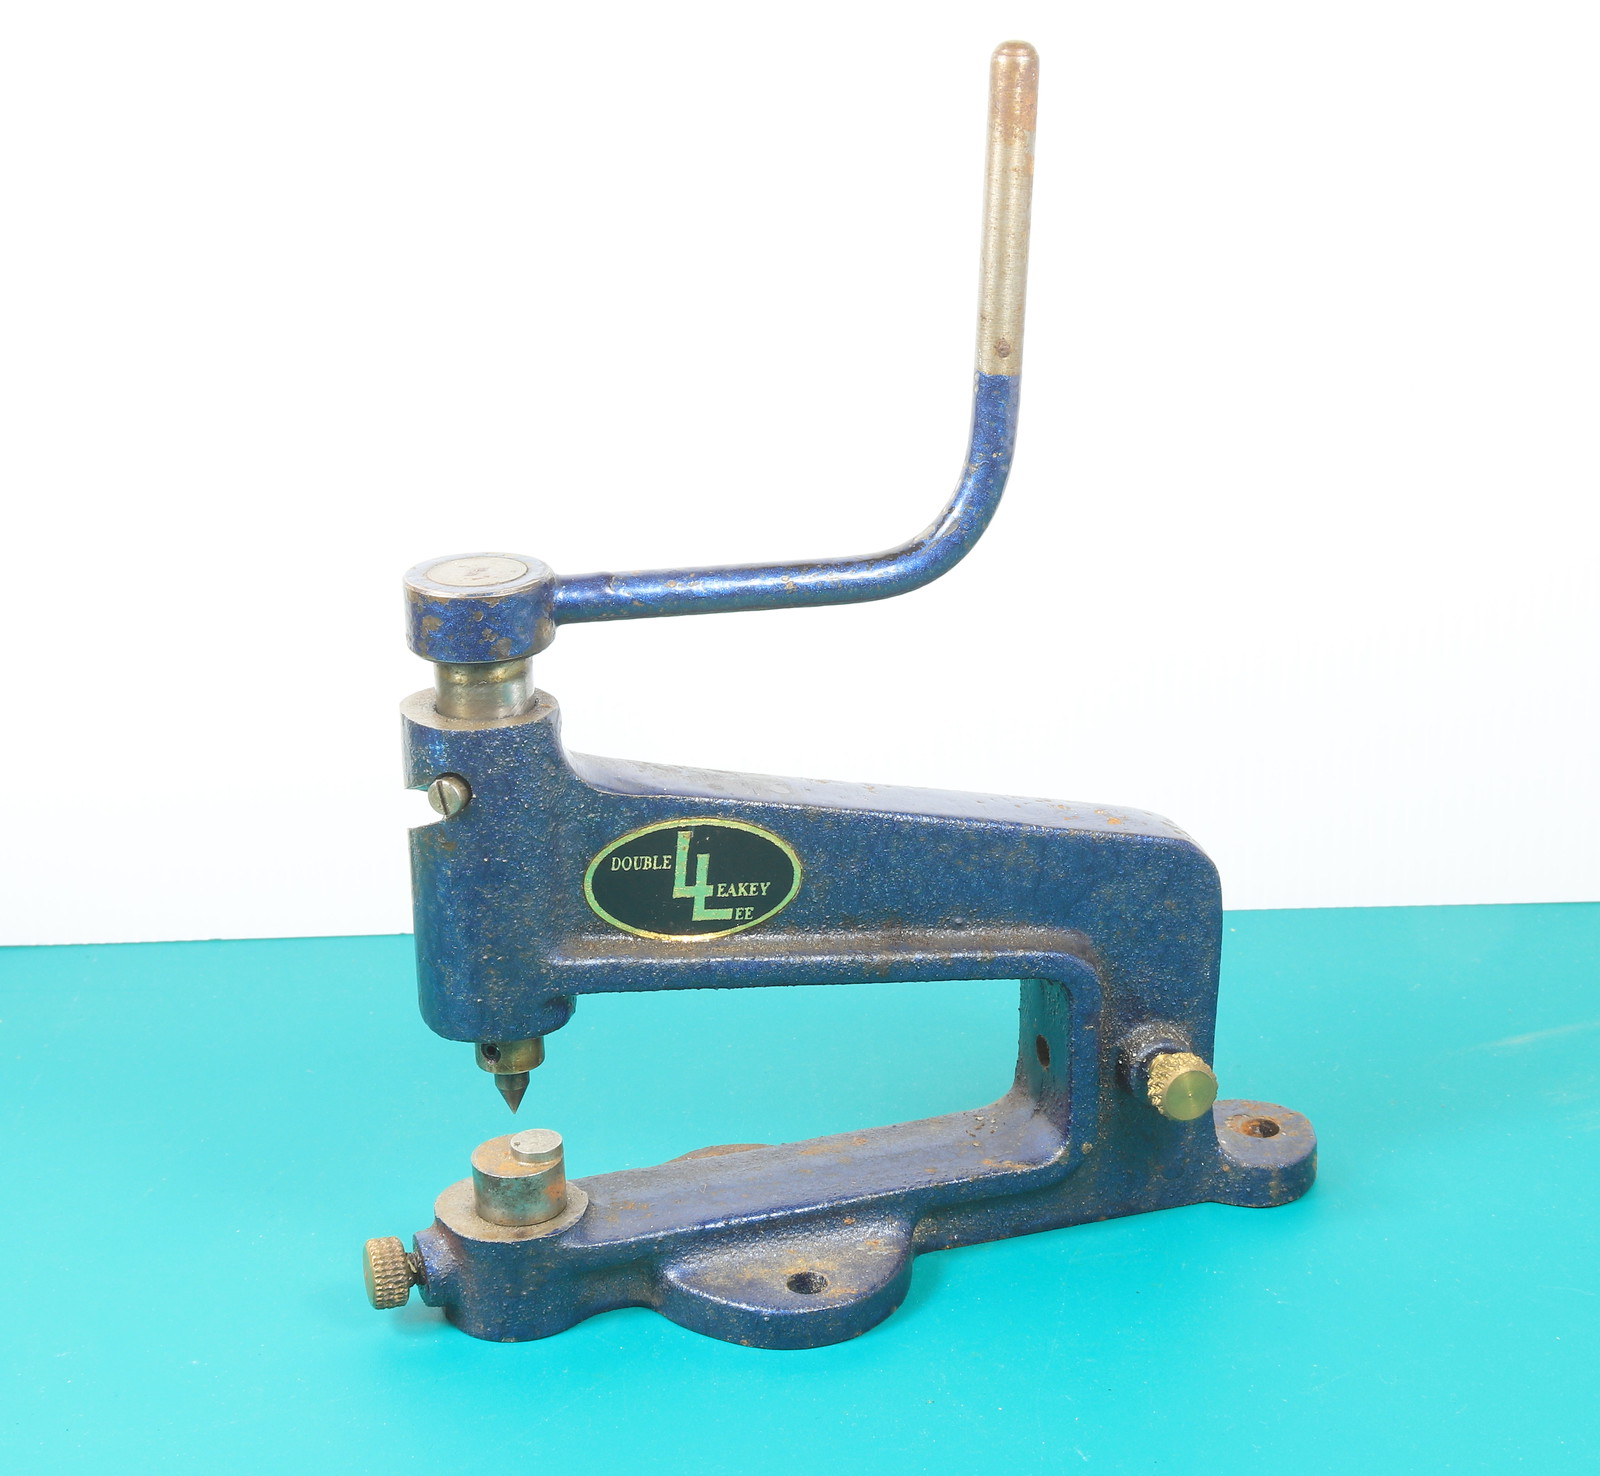
I turned a 60 degree point on it as looking about right from the photo, and then milled a flat for the work piece to rest against.
Next I went over it with a wire brush in my Dremel and I was pleasantly surprised when most of the surface rust came off leaving the painted surface underneath. I quite like the lived in look so I am not going to repaint it as I had originally planned. all that remained was for me to fasten it to a suitable piece of wood.
I was quite late visiting the B&B because I was trying to be disciplined in my purchases, making sure that I had collected and paid for pre orders and bough other essentials before looking out for anything on spec. When I saw the rivet press and realised what it was I was quite surprised that it was still there. I mentioned my surprise to John Kneeshaw, who served me when I bought it and he had thought the same he said that he wouldn't have been surprised if someone had pulled it out of his hand as he was adding it to the table.
This is what it looked like when I got it home.
A quick search on the internet revealed that the handle was on upside down and that the guide was missing. The handle was an easy fix as it was retained by a grub screw. By good luck I had a choice of nickel rod or silver steel to make the replacement so I choose the latter as being more in keeping with the 'tool'
I turned a 60 degree point on it as looking about right from the photo, and then milled a flat for the work piece to rest against.
Next I went over it with a wire brush in my Dremel and I was pleasantly surprised when most of the surface rust came off leaving the painted surface underneath. I quite like the lived in look so I am not going to repaint it as I had originally planned. all that remained was for me to fasten it to a suitable piece of wood.


